25
www.janome.com
User Manual
QUILT MAKER PRO 20
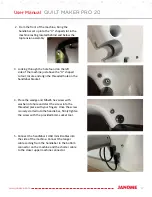
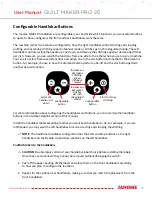
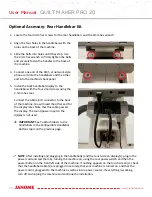
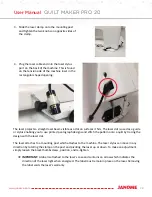
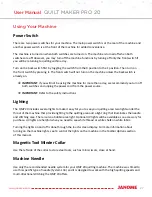
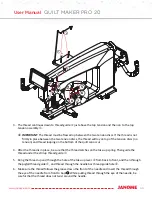
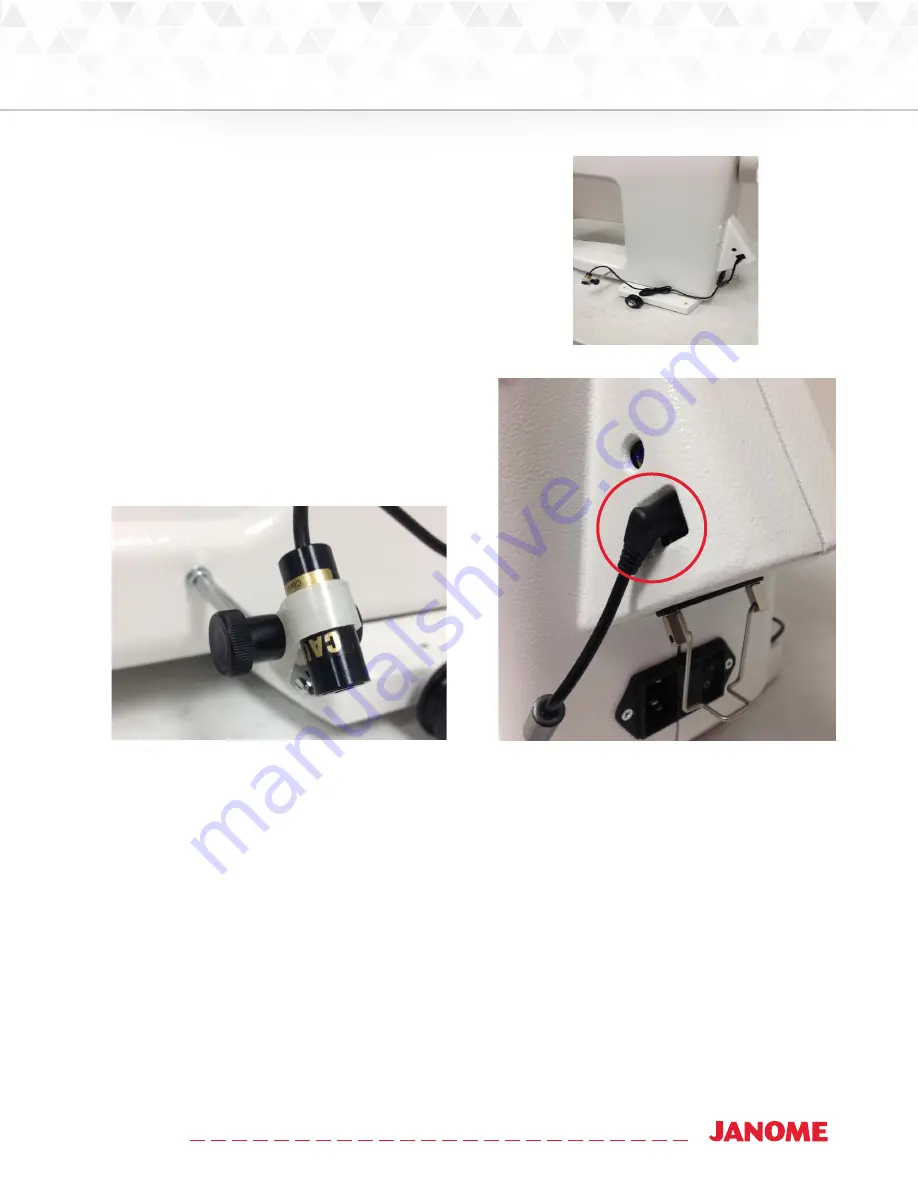
3. Slide the laser clamp onto the mounting post
and tighten the two knobs on opposite sides of
the clamp.
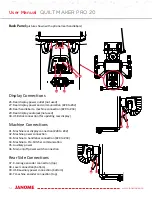
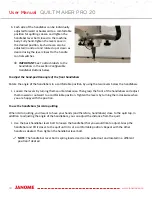
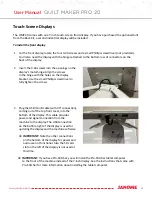
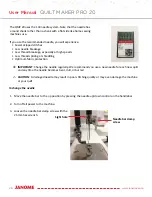
4. Plug the laser cable end into the laser stylus
port on the back of the machine. This is found
on the tension side of the machine inset in the
rectangular shaped opening.
The laser projects a straight laser beam visible as a dot on surfaces it hits. The laser dot is used as a guide
or stylus enabling you to use printed pantograph designs and stitch the pattern onto a quilt by tracing the
design with the laser dot.
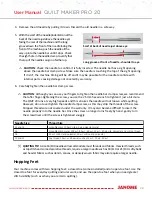
The laser attaches to a mounting post which attaches to the machine. The laser stylus can move in any
direction by rotating the clamp on the post and pivoting the laser up or down. To make an adjustment,
simply loosen the black thumbscrews, position, and re-tighten.
Â
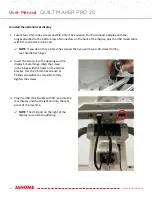
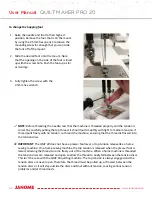
IMPORTANT: A label is attached to the laser’s case and contains an arrow which indicates the
direction of the laser light when energized. The label must remain in place on the laser. Removing
the label voids the laser’s warranty.
Summary of Contents for Quilt Maker Pro 20
Page 1: ...USER MANUAL Version 1 0 Janome America Quilt Maker Pro 20...
Page 77: ......
Page 78: ......

