17
www.janome.com
User Manual
QUILT MAKER PRO 20
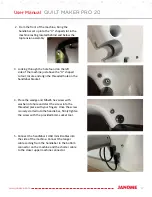
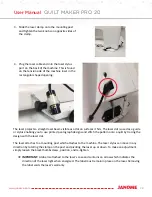
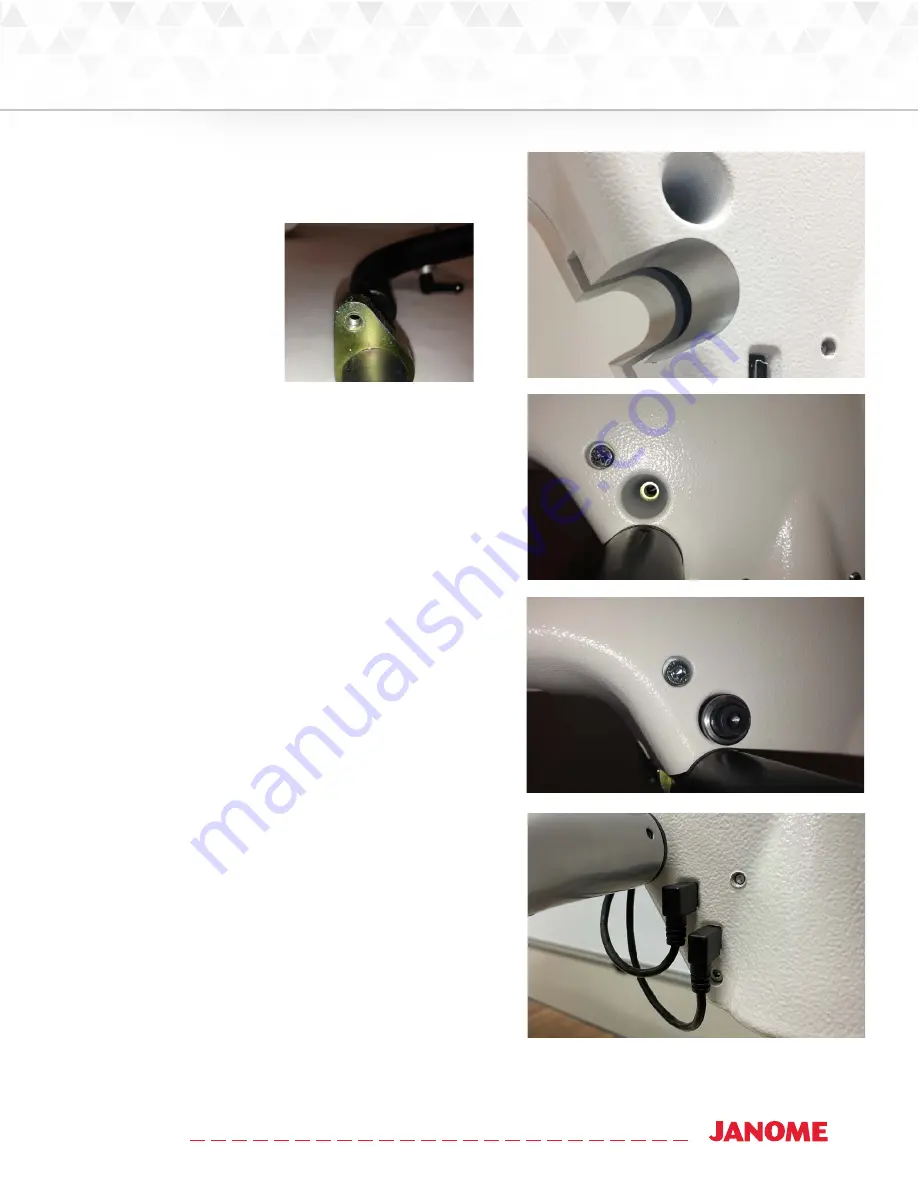
2. From the front of the machine, bring the
handlebar set up into the “U” shaped slot in the
machine casting located behind and below the
top tension assembly
.
3. Looking through the hole found on the left
side of the machine just above the “U” shaped
cutout, locate and align the threaded hole on the
handlebar bracket.
4. Place the wedge and M6x45 hex screw with
washer into hole and start the screw into the
threaded piece with your fingers. Once the screw
is nicely started into the handle bar, firmly tighten
the screw with the provided 6mm socket tool.
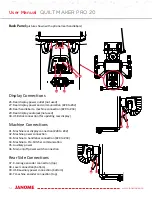
5. Connect the handlebar’s USB mini B cables into
the side of the machine. Connect the longer
cable coming from the handlebar to the bottom
connector on the machine and the shorter cable
to the closer upper machine connector.
Summary of Contents for Quilt Maker Pro 20
Page 1: ...USER MANUAL Version 1 0 Janome America Quilt Maker Pro 20...
Page 77: ......
Page 78: ......

