


| General information
12
YLS-K
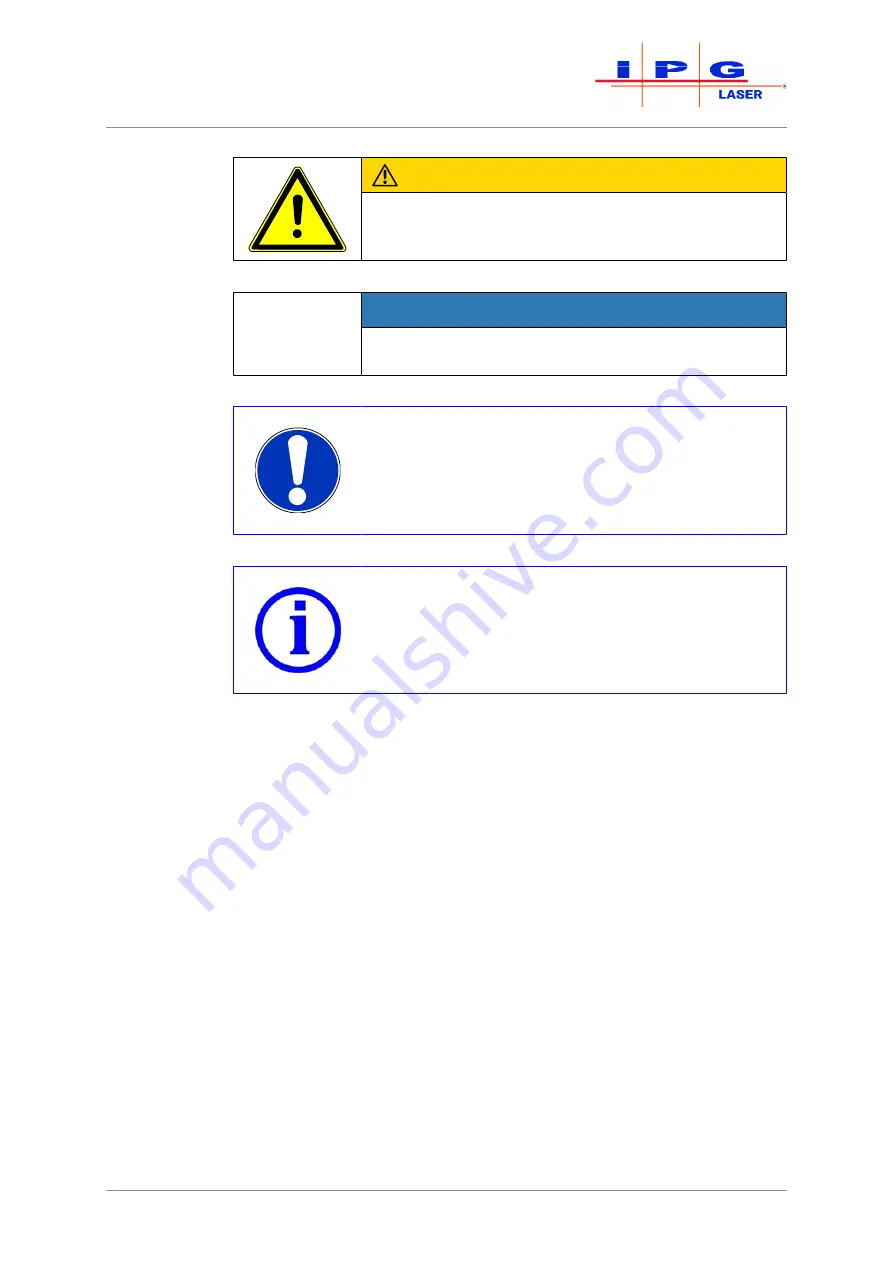
CAUTION
This signal word indicates a possible dangerous situ-
ation. If this dangerous situation is not avoided, this
could lead to light or moderate injuries.
NOTICE
If this notice is not heeded, there is a risk of damage
to the product or other property damage.
Additional in-
structions
Important notice: Should be heeded for safe and er-
ror-free work.
Additional information about the device or the
method of operation or general information.