40
TruVision IP Compact PTZ Camera Configuration Manual
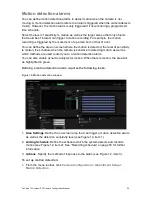
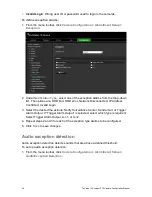
2. Select
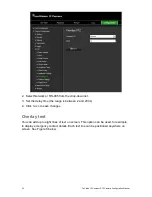
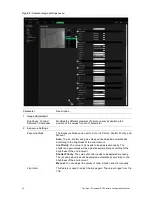
Enable Motion Detection
. Select
Enable Dynamic Analysis for Motion
if
you want to see in live view where the detected motion has occurred.
Note:
Deselect the “Enable Motion Detection” option to disable the motion detection
alarm.
3. Click
Draw Area
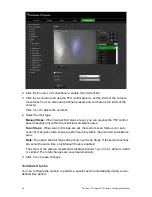
. Click and drag the mouse on the live video image to draw an area
sensitive to motion detection.
4. Click
Stop Drawing
to finish drawing. Click
Clear All
to delete all areas marked and
restart drawing.
5. Move the
Sensitivity
slider to set the sensitivity of the detection. All areas will have
the same sensitivity level.
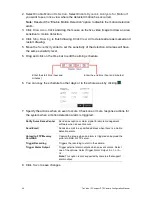
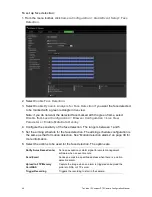
6. Drag and click on the time bar to edit the arming schedule.
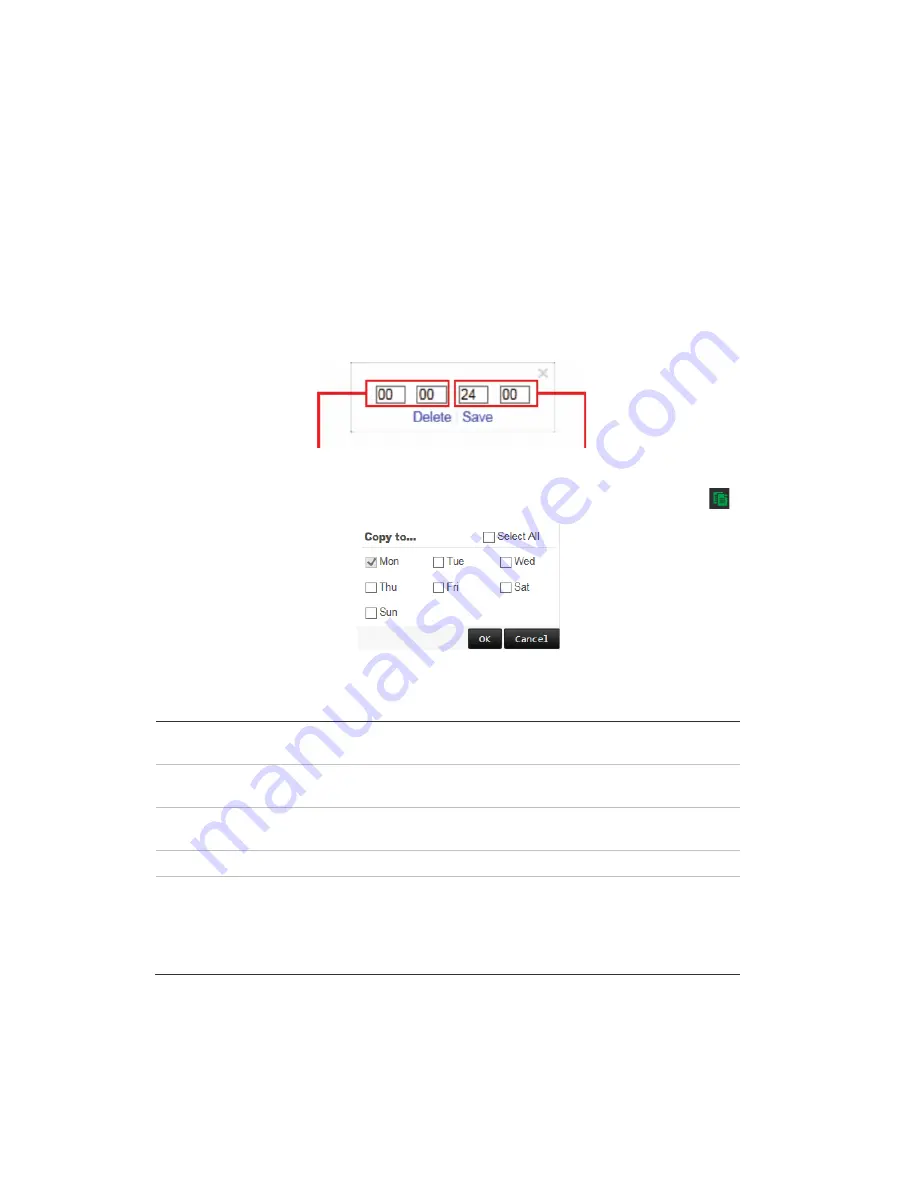
Enter the start time (hour and
minutes)
Enter the end time (hour and minutes)
6. You can copy the schedule to other days or to the whole week by clicking
.
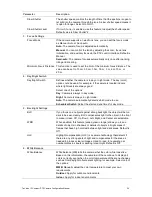
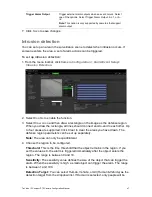
7. Specify the actions when an event occurs. Check one or more response actions for
the system when a motion detection alarm is triggered.
Notify Surveillance Center
Send an exception or alarm signal to remote management
software when an event occurs.
Send Email
Sends an email to a specified address when there is a motion
detection alarm.
Upload to FTP/Memory
Card/NAS
Capture the image when an alarm is triggered and upload the
picture to NAS or FTP server.
Trigger Recording
Triggers the recording to start in the camera.
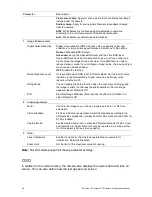
Trigger Alarm Output
Trigger external alarm outputs when an event occurs. Select
one of the options: Select Trigger Alarm Output, A->1, or A-
>2.
Note:
This option is only supported by cameras that support
alarm output.
8. Click
Save
to save changes.

