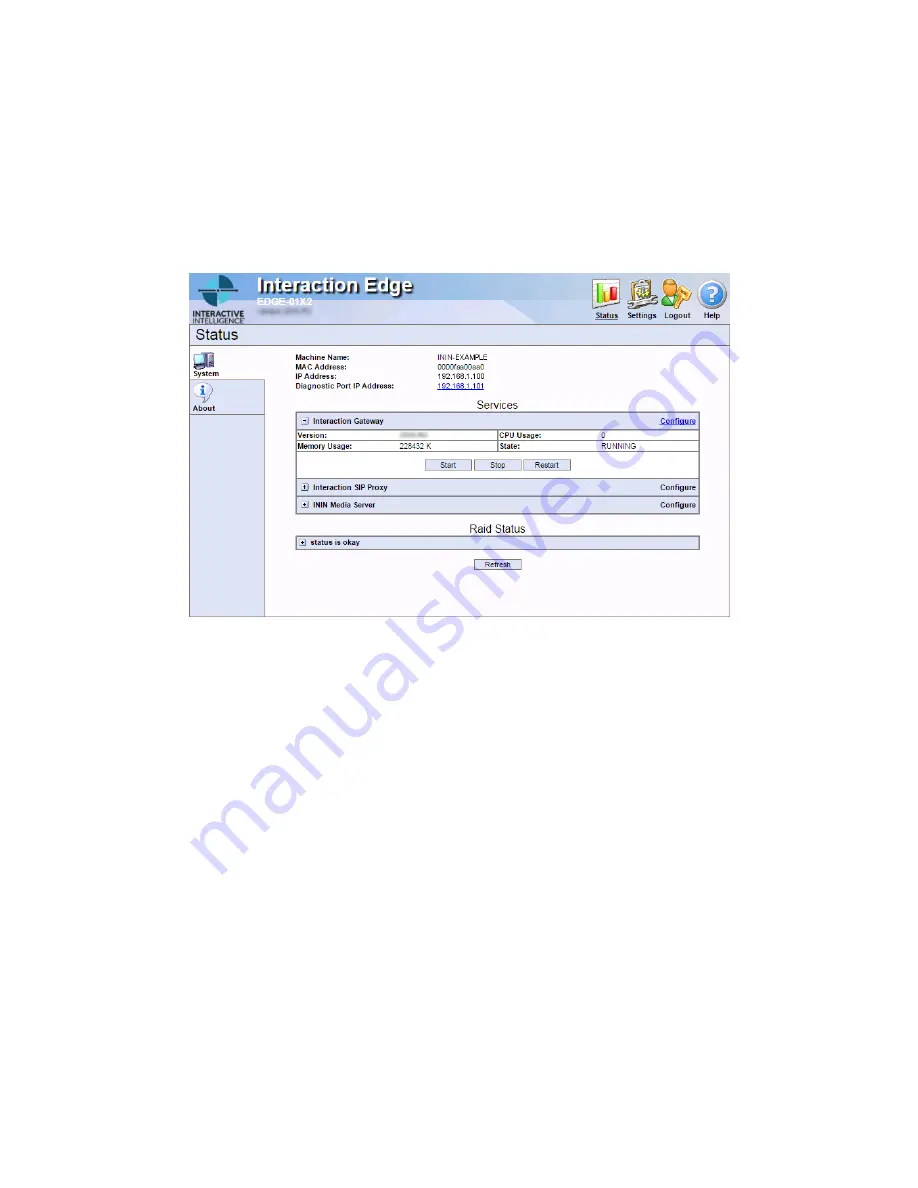
Interaction Edge setup
19
4.
Using a remote computer, open a web browser and navigate to the IPv4 address that was displayed on
the LCD panel for the Interaction Edge appliance.
A dialog box is displayed that prompts you for the user name and password.
5.
In the displayed dialog box, enter the following information and select the
OK
button:
User name:
admin
Password:
1234
The
Status-System
page is displayed.
6.
Select the
Settings
icon in the upper right corner of the page.
The
Settings-System
page is displayed.
7.
If you have split the network interfaces to be separate and not teamed, use the
Network Adapter
list
box to select the network interface for which you want to set the IP address. Otherwise, continue to the
next step.
8.
In the
Address
Type
list box, select
Static IP
.
9.
In the
IP
Address
box, enter the static IPv4 address that you want to assign to the selected NIC in the
Interaction Edge appliance.
10.
In the
Subnet
Mask
box, enter the appropriate sub-network identifier.
11.
In the
Default
Gateway
box, enter the IPv4 address of the device through which Interaction Edge will
send communications to the IP-based network.
12.
To enable DNS lookup and resolution, enter the IP addresses of the primary and secondary DNS servers in
the
Preferred DNS Server
and
Alternate DNS Server
boxes.
13.
If you want to use short host names through Interaction Edge, supply the DNS suffix of the network
domain in the
DNS Suffix
box.
Interaction Edge appends the character string in the
DNS Suffix
box to any short host name that it
attempts to contact.
14.
Enable the
Reboot Interaction Edge
check box at the bottom of the page.
15.
Select the
Apply
button.
Interaction Edge restarts and uses the static IPv4 address that you configured.


