


Interaction Edge setup
17
Connect the cables to Interaction Edge
After you have mounted Interaction Edge into a rack or placed it on a shelf, you must connect the necessary
cables for successful operation. The exact number and type of cables that you connect is dependent on your
telephony system. To connect the necessary cables, refer to the following table:
Cable
Task
Ethernet cables
Plug a category 5 (CAT5) or better network cable into the left
Interaction Edge NIC port (
NIC1
) and then connect the
available end to a 100Base-T or 1000Base-T network switch.
Note:
Interactive Intelligence recommends that you connect
both NIC ports to the network for fallback situations or,
if you split the teamed NIC, for connections to separate
networks.
Plug a CAT5 or better network cable into the
DIAG
port and
then connect the available end to a 100Base-T or 1000Base-T
network switch.
AC power cables
Plug the power cables into each socket on the back of the
Interaction Edge appliance. There are two redundant power
supplies in Interaction Edge.
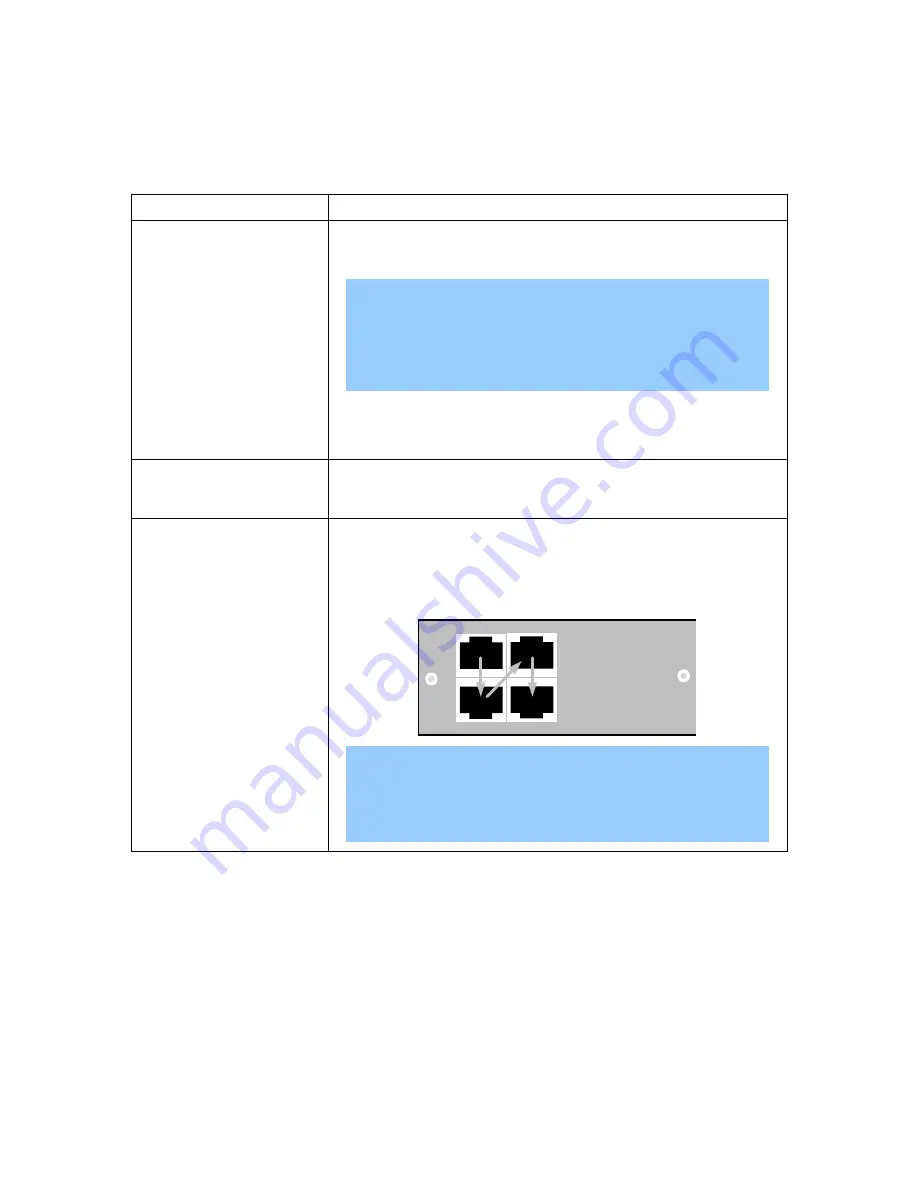
Time-Division Multiplexer
(TDM) cables
Plug the cable with RJ-48C connectors into the top-left available
TDM port on the Interaction Edge appliance.
You must connect subsequent TDM cables to the next sequential
port (top-to-bottom, left-to-right), as displayed in the following
diagram:
Note:
If you use E1 spans, you must change the default span
setting on the
Settings
-
Administration
page in the
Interaction Gateway web interface.
Start Interaction Edge
After you have unpacked, installed, and connected the necessary cables to Interaction Edge, you can turn it
on by connecting the power cables to a power source.
When you start Interaction Edge for the first time, the LCD panel displays the following series of messages:
1.
Interactive Intelligence
2.
Service Starting…
3.
Init System…
4.
Init Resources…


