


Saving Presets
1.
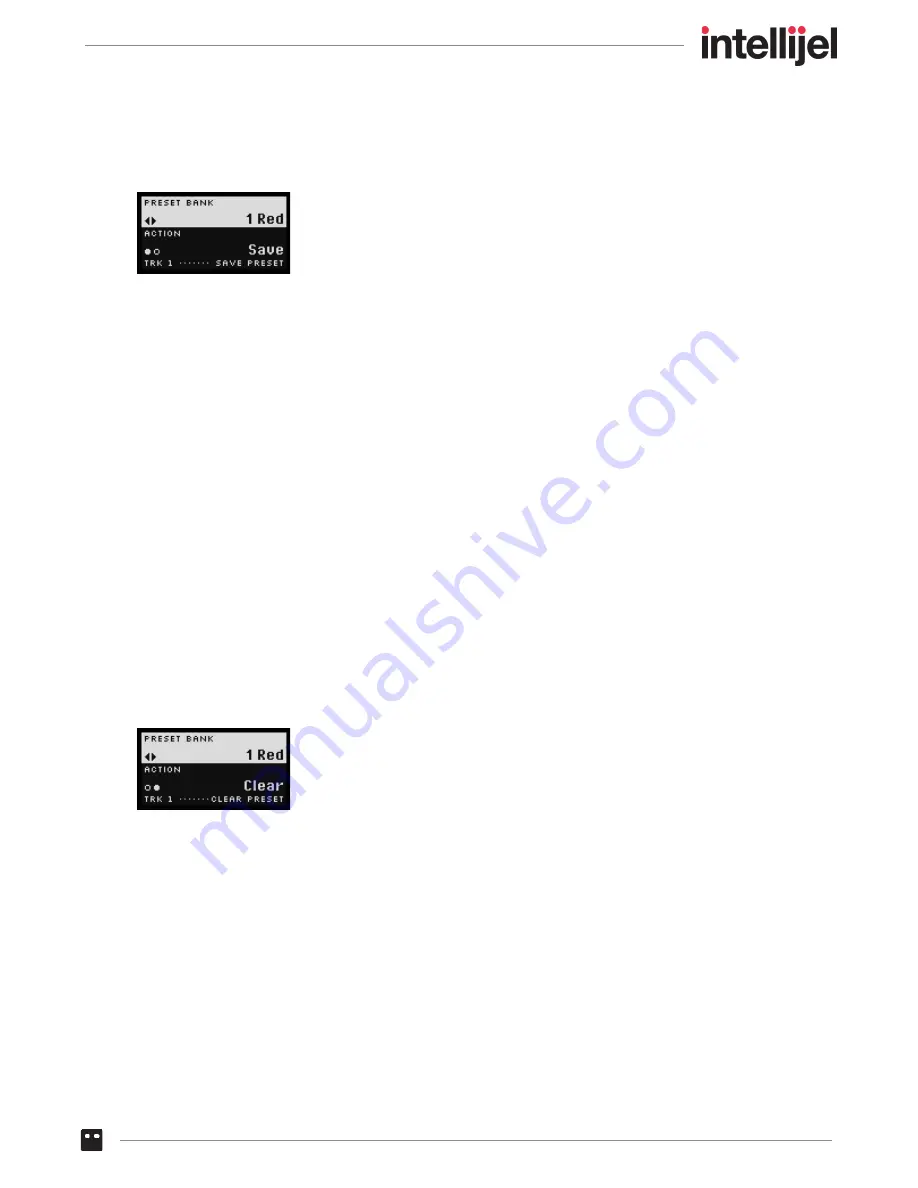
Press the
ALT
button followed by the
SAVE
(Stage 2) button to access the SAVE screen.
2.
Press the encoder to toggle the
ACTION
value between ‘Save’ and ‘Clear’. In this case, because
you are
SAVING
a patch, make sure the parameter is set to ‘Save.’
3.
Turn the encoder to select the
PRESET BANK
into which you wish to save the preset.
Banks are named by color. Selecting a bank causes all 8 Stage buttons to light with the chosen
color. Each of the 8 Stage buttons corresponds to a Preset location in that bank. Brightly lit
Stage buttons contain presets. Dimly lit Stage buttons are empty. You can, of course, save your
preset over top of an existing preset if you wish.
4.
Press the Stage button (1-8) that corresponds to the memory location into which you want to
save your preset.
The screen flashes a message to confirm your preset has been saved.
Clearing Presets
1.
Press the
ALT
button followed by the
SAVE
(Stage 2) button to access the SAVE screen.
2.
Press the encoder to toggle the
ACTION
value between ‘Save’ and ‘Clear’. In this case, because
you are
CLEARING
a patch, make sure the parameter is set to ‘Clear.’
3.
Turn the encoder to select the
PRESET BANK
containing the preset you wish to clear.
Banks are named by color. Selecting a bank causes all 8 Stage buttons to light with the chosen
color. Each of the 8 Stage buttons corresponds to a Preset location in that bank. Brightly lit
Stage buttons contain presets. Dimly lit Stage buttons are empty. A flashing Stage button
indicates the most recently saved preset (if you don’t switch banks).
4.
Press the Stage button (1-8) that corresponds to the preset you wish to clear.
The screen flashes a message to confirm your preset has been saved.
Metropolix Manual
94


