


In Use:
1.
Press either the
TRK 1
or
TRK 2
button
,
depending on which track’s probability you wish to edit.
2.
Press the
EDIT
button, followed by the
PROB
button.
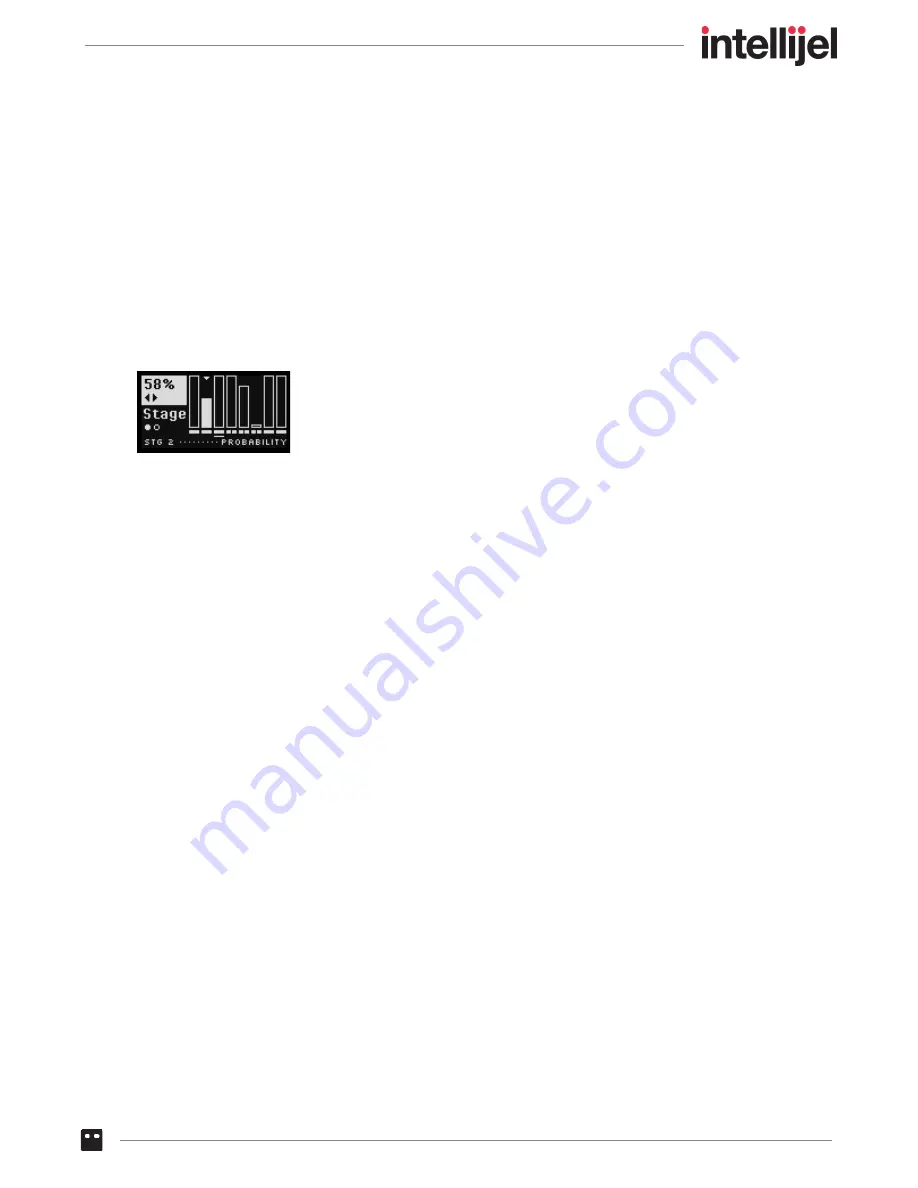
The screen displays an overview of every stage’s probability value, and the eight stage buttons
are used to select which stage you wish to edit.
3.
Press the button corresponding to the stage to which you want to assign a probability.
That stage’s button will flash
blue
to indicate which stage number is being edited. On the
screen, the downward pointing arrow also indicates the edited stage.
4.
Turn the encoder to set the desired
PROBABILITY AMOUNT
.
5.
Press the encoder to toggle between the probability choices (as described above).
6.
Repeat Steps 3-5 for any other stages to which you wish to assign probabilities.
As long as you remain on the PROB edit screen, any of the eight stage buttons to which you’ve
assigned a probability amount (less than 100%) will light
blue
.
Various shortcuts are also available:
● Hold the
EDIT
button and turn the encoder to change the
PROBABILITY AMOUNT
across all
stages simultaneously.
● Hold the
EDIT
button and press the encoder to set all stages to the same
PROBABILITY TARGET
.
● Long-press the encoder to reset the
current
stage to its default
PROBABILITY AMOUNT
(‘100%’)
and
PROBABILITY TARGET
(‘Stage’).
● Hold the
EDIT
button and long-press the encoder to reset
all
stages to their default
PROBABILITY AMOUNTS
(‘100%’) and
PROBABILITY TARGETS
(‘Stage’).
Metropolix Manual
82


