


ControLinc Owner’s Manual
Bright/Dim Buttons
The Bright and Dim buttons will adjust the brightness of the Responders Linked to the last On/Off button
pair you used. (Non-dimming Responders will not be affected.) Pressing & holding the Bright and Dim
buttons will adjust the brightness continuously, while tapping the buttons will adjust the brightness one of
32 steps for each tap.
•
To continuously brighten
the dimmable Responders Linked to the last On/Off button pair you
used on ControLinc, press & hold the Bright button
Dimmable Responders should begin to brighten, unless they are already fully-bright
When you release the button, the dimmable Responders should stop brightening.
•
To continuously dim
the dimmable Responders Linked to the last On/Off button pair you used
on ControLinc, press & hold the Dim button
Dimmable Responders should begin to dim, unless they are already off
When you release the button, the dimmable Responders should stop brightening
•
To incrementally brighten
the dimmable Responders Linked to the last On/Off button pair you
used on ControLinc, tap the Bright button
Dimmable Responders should brighten one of 32 steps, unless they are already fully-bright
•
To incrementally dim
the dimmable Responders Linked to the last On/Off button pair you used
on ControLinc, tap the Dim button
Dimmable Responders should dim one of 32 steps, unless they are already fully-off
Below is a summary of the ControLinc button functions:
Button Applies to
Tap
Press & hold
On
Devices Linked to specific button
Ramp to On-Level
Brighten
Off
Devices Linked to specific button
Ramp to Off
Dim
All On
All devices Linked to Controller
Ramp to On-Level
N/A
All Off
All devices Linked to Controller
Ramp to Off
N/A
Bright
Devices Linked to last button pressed
Brighten a little
Brighten until released
Dim
Devices Linked to last button pressed
Dim a little
Dim until released
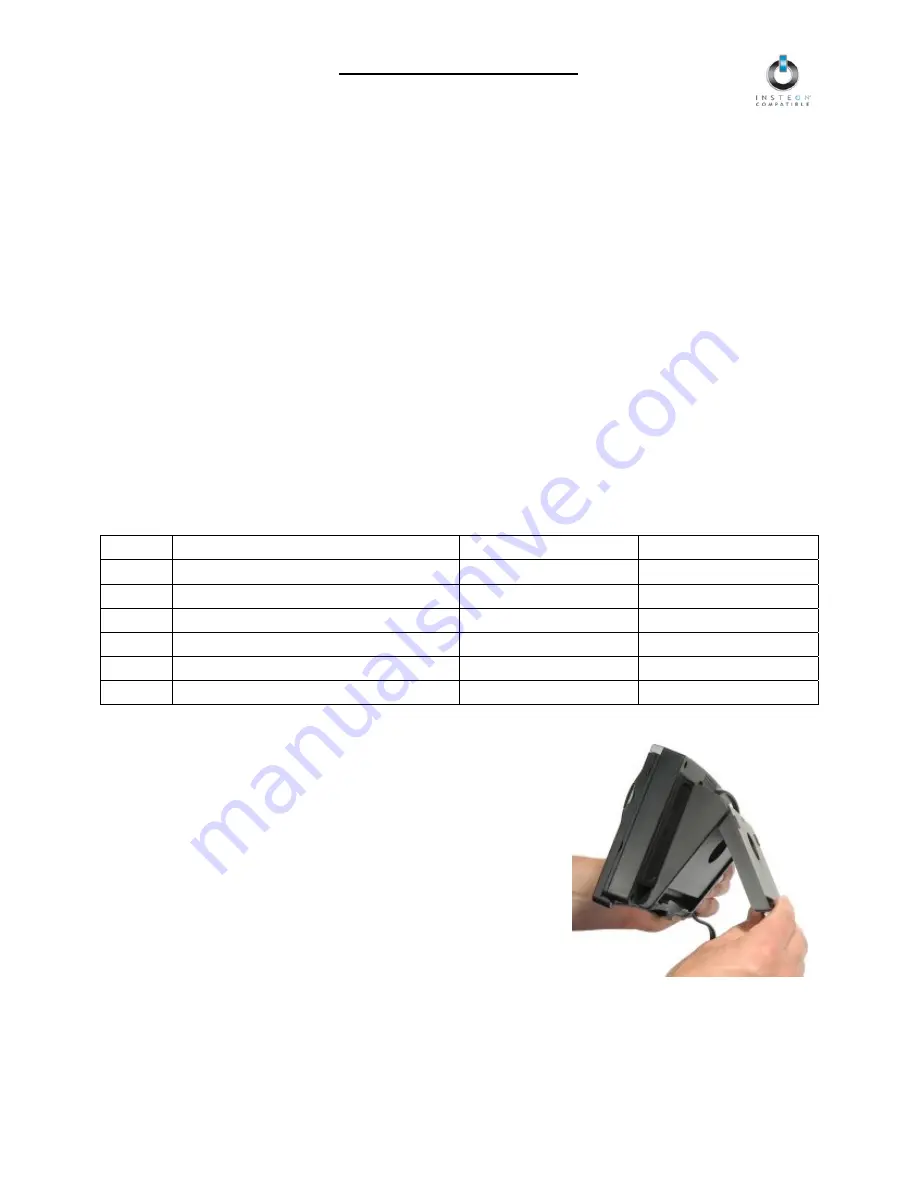
Tabletop Mounting
You can use ControLinc in a horizontal or vertical position on your
tabletop.
To use in a vertical position, pull out the hinged stand on the bottom
of the unit.
Changing the Button Labels
The smoked plastic cover over the button labels will pop off by lifting from the sides.
Download label templates at:
www.smarthome.com/files/2430-4071_Label_Print.zip
Page 6 of 15


