42
EIGER OPTIONAL FEATURES
STD
Low Ambient
- The low ambient kit is designed to protect the compressor when starting in
temperatures below 2° C. The temperature is measured at the air-end discharge. The temperature is
read using the standard Air-end temperature sensor. When the Low ambient option is installed and
selected and the A/E Discharge Temperature is measured to be below 2°C, the compressor will be
started when commanded but will delay to load a period of time defined by the Low Ambient Delay
Time, Section 12. This will allow the coolant temperature to rise above an allowable level before
loading the compressor in cold environments. When the Low ambient option is not installed the
machine will not start if the A/E Discharge Temperature is below 2°C. The machine will trip on a Low
ambient fault. This trip will be logged in the fault table. The user can re-start the compressor by
holding the start button in for 10 seconds. Each time the compressor faults on a Low Ambient trip the
customer will have to manually restart and the trip will be recorded in the fault table.
STD
Power Out Restart
- At loss of power to the machine, a software or hardware flag is set
indicating the operational status of the compressor. Once power returns, the flag is evaluated and the
compressor is returned to its previous operational state. PORO when enabled will be active in all
Local and Remote control modes of the compressor. For PORO to execute, the PORO option must
be installed and the PORO enable must be set to ON in the factory set-up menu. The customer then
has visibility to turn off/on and set the time delay of the PORO option in the advanced set-up menu.
Assuming this is the case, if power is lost to the compressor while the unit is running or is stopped in
auto start/stop, the control will store in memory the current operating conditions.
When power returns to the unit, the control will first verify the PORO option is installed, enabled and
turned ON. Next the control will check to see if the unit was running or stopped in auto start/stop
when power was lost. If it is determined this was the case, it will start the PORO sequence. The
control will energize the PORO horn and start a count down on the display. The RED light will flash
indicating a Warning condition and the horn will blow for the number of seconds (see table 12) the
operator set in the PORO time set point. At the end of the count down the horn will stop blowing and
the compressor will start. The PORO count down can be stopped at anytime by pressing the Stop /
Reset button on the user interface. Pressing any button will cause the horn to stop blowing and the
count down to stop. The control will power up normally in a ready to start mode. If unit is being
operated using remote control, the compressor will not automatically restart after power returns if
PORO kit is not installed.
ENH
Scheduled Start / Stop
- This is an auto start / stop mode of operation based on the Real
Time Clock current time. A Scheduled Start Time set point is used to automatically start the
compressor when the current time equals the Scheduled Start Time entered for the set point. A
scheduled Stop Time set point is used to automatically stop the compressor when the current time
equals the Scheduled Stop time entered for the set point. This mode of operation can be turned on
and off by selecting the desired mode in the Scheduled Start Stop
On/Off Set point, When Scheduled Start/Stop is turned on and the current time equals the Scheduled
Start Time set point, and the compressor is
not currently running, the compressor will automatically activate the output for the PORO horn for 10
seconds (hard coded) to warn anyone in the surrounding area that the compressor is about to start.
The UI will display a Warning message “Scheduled Start in X seconds”. X is a countdown from 10 to
0 seconds. After 10 seconds the compressor will automatically start as long as the compressor is not
in a Fault condition or manually stopped by pressing the Stop / Reset button. When Scheduled
Start/Stop is turned on, and the current time equals the Scheduled Stop Time set point, and the
compressor is currently running, the compressor will automatically stop. The compressor can
Summary of Contents for R110IU-10
Page 5: ...5 S3 Intellisys Controller Operating Instructions...
Page 6: ...6 Software Navigation...
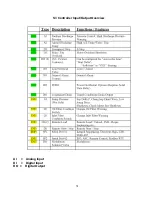
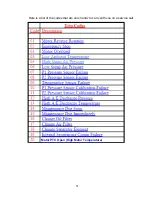
Page 7: ...7 Eiger Controller Fault Indicators 020 Tr Motor PTC Open High Motor Temperature...
Page 14: ...14 Star Delta Wiring Diagram...
Page 15: ...15...
Page 16: ...16 Soft Start Wiring Diagram...
Page 17: ...17...
Page 18: ...18 Line Start Schematic...
Page 19: ...19...
Page 20: ...20 Process and Instrumentation Diagram...
Page 21: ...21...
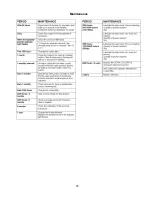
Page 28: ...28 Maintenance...
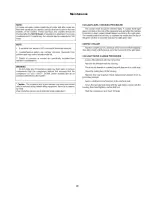
Page 29: ...29 Maintenance...
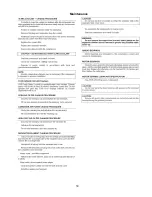
Page 30: ...30 Maintenance...
Page 31: ...31 S3 Controller Input Output Overview AI Analog Input DI Digital Input DO Digital Output...
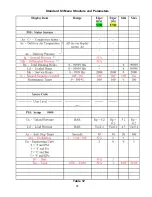
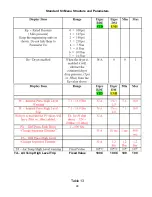
Page 45: ...45 Standard S3 Menu Structure and Parameters Table 12...
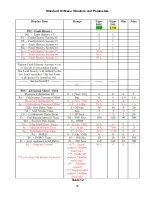
Page 46: ...46 Standard S3 Menu Structure and Parameters Table 12...
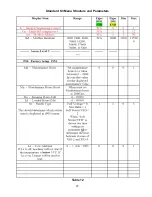
Page 47: ...47 Standard S3 Menu Structure and Parameters Table 12...
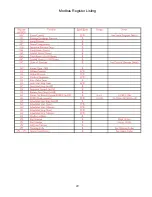
Page 49: ...49 Modbus Register Listing...
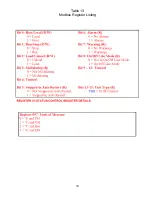
Page 50: ...50 Table 13 Modbus Register Listing...
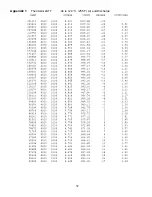
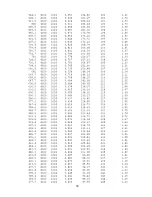
Page 52: ...52 Appendix 1 Thermistor 2ATT 34 to 124 C 255 F Air end Discharge...
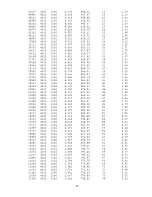
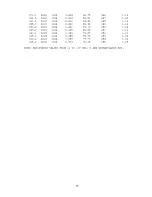
Page 53: ...53...
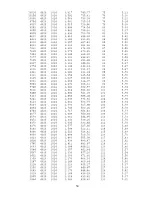
Page 54: ...54...
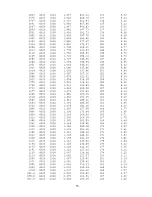
Page 55: ...55...
Page 56: ...56...
Page 57: ...57...
Page 58: ...58 General Specifications for Eiger Packages...
Page 59: ...59...
Page 60: ...60...
Page 61: ...61...
Page 62: ...62...
Page 63: ...63...
Page 64: ...64...
Page 65: ...65...
Page 66: ...66...
Page 67: ...67...
Page 68: ...68...
Page 69: ...69...
Page 70: ...70...
Page 71: ...71...
Page 72: ...72...
Page 73: ...73...
Page 74: ...74...
Page 75: ...75...
Page 76: ...76...
Page 77: ...77...
Page 78: ...78...
Page 79: ...79...

