


Towards the bottom of the
Windows [CIFS]
tab, you’ll notice the
Share Display
,
Recycle Bin
,
and
Advanced CIFS Permission
options. Refer to the description for these options below.
►
S E T T I N G S H A R E A C C E S S I N U S E R A N D D O M A I N M O D E S
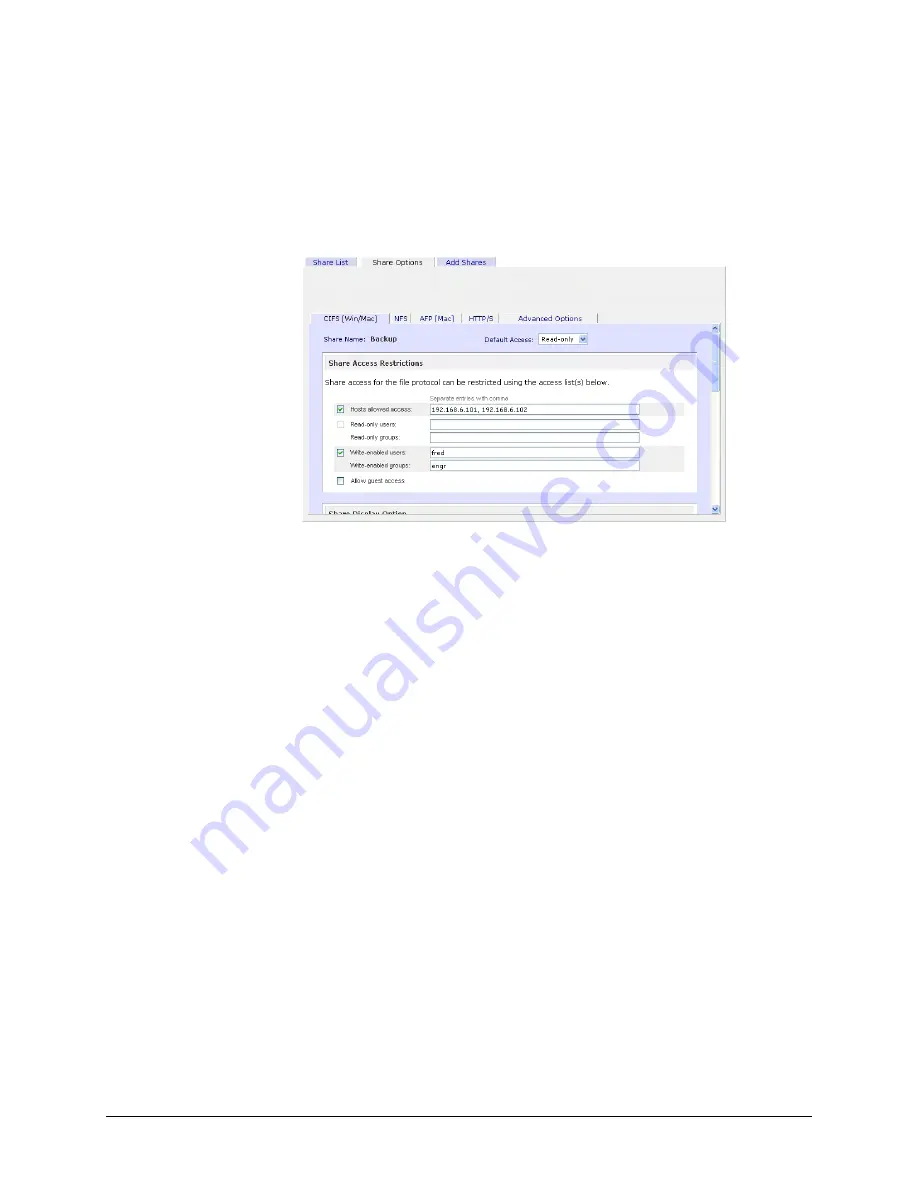
In User or Domain modes, the same tab would look as follows (note the addition of read-only and
write-enabled user and group fields):
S h a r e A c c e s s R e s t r i c t i o n
If you wish to limit share access to particular users and/or groups, you can enter their names in the
Read-only users
,
Read-only groups
,
Write-enabled users
, and
Write-enabled group
fields.
The names must be valid accounts, either on the ReadyNAS or on the domain controller.
For instance, if you wish to allow read-only access to all and read/write access only user
fred
and
group
engr
, you would set the following:
Default: Read-only
Write-enabled users: fred
Write-enabled groups: engr
If you wish to limit the above access only to hosts
192.168.2.101
and
192.168.2.102
, set the
following:
Default: Read-only
Hosts allowed access: 192.168.2.101, 192.168.2.102
Write-enabled users: fred
Write-enabled groups: engr
If you wish to specify some users and groups for read-only access and some for read/write access,
and disallow all other users and groups, enter the following:
Default: Disabled
Hosts allowed access: 192.168.2.101, 192.168.2.102
Read-only users: mary, joe
Read-only groups: marketing, finance
Write-enabled users: fred
Write-enabled groups: engr
46
Page 46


