


In either case, you can add up to five shares at a time. Once you finish adding the shares, you can
refer to Chapter 2 for instructions on how to access them from different client interfaces.
Managing Shares
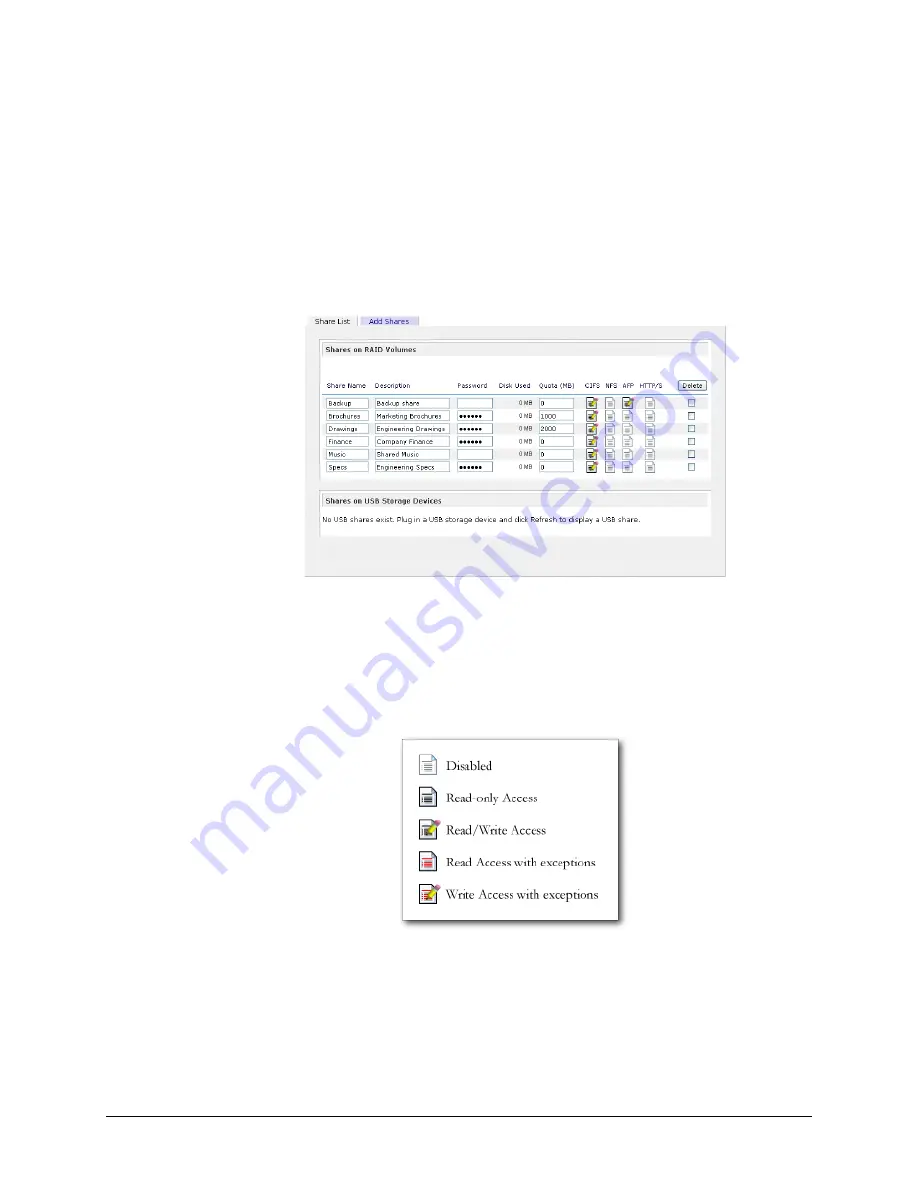
Once you have added shares, you may want to manually fine-tune share access in the
Share List
tab. This tab has two looks, one for
Share
security mode and one for
User and Domain
mode.
They’re both similar except for the password and disk quota prompts which only appear in Share
mode.
If you want to delete a share, click on the checkbox to the far right of the share listing and click
Delete
. You have the option of deleting up to five shares at a time.
The columns to the left of the Delete checkbox represent the services that are currently enabled, and
the access icons in those columns summarize the access rights to the share for each of the services.
You can move the mouse pointer over the access icons to get a quick glimpse of the access settings.
The settings represent:
Disabled
– Access to this share is disabled.
Read-only Access
– Access to this share is read-only.
Read/Write Access
– Access to this share is read/write.
44
Page 44


