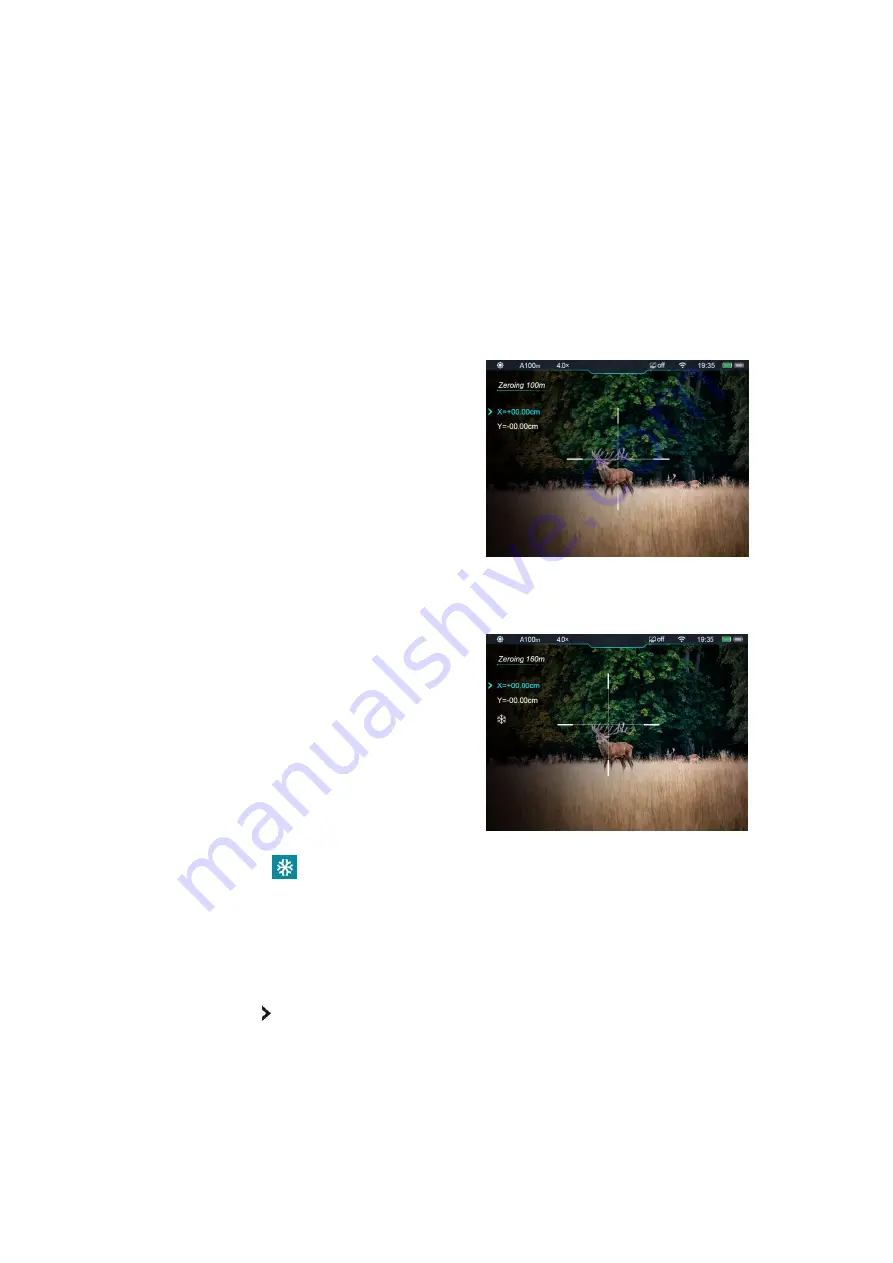
Press and hold the rotary encoder (7) to enter the advanced menu screen, select the
zeroing option, and press the rotary encoder (7) to enter the submenu of the zeroing
function;
According to the selected target distance, select or add the new zeroing distance (refer to
"
Zeroing-Zeroing Distance-Set Zeroing Distance
" in the advanced menu
);
When the zeroing distance is set up, turn the encoder (7) to select the zeroing function,
and press the encoder (7) to go to the zeroing screen (refer to "
Zeroing-Zeroing
Distance-Zeroing Screen
" in the advanced
menu). The coordinate positions of the
reticle (X axis and Y axis) are displayed in
the upper left corner of the display;
Shoot at the target;
Observe the position of the actual point of
impact, and assume that the red mark × in the figure on the right is the position of the
point of impact (This mark is only for illustration. It should actually be a bullet hole);
If the point of impact and the aiming point
(the center point of the reticle) do not match
with each other, keep the aiming position
still, and meanwhile, press and hold the P
button (6) and the camera button (3) to
freeze the picture, and then a snow-like
freezing icon
appears on the left of the display;
Turn the rotary encoder (7) to move the reticle, rotate clockwise to move the cursor left or
down, and rotate anticlockwise to move the cursor right or up;
Press the rotary encoder (7) to switch between the X axis and Y axis, and the position of
the cursor
indicates the currently selected item, with the icon turns blue;
After moving the reticle, a little white dot appears on the display, indicating the position
of the reticle before moving;
After moving the reticle position to the actual point of impact, press and hold the rotary


