Manual Index Everest-D
Index Braille Printer Company
Page 27
Version 4.32
6.5.2
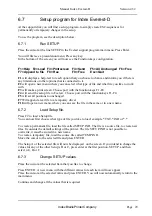
Create a multiple Braille sign.
Place the cursor on the position where you want to create a multiple cell. Press INSERT and the
cursor will move to the position to edit the Braille cell on the created multiple cell. The editing of
a multiple sign works the same as the editing of a normal Braille cell. It is possible to create a
multiple cell with up to 15 Braille cells. The way to create it is to repeat the INSERT command
the number of times you have multiple cells.
6.5.3
Edit a multiple cell.
Editing a Braille cell in multiple Braille works in a similar way as editing a normal cell. The only
difference is that it is not possible to change the control prefix. For a multiple cell the keys F3, F4,
F5, have no function.
6.5.4
Edit a prefix.
In all Braille tables the prefix for figures, capital prefix and prefix for many capital figures is
placed above the normal Braille table on position 256,257,258. This prefix can be edited as all
normal Braille cells.
6.5.5
Edit information screen.
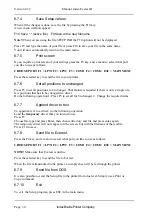
To ensure a good quality Braille table, it is important to know the background and the creator of
the Braille table. On the information screen, you can always see what Braille table it is, and the
source table that has been used.
When you edit OWN ONE or OWN TWO it is possible to add the following information to the
information screen (F9). Approved by: organization, name (editor) and date and four lines for
comments. Select 1-7 to edit the line that you have selected.
When INDEX BPC is implementing a user defined Braille table into the printer program and the
setup disc, it is a demand from us that the table must be approved by an authorized person in the
organization.
6.7.6
Save the Braille table.
The edit Braille table will automatically be saved on disk when ending the program. For sending
OWN ONE/OWN TWO to Everest, select 3 at the main menu and choose LPT1/LPT2/Com1 or
Com2.
You need to have the printer connected and on line to send the Braille table to the printer.
6.5.7
Status printout.
This option displays the same information on the PC screen, as the help key do in Braille.
Connect Everest to the Com1 port.
Press the HELP key on EVEREST and you will see the status on the screen and it will even be
automatically saved as an ascii-file with the name STATUS.EVP in the BRLED disc/directory.
Note!
If the program runs on floppy-disc, there can be problem to receive the complete file, then
it requires more time to store the information on disc. We recommend to run the program from a
hard disc.


