30
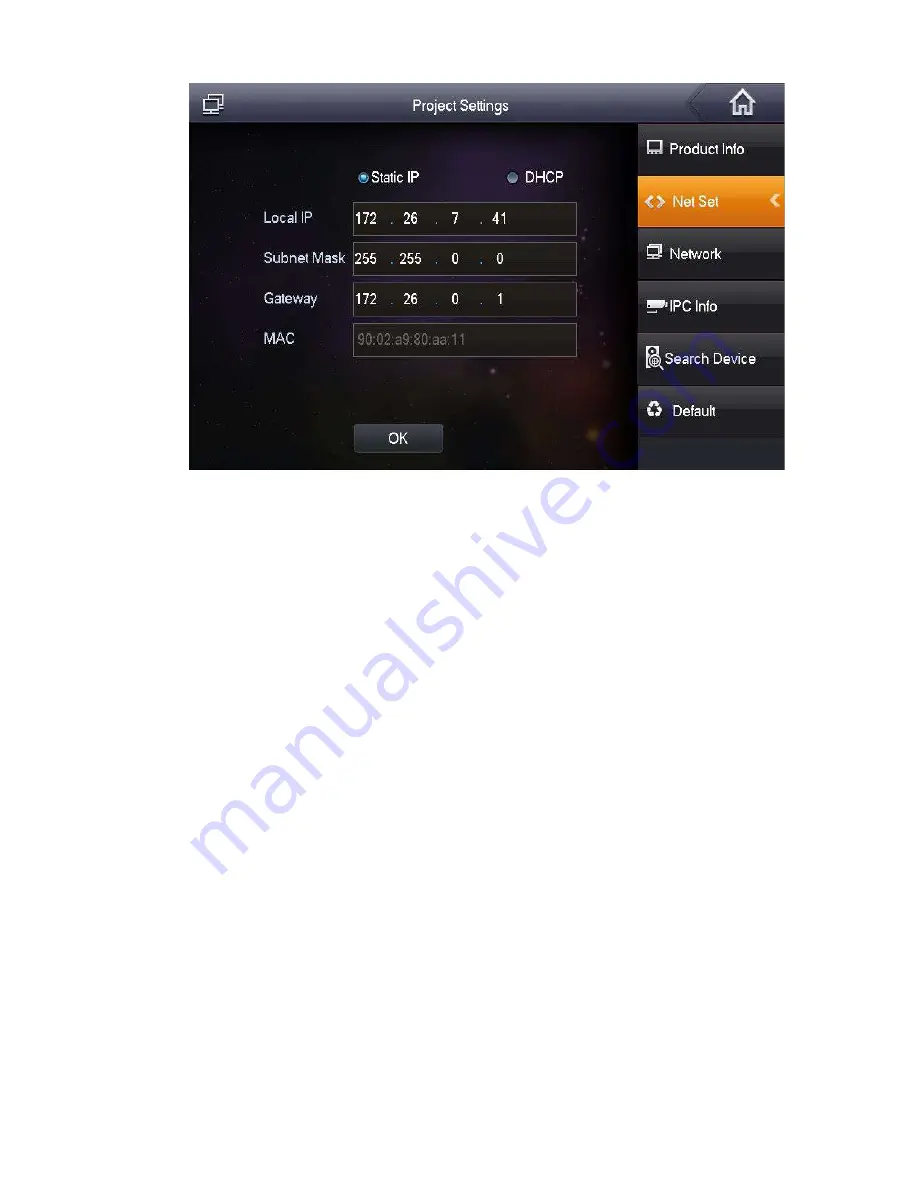
The system displays “Net Set” interface, as shown in Figure 5-10.
Step 4
Figure 5-10
Set according to actual network access mode.
Static IP
1.
Select “Static IP”.
2.
Enter “Local IP”, “Subnet Mask” and “Gateway”.
Step 5
DHCP
Select “DHCP” to obtain IP address automatically.
Click [OK] to save the settings.
5.1.2.3 Product Info
Set VUH “Room No.”, type and “Master IP”.
Step 1
Step 2
Step 3
Select “System Config >Project Settings”.
The system pops up “Password” prompt box.
Enter the password set during initialization, and click [OK].
Press [Product Info].
The system displays “Product Info” interface, as shown in Figure 5-11.
Summary of Contents for vupro
Page 1: ...Video Intercom User Manual Villa V1 0 1...
Page 15: ...5 Figure 2 4 2 2 VUO6000CM VUO6100C 2 2 1 Front Panel Figure 2 5...
Page 20: ...10 Figure 2 12 Figure 2 13...
Page 22: ...12 Figure 2 16...
Page 26: ...16 Figure 3 5...
Page 31: ...21 Step 4 Figure 4 4 Fix the bare device onto sheet metal bracket with M3 6 screws Figure 4 5...
Page 33: ...23 Figure 4 7...
Page 51: ...41 Figure 5 25...


