Firmware Upgrade
December 3, 2008
H A R R I S C O R P O R A TI O N
| I P A 68 0 0 + A S I O N I P V I D E O G A T EW A Y
Release 1.2.0 | Page 20
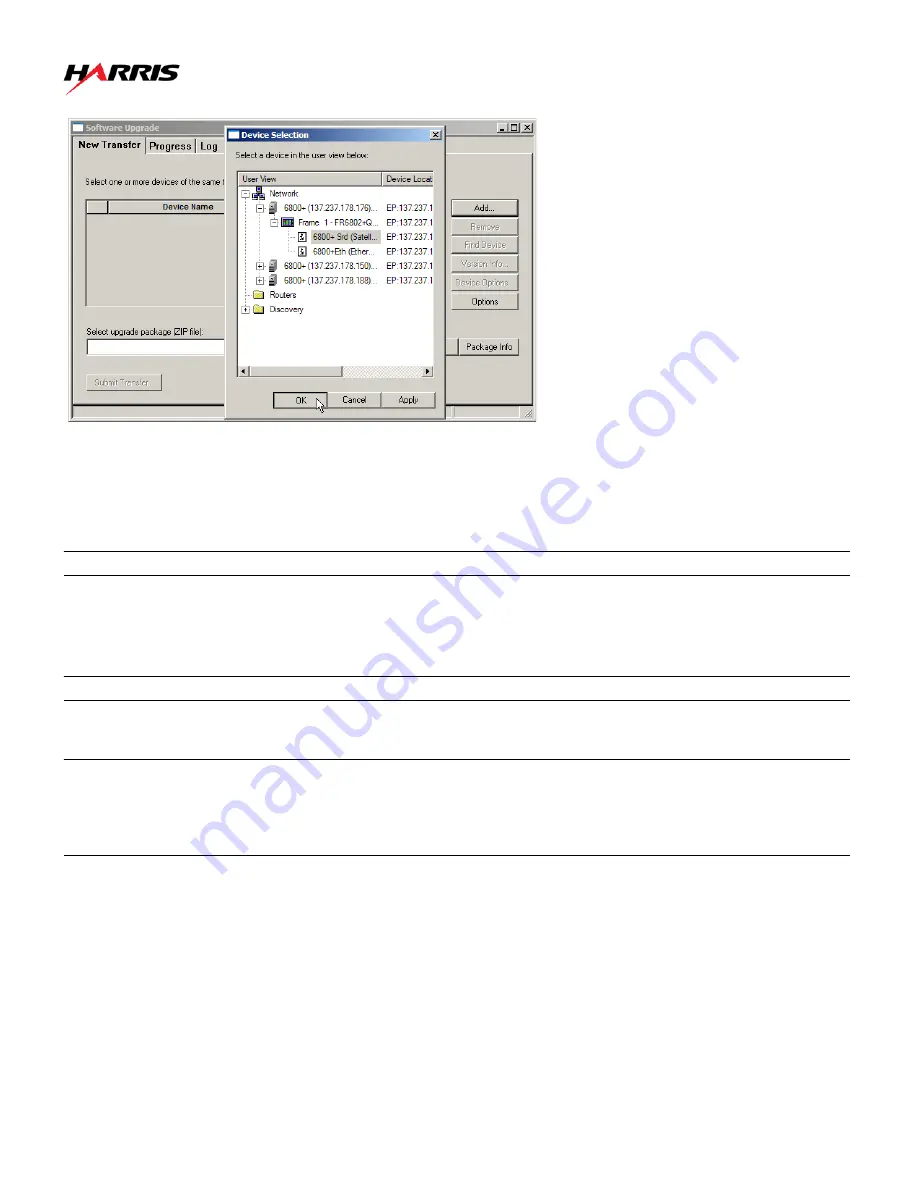
Figure 4-2 Device Selection Dialog
4
In the
Device Selection
dialog…
• Expand the tree as needed to reveal the target device.
• Highlight the target device.
• Click
OK
to close the
Add Device
dialog box.
Note:
All items in a frame have the same IP address. Only one device from each IP address can be added.
5
In the
Software Upgrade
dialog, click the
Browse...
button to open a standard
Windows File Selection
dialog.
6
In the
Windows File Selection
dialog…
• Select the software upgrade package (ZIP file) on either a local or a network drive.
• Click the
Open
button to close the File Selection dialog and to populate the full path name to the upgrade zip package.
Note:
The extraction process on the ZIP file is handled as part of the upgrade process. There is no need to manually extract these files.
7
Press
Submit Transfer...
button. A dialog box opens, requesting confirmation to proceed with the file transfer request…
8
Click
Yes
confirm the file transfer and to begin the upgrade process.
Note:
1
If multiple devices are selected, then multiple transfer tasks (one per device) begin.
2
At this point, the
Software Upgrade
window may be closed and the PC used for other tasks. Closing the
Software Upgrade
window does not affect any transfer processes that may be running in the background. However, if you try to log off or exit the CCS
software while a transfer is underway, a notification window will alert you that processes are still active and will ask if you want to
terminate these processes.
9
See the next section
“How to Monitor a Software Upgrade” on page 21
for details on how to track upgrade progress and how to confirm
when the upgrade process has completed.


