34
-
Execute Clear All Data in SYSTEM>Information>Record and choose ‘OK’ on the popup dialogue box. Please note that all
normal recorded video data are deleted from database.
-
Press Factory Reset Switch on the back panel. Please note that the entire menu setup is also defaulted.
4.2.5 Exit
Please click (
) SYSTEM>Exit and choose ‘OK’ on the popup dialogue box to exit from the setting.
CAUTION
ANY CHANGES MADE IN SETUP ARE APPLIED AFTER EXIT.
4.2.6 Shutdown
Shutdown is a function to help user safely turn the DVR off. Please use the proper shut down procedure to avoid damaging
to our DVR system. Do not remove the power during shut down.
CAUTION
DO NOT TURN DVR OFF WITHOUT USING THE PROPER SHUT DOWN PROCEDURE. OTHERWISE, IT MAY CAUSE DAMAGE TO
DVR. ALWAYS REMOVE THE POWER AFTER SHUT DOWN.
Click (
) SYSTEM>Shutdown and then choose ‘OK’ on the dialogue box to confirm.
When user select Shutdown menu, the OSD menu on the screen disappears.
Reboot the DVR after Shutdown. Turn off the DVR and wait for 5 seconds before restart.
4.3 DISPLAY
Please click (
) DISPLAY and the following screen will appear.
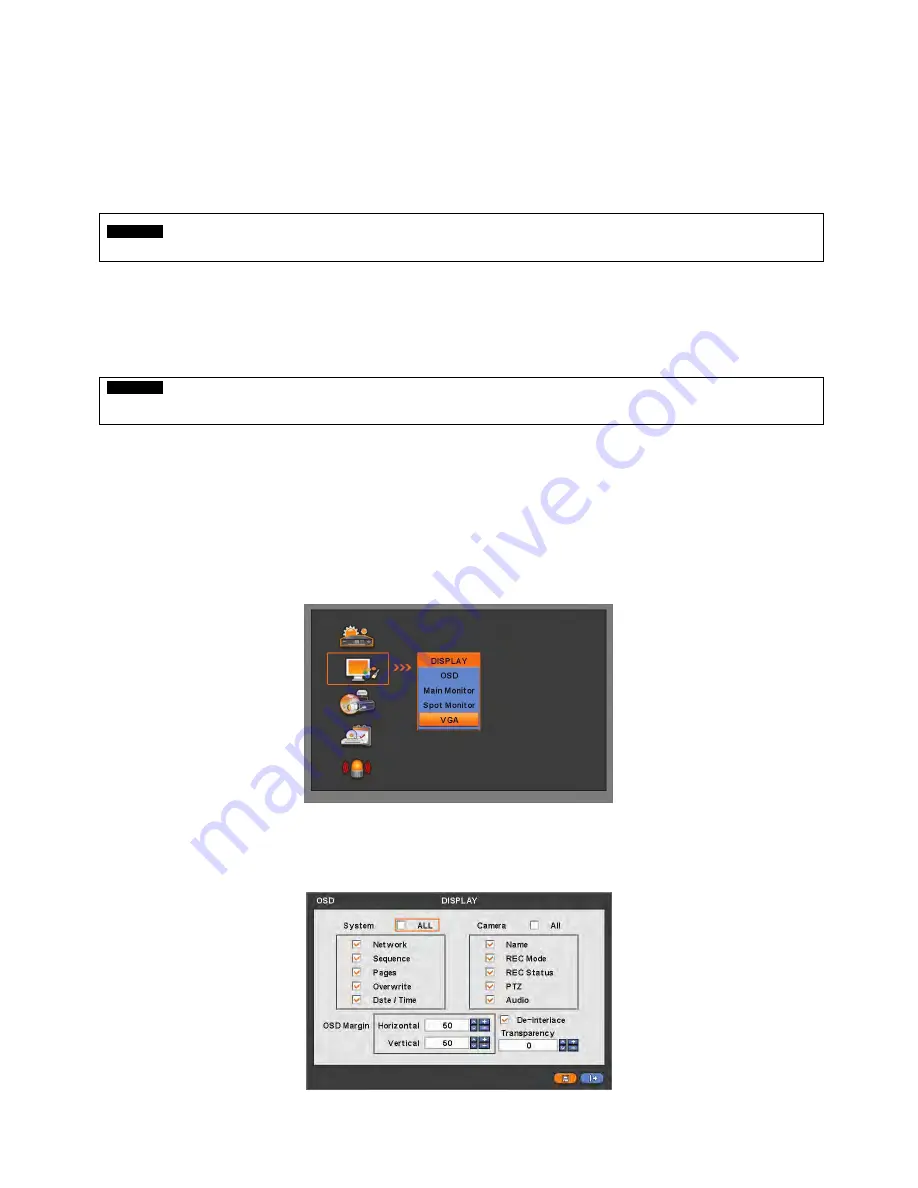
4.3.1 OSD
Please click (
) DISPLAY>OSD and the following screen will appear.
The OSD menu will allow user to configure full features (i.e., on/off every letter and icon) displayed on the screen.
Letters and icons are divided under System and Camera categories. If click (
) ‘All’, all items are on/off at once.


