9.
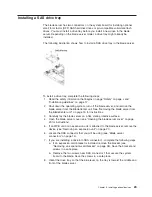
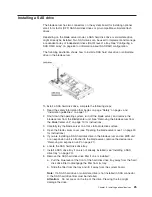
Put
the
hard
disk
drive
or
solid-state
drive
into
the
drive
tray
and
push
it
into
the
SAS
connector,
until
the
drive
moves
past
the
SAS
drive
release
lever.
If
you
have
other
devices
to
install
or
remove,
do
so
now;
otherwise,
go
to
“Completing
the
installation”
on
page
46.
Removing
a
SAS
drive
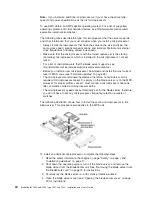
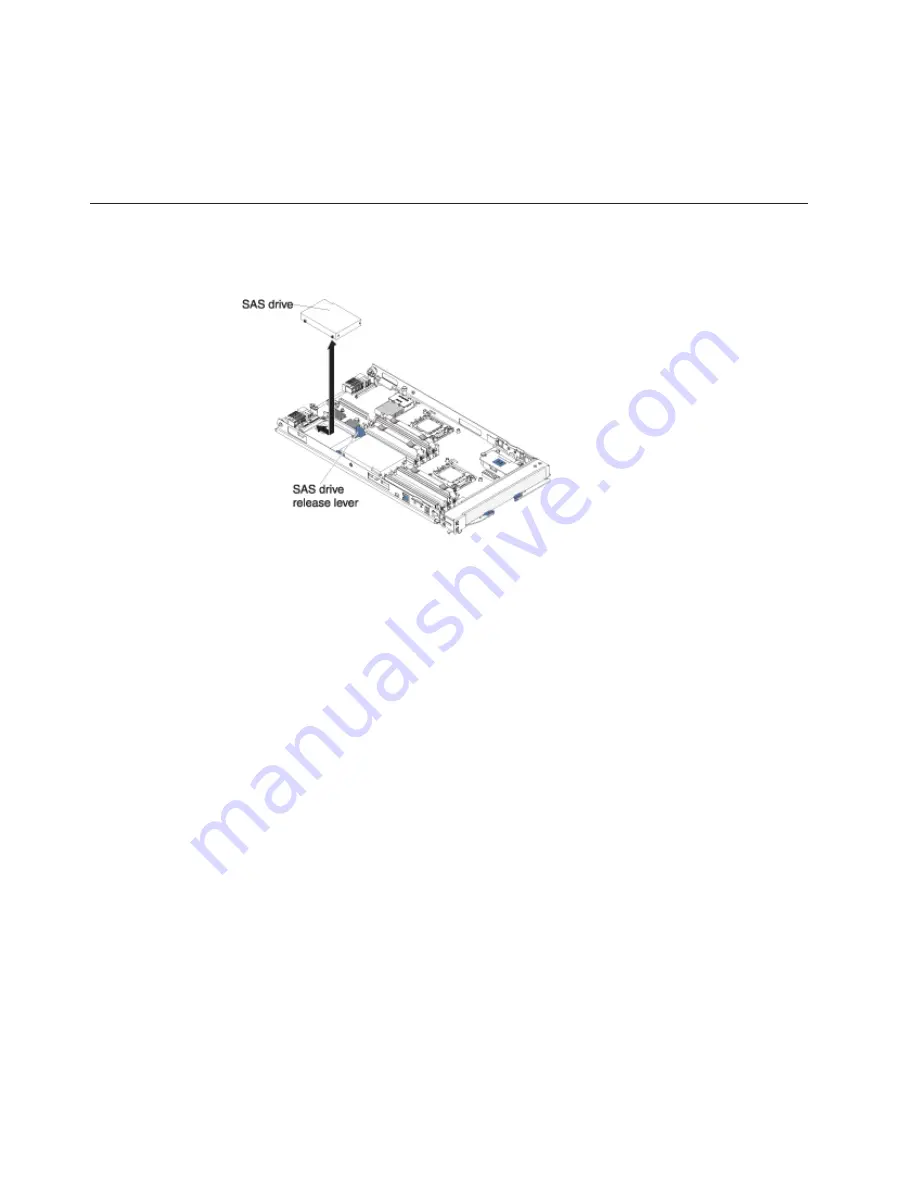
The
following
illustration
shows
how
to
remove
a
SAS
drive
from
the
blade
server.
1.
Read
the
safety
information
beginning
on
page
“Safety”
on
page
v
and
“Installation
guidelines”
on
page
17.
2.
Open
the
blade
server
cover
(see
“Opening
the
blade
server
cover”
on
page
20
for
instructions).
3.
If
you
are
removing
a
SAS
drive
from
the
blade
server
and
an
MPE
unit
or
an
expansion
unit
is
connected
to
the
blade
server,
remove
the
device
(see
“Removing
an
expansion
unit”
on
page
21).
4.
Press
the
release
lever
away
from
the
SAS
drive;
then,
remove
the
SAS
drive.
Note:
Press
the
release
lever
away
from
the
SAS
drive;
then,
remove
the
SAS
drive.
Attention:
If
two
SAS
drives
are
installed,
you
might
damage
one
or
both
of
the
drives
if
you
use
too
much
force
to
remove
the
drive.
v
If
you
are
removing
a
SAS
drive
from
SAS
connector
0,
slide
the
drive
backward
to
disengage
it
from
the
connector
at
the
front
of
the
drive
tray;
then,
lift
the
drive
out
of
the
drive
tray.
v
If
you
are
removing
a
SAS
drive
from
SAS
connector
1,
slide
the
drive
forward
to
disengage
it
from
the
connector
at
the
rear
of
the
drive
tray
then,
lift
the
drive
out
of
the
drive
tray.
26
BladeCenter
LS22
and
LS42
Type
7901
and
7902:
Installation
and
User’s
Guide
Summary of Contents for LS42 - BladeCenter - 7902
Page 1: ......
Page 2: ......
Page 3: ...BladeCenter LS22 and LS42 Type 7901 and 7902 Installation and User s Guide...
Page 26: ...16 BladeCenter LS22 and LS42 Type 7901 and 7902 Installation and User s Guide...
Page 88: ...78 BladeCenter LS22 and LS42 Type 7901 and 7902 Installation and User s Guide...
Page 89: ......
Page 90: ...Part Number 44R5057 Printed in USA 1P P N 44R5057...

