23
Rev.
150505
i3-TRNG-CAMS-
68R_78R
.indd
8. Double-click ACT icon on the Desktop to launch the application.
The application window will appear displaying a list of active network cameras
9. Next, select one or more desired Ax68/78 cameras in the ACT software.
To select a single camera, click on the camera line in the list.
To select multiple consecutive cameras, click while holding the
Shift
key.
To select non-consecurtive cameras, click while holding the
Ctrl
key.
To select all cameras, select
All Cameras
under Global Camera Settings.
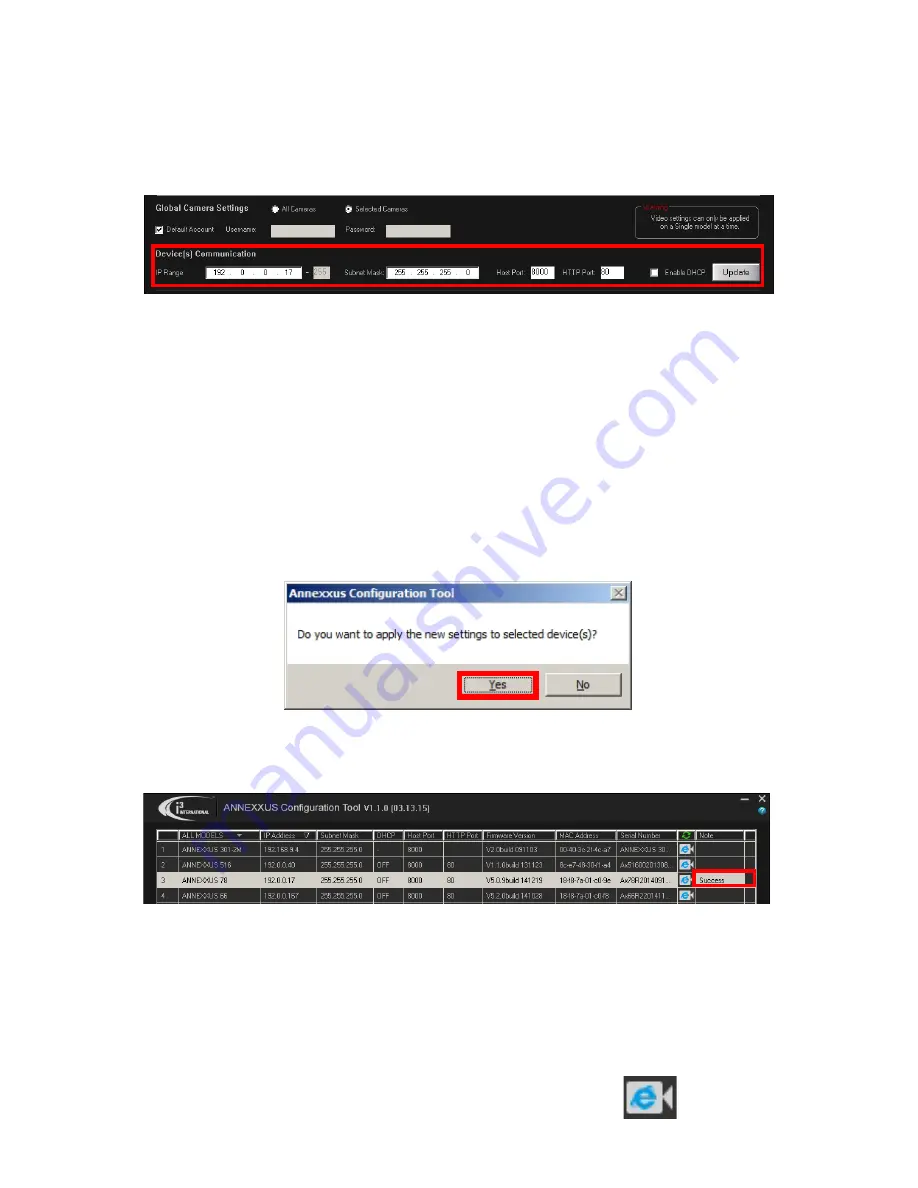
10. Enter the new IP address and Subnet Mask of the camera in the
Device
Communication
area. The new camera IP address must match the original
range of your SRX-Pro LAN or NIC1 card. E.g. If your original SRX-Pro Server’s
IP address was 192.168.1.122, change your Annexxus camera’s IP address to
192.168.1.XXX.
Remember: Annexxus Cameras cannot share an IP address, each camera
requires its own unique IP address.
See Annexxus Configuration Tool User Manual for detailed instructions on
changing IP Address on multiple cameras at the same time.
11. Make sure the
Default account
checkbox is checked and click
Update
.
12. Click
Yes
in the confirmation message window.
13. Wait a few moments as the new IP address is being applied to your Annexxus
camera. Wait for the
Success
message to be displayed in the camera list.
14. Repeat Steps 1-13 for all detected Annexxus cameras in the Annexxus
Configuration Tool.
15. Now that the new IP address has been successfully assigned to your camera,
make sure you can connect to it through the Internet Explorer:
16. Select the camera in list and click the corresponding IE icon.


