10
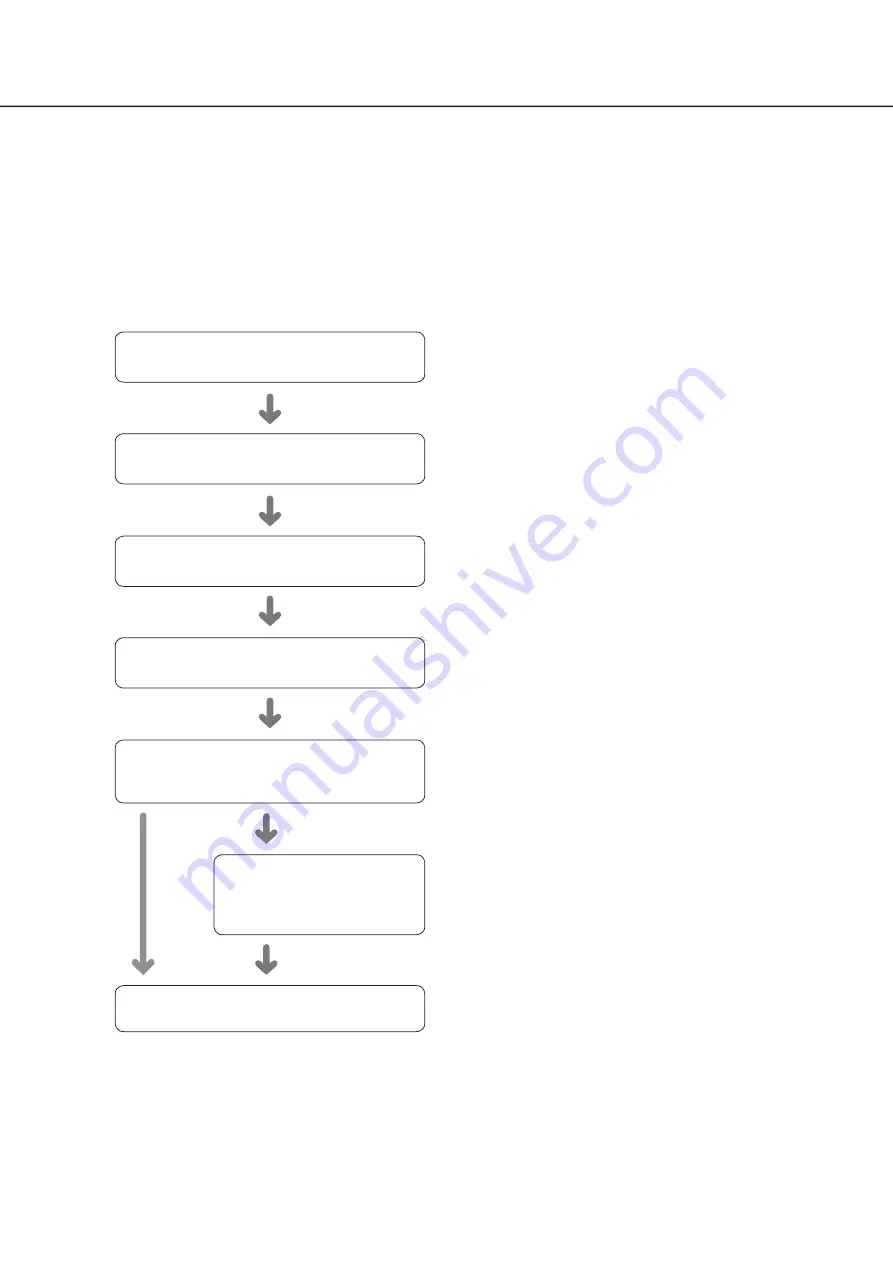
1
Installation of the hard disk drive
☞
2
Installation
☞
3
Connections
☞
4
Turn on the devices
☞
Install the hard disk drives in the recorder.
Install this product on a rack or wall.
When using it flat without installation, go to Step
3
.
Connect a camera, mouse, PC, monitor, alarm input/output
cable, AC adapter, etc. to this product.
Turn on the power to launch in the following order.
①
Turn on the power of the monitor.
②
Turn on the power of the recorder.
③
Register as an administrator.
• The main monitor is required for the settings.
* The settings can be done through a web browser on the PC (Refer to the Operating
Instructions (PDF)).
• The PC is required for reading the Important Information, the Operating Instructions
(PDF) and camera settings.
Operations flow
5
Configure the minimum settings
[Easy Start]
☞
Refer to the attached "Easy Start Guide"
Setup
☞
Operating Instructions
(PDF file on our support
website)
Start operations
Register the date & time and cameras on "Easy Start".
When it is not necessary to change other default settings, it
is possible to start operations.
If necessary, perform the detailed settings for each function.
When the camera image is displayed on the main monitor or
the web browser on the PC and can be recorded or played,
the recorder is ready for operation.


