New R-Line Refuse Collection Micro
User Manual RCM10
34
4.3
Waste compacting
Preliminary remarks
In these phases, the operator should be standing outside the driving cab.
Perform the operations described in paragraph 4.1.1 "Engaging the PTO", as
far as step (2), then proceed as follows.
ATTENTION
Check the parking brake is activated.
Step
Action
1
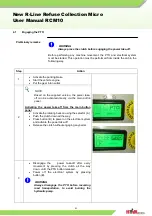
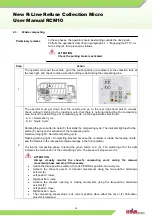
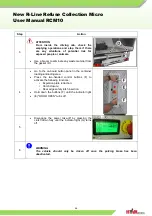
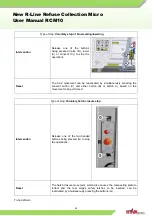
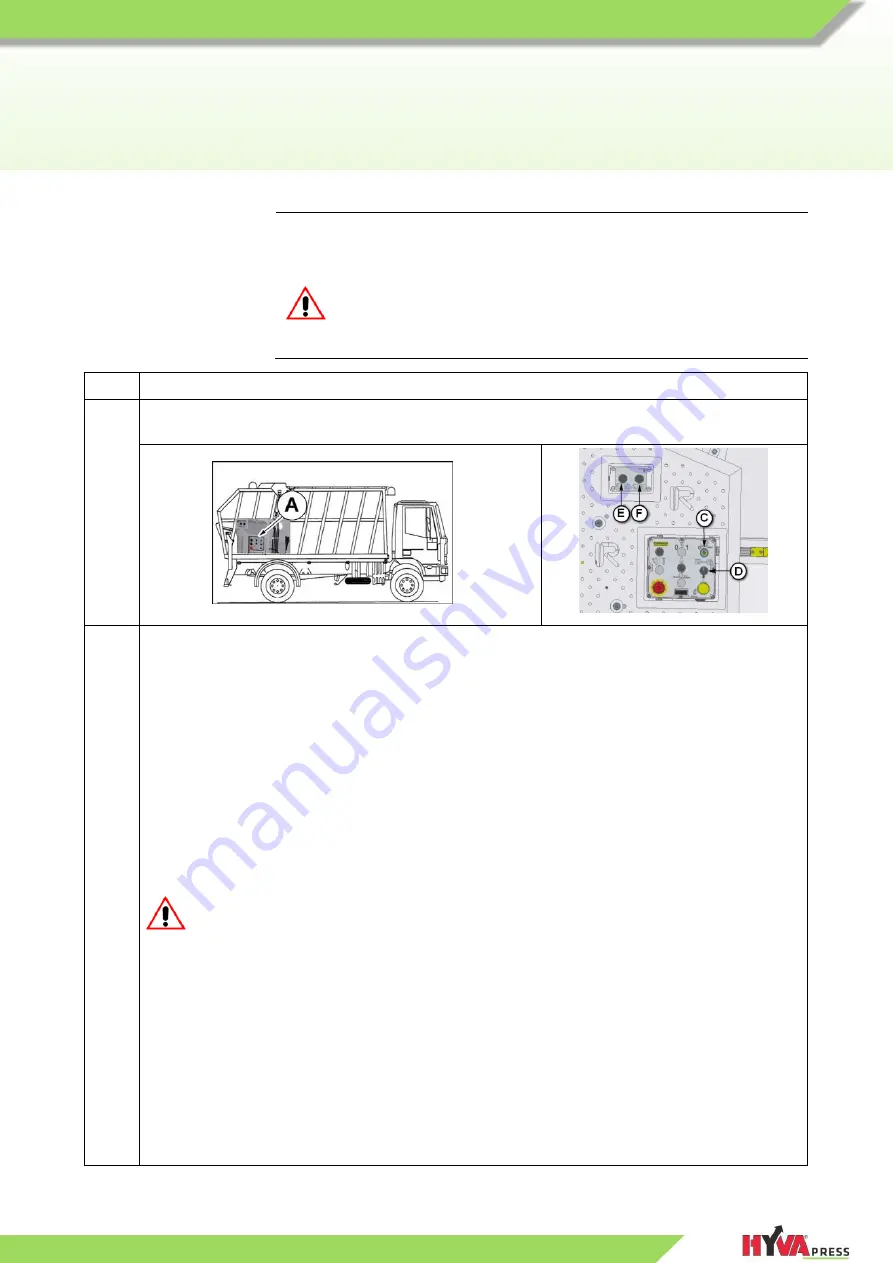
The operator must exit the vehicle, go to the control position (A) adjacent to the collection tank at
the rear-right, and check to make sure that nothing is obstructing the compacting area.
2
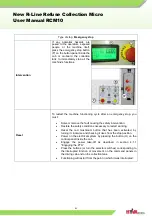
The operator must get down from the vehicle and go to the rear right -hand part to visually
check, without climbing to the loading mouth, that there is nothing obstructing the compacting
area. Select the desired type of compacting cycle via the appropriate selector (D):
· A.C. = Automatic Cycle
· S.C.= Single Cycle
Rotating the green button to Auto (C) that starts the compacting cycle. The indicator light next to the
button (C) warns on the activation of the compacting cycle.
Fixed warning light = Normal compacting cycle
Flashing warning light = Compacting blocked because the container is inside the loading mouth
and the blade is in the idle position (blade carriage in the front position)
To stop the compacting phase, rotating the green button to 0 (C). The switching off of the light
indicates the termination of the compacting cycle. The blade will stop where it is.
ATTENTION
Always visually monitor the shovel's compacting work during the manual
movement phase and stop it if necessary.
Switch the three-position selector (C) to its CENTRAL position: manual cycle.
Activate the shovel's ascent or descent movements using the two-position hold-down
selector (E):
Left position: lower;
Right position: raise.
Activate the shovel's opening or closing movements using the two-position hold-down
selector (F):
Left position: close;
Right position: open.
The compacting shovel stops in its current position when either the (E) or (F) hold-down
selector is released.

