User manual R3
DLCP
- 17 -
4.5
Control panel
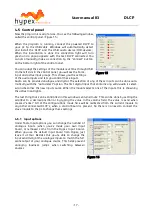
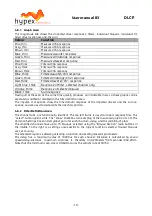
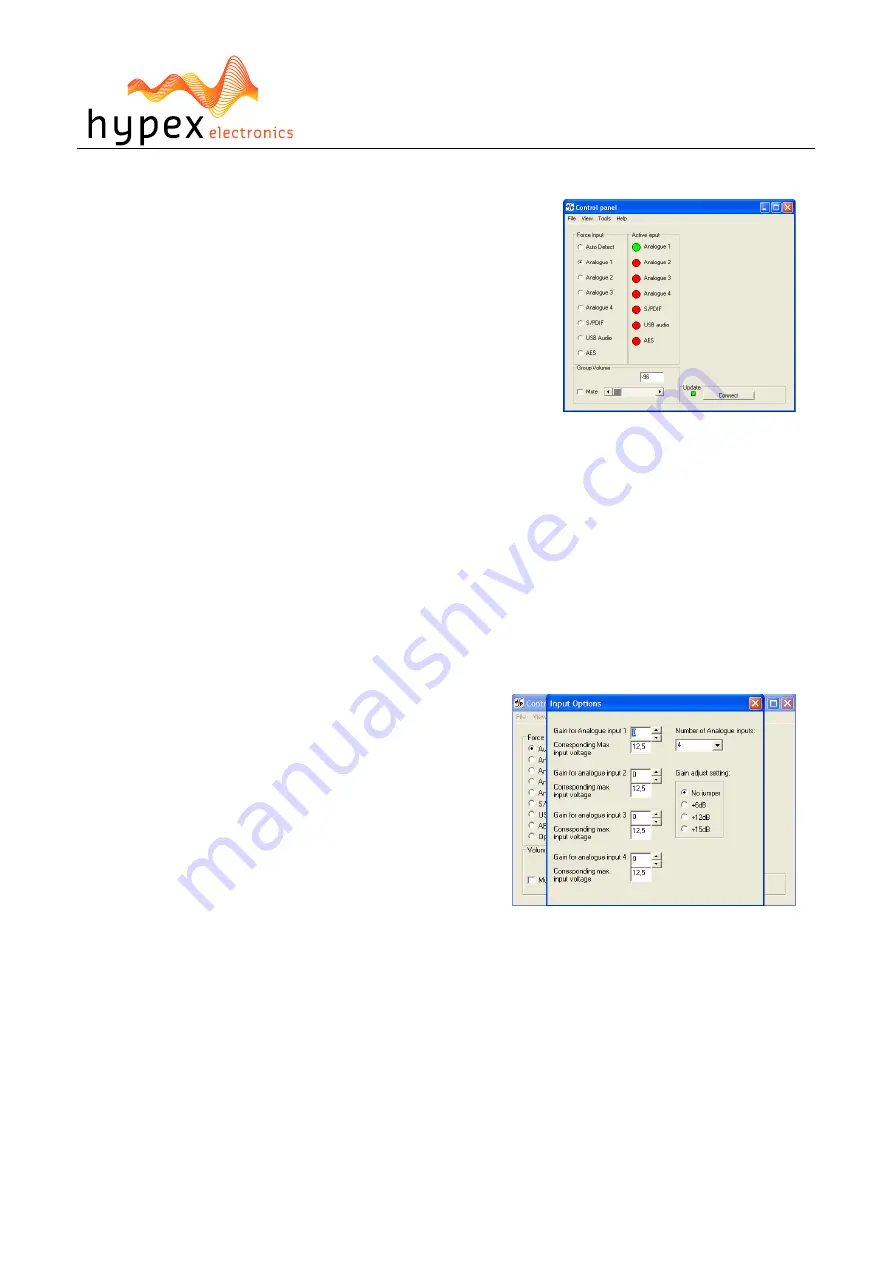
Now the program is ready for use. You see the following window,
called the control panel. (Figure 15)
When the program is running, connect the powered DLCP to
your pc by the USB cable. Windows will automatically detect
and install the DLCP and the USB audio device (HID-devices).
When the installation is done the connection light will turn
green and a popup appears with the text: DLCP connected. You
can also manually make a connection by the “connect” button,
on the bottom right of the control panel.
You can adapt the settings of the module real time through USB.
On the left side in the control panel, you will see the Force-
input and active input groups. This shows you the settings
of the audio inputs and lets you control these inputs.
Audio can be provided analogue and digital. The selection of any of these inputs can be done auto-
matically with the “auto detect” option. The first digital input that contains any valid audio is select-
ed and becomes the new input source. When the module selects one of the inputs this is shown by
the active input lights.
The last thing that can be controlled in this window is volume/mute. This can be done by setting the
scrollbar to a desired position or by typing the value in the volume field, the value is send when
pressed “enter”. All of the configurations made here will be redirected from the current module to
any other connected DLCP’s, when a control board is present. So there is no need to connect the
slave module to the pc to change these settings.
4.5.1
Input options
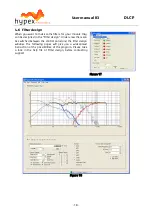
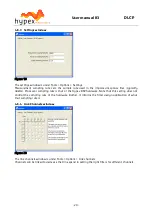
Under Tools-Input options you can change the number of
analogue inputs (when you’ve made your own input
board, or removed some from the Hypex Input board).
When you use the default input board from Hypex, just
leave it at four. Besides this you’re able to change the
input sensitivity of the analogue inputs to match the full-
scale output of your analogue source. This helps prevent
annoying loudness jumps when switching between
sources.
Figure 15
Figure 16

