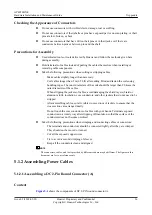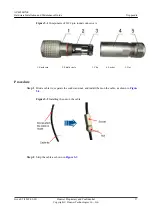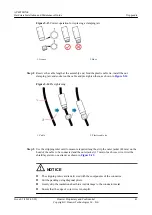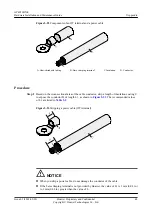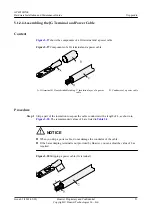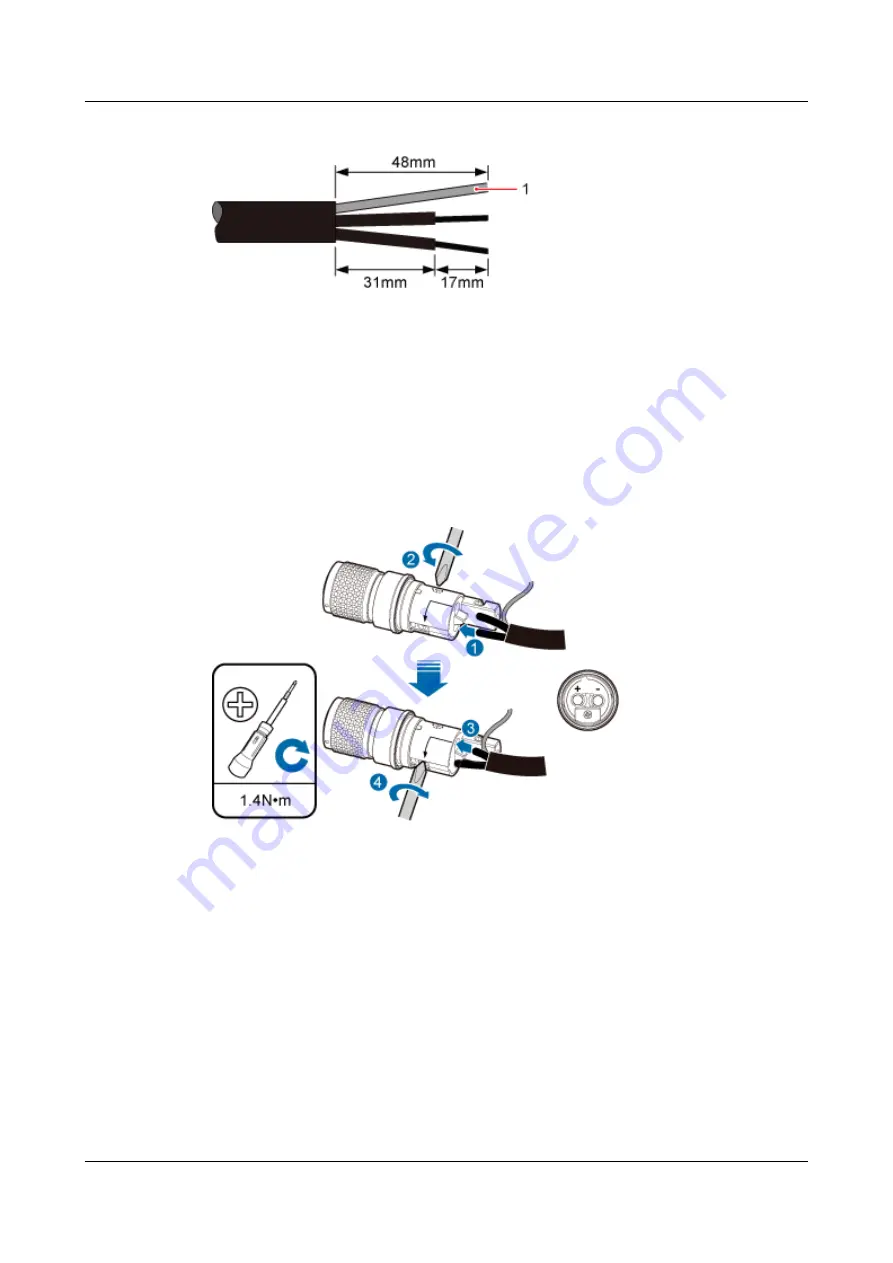
Figure 5-15
Stripping the cable
1. Shield layer
Step 4
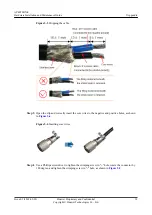
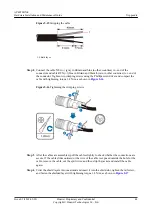
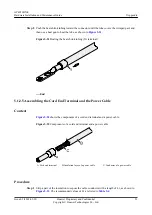
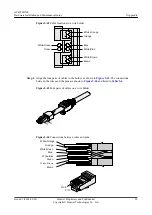
Connect the cable NEG (-) (gray in Britain and blue in other countries) to
-
end of the
connector and cable RTN (+) (blue in Britain and black/brown in other countries) to
+
end of
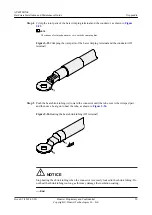
the connector. Tighten two crimping screws using the Phillips screwdriver and compact the
cable with tightening torque 1.4 N•m, as shown in
Figure 5-16
Tightening the crimping screws
Step 5
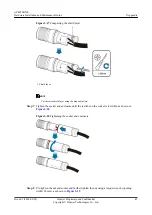
After the cables are assembled, pull the cables slightly to check whether the connections are
secure. If the cable slides outward or the wire of the cable is exposed outside the hole for the
cable, remove the cable, cut the split wires, and then strip the jacket and install the cable
again.
Step 6
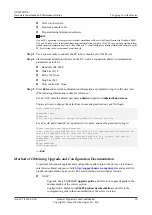
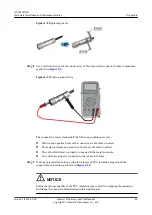
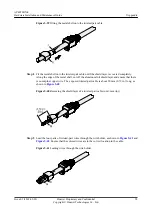
Twist the shield layers into one strand and insert it into the shield slot, tighten the tail screw,
and fasten the shielded layer with tightening torque 1.4 N•m, as shown in
AP4050DN-E
Hardware Installation and Maintenance Guide
5 Appendix
Issue 05 (2018-02-02)
Huawei Proprietary and Confidential
Copyright © Huawei Technologies Co., Ltd.
44

