11
not flat and has excessive metal build-up, then the trigger was
held too long, the wire feed rate is too fast, or the power is not
high enough. The correct power setting, welding time and wire
feed rate will produce spot welds which will lie flat and require
little, if any, finishing.
HOLE FILLING
Before you begin to fill holes, you must look at the reason why
there are holes. If the holes are due to burn-through, you
should remember that this was caused by too much heat input.
Therefore, if you are welding a seam and burn-through occurs,
continue welding and finish the seam. This will give the burn-
through area time to cool and make it easier to fill the hole. It
is not recommended to try to fill holes over 1/2" diameter; weld
in a new piece of metal.
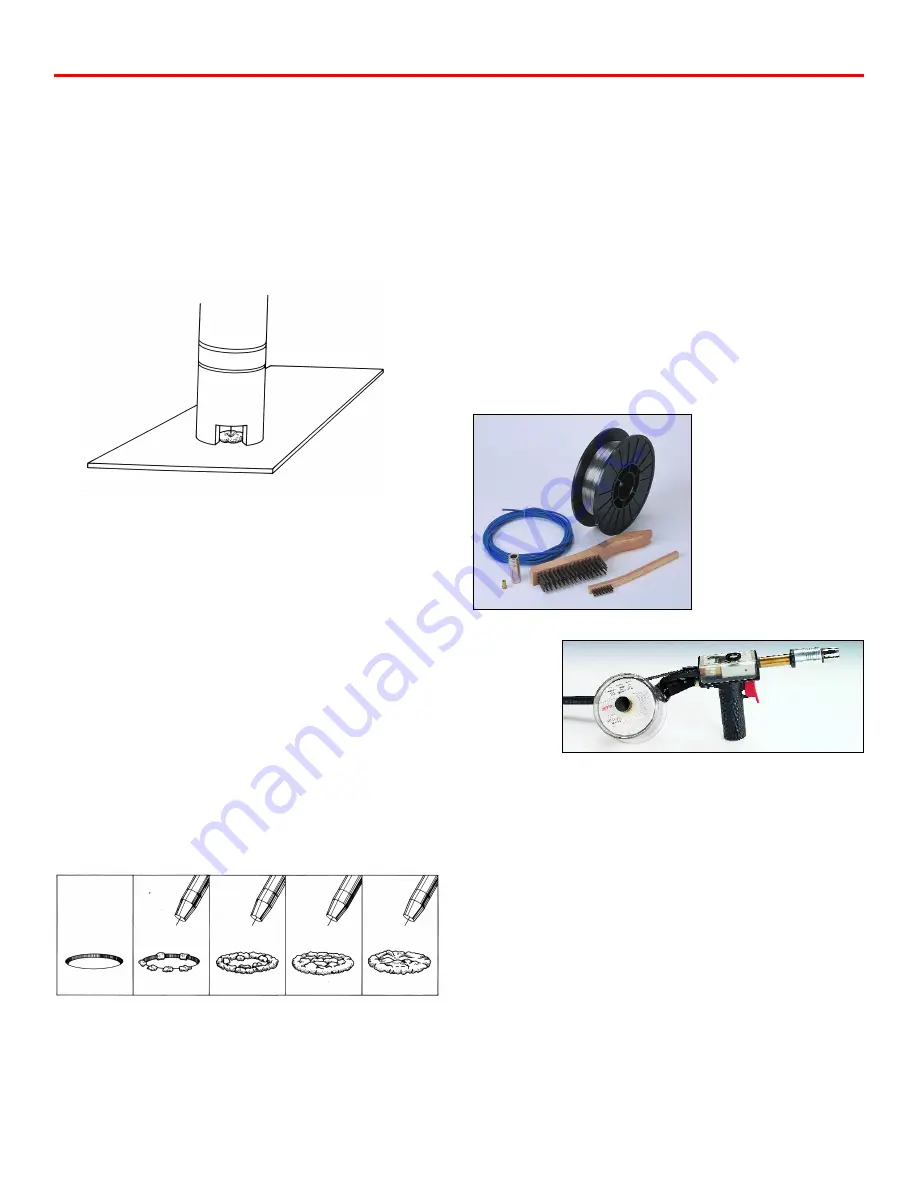
First, the perimeter of the hole must be built up. This is
accomplished by randomly placing puddles of metal (similar to
manual stitch welding) around the perimeter of the hole (See
Fig. 8B). Once this has been completed, again place puddles
around the area which has just been welded (See Fig. 8C).
Continue to lay in the puddles until the hole is filled (See Fig.
8D & 8E). The voltage setting for hole filling is one to two
settings below seam welding.
WELDING ALUMINUM
It is possible to MIG aluminum with your MTS 160. Depending
on your application, you may be able to get away with pushing
aluminum welding wire through a 10ft welding gun, using our
aluminum welding kit #40011, or it may be necessary to use the
RSG250 spool gun. Pushing aluminum welding wire though a
10-ft. welding gun is not a foolproof situation. There is the
possibility the welding wire will bird’s nest while you are
welding. You have to determine when it makes economic sense
to invest in a spool gun. We generally recommend using the
standard 10’ welding gun if you would only be doing 1 small
repair job per month. If you are welding more aluminum than
that, you might want to consider the spool gun.
The RSG250 spool gun will allow you to get 25’ away from
your MTS 160. If you will be repairing aluminum trailers, the
spool gun is probably a must, as it will allow you to weld on the
trailer while leaving the MTS 160 and tank on the ground.
Since the spool gun has the wire and the drive roller right in
the handle, the wire is only getting pushed 6" and it is highly
unlikely that this gun would birdnest using any welding wire.
Due to the difference between aluminum and steel, a few simple
changes must be made prior to welding aluminum.
Shield Gas
– The shield gas required for welding aluminum
is 100% Argon. Due to the rate at which aluminum oxidizes,
the flow rate of the Argon gas must be increased to 25 cubic
feet per hour (cfh) or more. The cylindrical gas nozzle (Part
#15104) is recommended for use on the standard welding gun
when welding aluminum. The larger opening area of the nozzle
will result in a wider dispersion of the shield gas, insuring
adequate gas coverage of the weldment.
Figure 7
“Spot Welding”
Figure 8 “Hole Filling”
A
B
C
D
E
40011
Aluminum Kit
RSG 250
Summary of Contents for MTS 160
Page 21: ...21 Wiring Diagram MTS 160...
Page 22: ...Parts Breakdown MTS 160 22...


