48
LP-171 Rev. 3.3.15
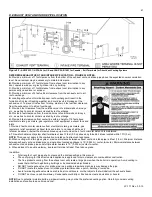
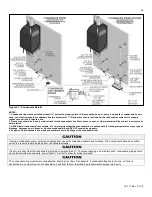
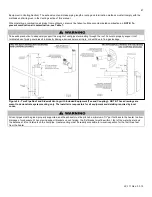
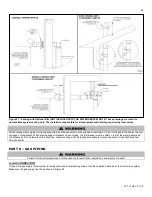
Figure 27
– Venting with Optional Kits (NOT INCLUDED WITH THE WATER HEATER)
NOTE:
These drawings are meant to
demonstrate system venting only. The installer is responsible for all equipment and detailing required by local codes.
All vent pipes must be glued, properly supported, and the exhaust must be pitched a minimum of ¼” per foot back to the heater to allow
drainage of condensate. When placing support brackets on vent piping, the first bracket must be within 1 foot of the water heater and
the balance at 4 foot intervals on the vent pipe. Heater venting must be readily accessible for visual inspection for the first three feet
from the heater.
PART 8 – GAS PIPING
Failure to follow all precautions in this section could result in fire, explosion, severe injury or death!
A. GAS CONNECTION
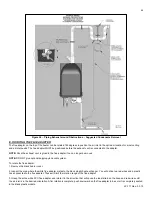
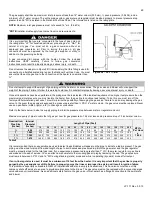
Connect the gas supply to the system following state and local plumbing codes. Use the supplied ball valve at the inlet to the system.
Make sure the gas supply line fits as shown in Figure 28.
Summary of Contents for MC120
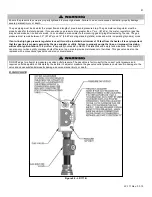
Page 21: ...21 LP 171 Rev 3 3 15 M PIPING DETAILS Figure 5 ...
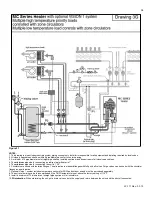
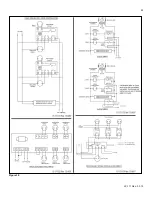
Page 53: ...53 LP 171 Rev 3 3 15 Figure 30 ...
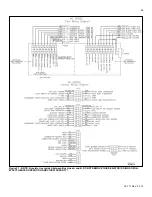
Page 71: ...71 LP 171 Rev 3 3 15 Figure 34 ...
Page 72: ...72 LP 171 Rev 3 3 15 Figure 35 ...
Page 73: ...73 LP 171 Rev 3 3 15 Figure 36 ...
Page 76: ...76 LP 171 Rev 3 3 15 ...
Page 77: ...77 LP 171 Rev 3 3 15 ...

