Diagnostic tools and Setup Utilities 88
○
Create a label for the ROMPAQ diskette
○
Network ROM Flashing Capabilities
4.
Reboot DL180 Server with one of the above bootable devices and make sure the BIOS setting
allows booting from the USB disk.
5.
Follow the on-screen instructions to finish the flashing of the BIOS.
Clear CMOS
You may need to clear the Setup configuration values (CMOS) if the configuration has been
corrupted, or if incorrect settings made in the Setup Utility have caused error messages to be
unreadable.
To clear CMOS:
1.
Perform the Pre-Installation Procedure listed on page 26.
2.
If necessary, remove any accessory boards or cables that prevent access to the system
configuration switch.
3.
Locate the system configuration button (SW2) on the system board.
4.
Press the button. AC power must not be connected.
5.
Perform the Post-installation instructions listed on page 26.
6.
During POST, press
F10
to access the Setup Utility.
7.
Load setup defaults by pressing
F9
.
8.
Set time, date, and other system values.
9.
Press
F10
to close the Setup Utility.
NOTE:
Clearing CMOS restore all system configurations and password default settings.
Power-On Self-Test (POST)
Before you can use a server, all devices must be tested and initialized, and the operating system must
be bootstrapped to the memory. This is referred to as Power–On Self-Test or POST. POST is a series of
diagnostic tests that checks firmware and hardware components on the system to ensure that the
server is properly functioning. This diagnostic function automatically runs each time the server is
powered on.
These diagnostics, which reside in the BIOS ROM, isolate server-related logic failures and indicate the
board or component that you need to replace, as indicated by the error messages. Most server
hardware failures will be accurately isolated during POST. The number of tests displayed depends on
the configuration of the server.
During POST you can:
•
Press
ESC
to skip the HP logo and go to POST boot progress display system summary screen.
•
Press
F8
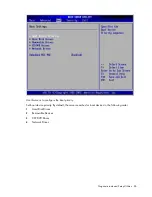
to display the Boot menu.
•
Press
F10
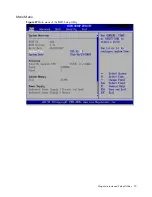
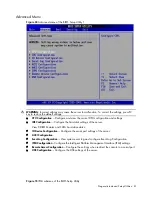
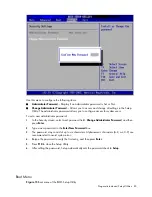
to access the Setup Utility.
•
Press
F12
to request a network boot (PXE).
Summary of Contents for ProLiant DL180 G
Page 12: ...Customer self repair 12 ...
Page 13: ...Customer self repair 13 ...
Page 14: ...Customer self repair 14 ...
Page 15: ...Customer self repair 15 ...
Page 19: ...Illustrated parts catalog 19 ...
Page 82: ...Diagnostic tools and Setup Utilities 82 ...
Page 84: ...Diagnostic tools and Setup Utilities 84 Figure 72 Security menu of the BIOS Setup Utility 2 ...

