Chapter 5: Sharing Images
50
Transferring Images to Your Computer
Using Your Camera as a USB Mass Storage Device to Transfer Images
Note:
Software for Macintosh computers was
included with your camera. If you wish, you can
use this software to transfer images to your
Macintosh, instead of the procedures here. This
software also provides tools for editing images
and using them in creative projects.
Once your camera is set to USB Disk Drive mode, you can transfer images to either your Macintosh
OS 8.6 or better computer, or your Windows Me, 98, or 2000 computer, by doing the following:
1
Power
on
the computer if you haven’t already.
2
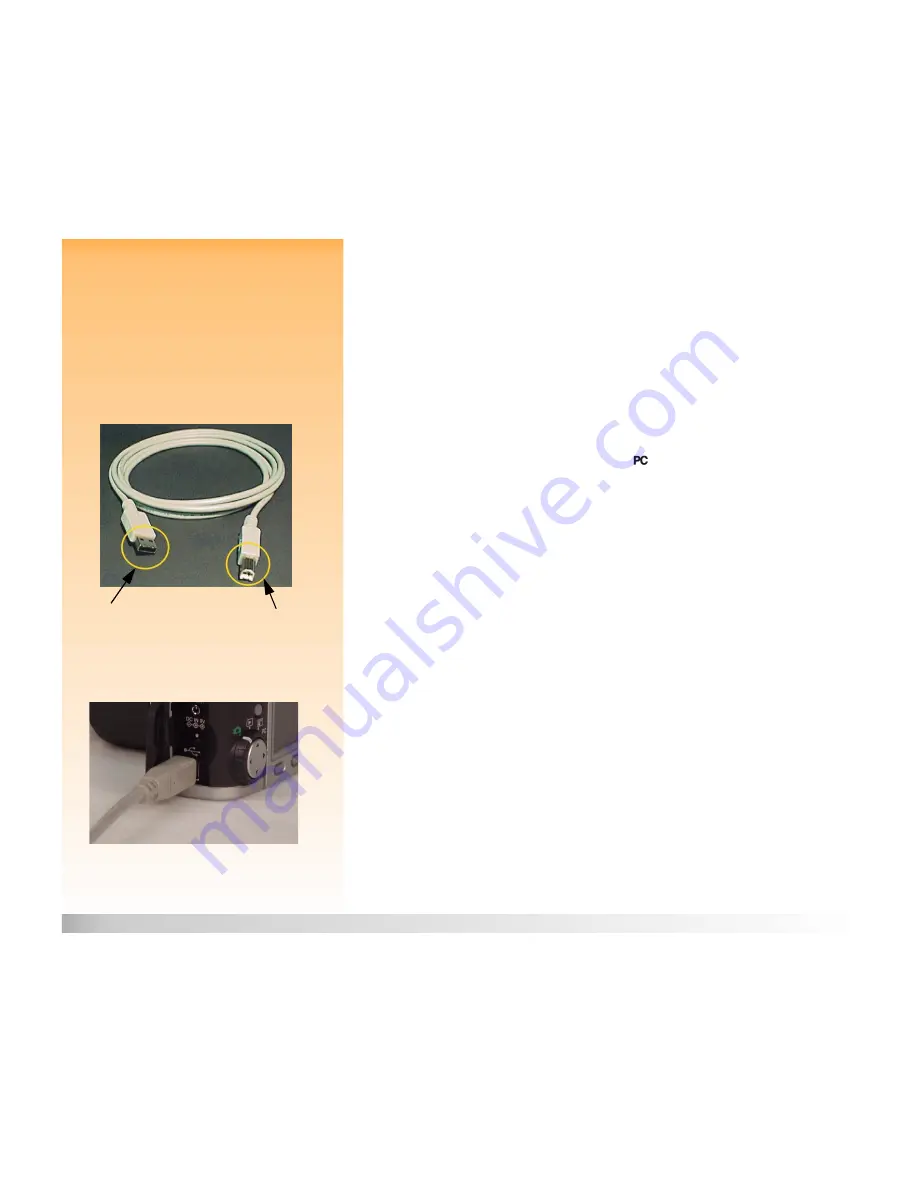
Connect the
rectangular
end of the USB cable to the USB port on either your Macintosh
computer’s keyboard, or to the front or back exterior of your Windows computer (see Figure 33).
Figure 33:
Connectors on the USB Cable
3
Open the door to the camera’s connector compartment and connect the
square
end of the USB
cable to the bottom (USB) connector (see Figure 34).
4
Set the camera mode dial to PC Connect mode
.
5
Power
on
the camera. If you have a:
Macintosh computer, an icon labeled “Untitled” appears on your computer’s desktop. The
camera is now viewed by your Macintosh as a new disk drive.
A Windows computer, the camera appears as a removable disk drive connected to your
computer under the My Computer folder in Windows Explorer.
If you have a Windows 98 or 2000 computer and have installed the HP Photo Imaging
Software on your computer (by following the instructions in the
HP 912 Digital Camera
Quick Start Guide),
then the main window of the HP Photo Imaging Software also opens. You
can either follow step 6 below to copy the image files from the camera to the computer in
Windows Explorer, or you can use the HP Photo Imaging Software to transfer the images.
Figure 34:
Connecting the USB Cable to the Camera
6
Copy the image files from the disk drive (the camera) to the hard drive of your computer as you
would from a floppy disk.
To Macintosh Keyboard
To Camera
or Windows Computer


