Installing the Honeywell IP Utility | 29
800-13338 - A - 03/2013
Connecting to a Camera
When you open the IP Utility, the devices on the network—including devices on other
subnets—are automatically discovered and listed in the
Discovery
pane on the left of the
screen. After the initial discovery, the list of discovered devices auto-refreshes at regular
intervals. You can manually refresh the list by clicking
(Refresh).
To connect to a network camera
•
In the
Discovery
pane, double-click the camera you want to connect to. Alternatively, click
the camera name, and then click
(Connect).
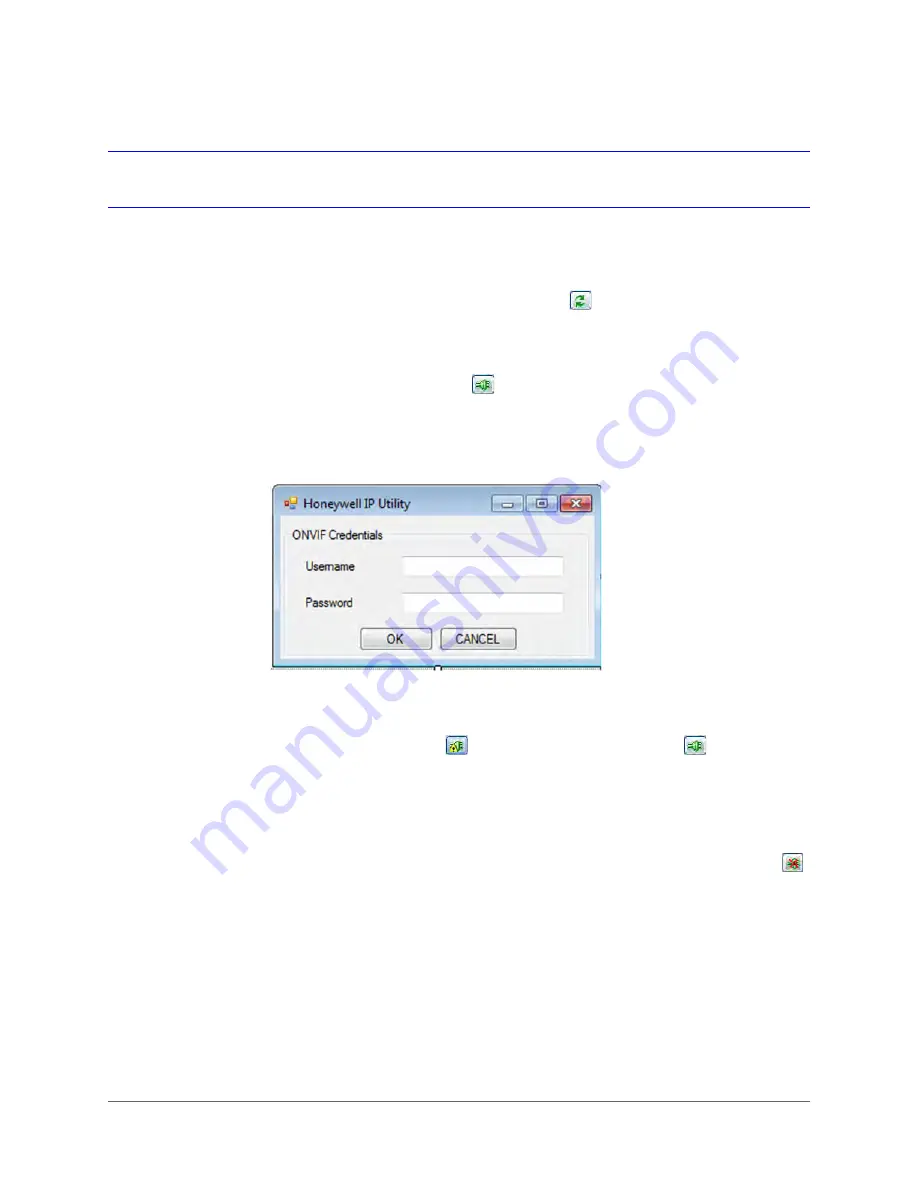
When connecting to an ONVIF camera for the first time, the ONVIF credentials login
window appears (see
). Enter your user name and password, and then click
OK
.
Figure 3-3
ONVIF Login Window
If the connection is successful, the message
Connected to Device [
device name
]
appears in the status bar at the bottom of the screen.
If the connection is unsuccessful,
(Limited/No Connectivity) replaces
(Connect) in the
Discovery
pane. Check the the network settings of the camera and the workstation. The camera
must be on the same subnet as the workstation. Contact your network administrator for
additional support.
To disconnect from a network camera
•
In the
Discovery
pane, click the camera you want to disconnect from, and then click
(Disconnect).
If you try to disconnect without saving configuration details, you will be prompted to save
your changes. Click
Yes
to save the changes and disconnect. Click
Cancel
to discard the
changes and disconnect.
Summary of Contents for HBD2FR1
Page 2: ......
Page 3: ...User Guide ...
Page 4: ...Revisions Issue Date Revisions A 03 2013 New document ...
Page 12: ...www honeywellvideo com 12 HBD2FR1 X User Guide ...
Page 14: ...www honeywellvideo com 14 HBD2FR1 X User Guide ...
Page 18: ...www honeywellvideo com 18 HBD2FR1 X User Guide ...
Page 34: ...www honeywellvideo com 34 HBD2FR1 X User Guide ...
Page 76: ...www honeywellvideo com 76 HBD2FR1 X User Guide ...
Page 80: ...www honeywellvideo com 80 HBD2FR1 X User Guide ...
Page 81: ......


