Directional Solenoid Valve Replacement 17
DIRECTIONAL SOLENOID VALVE
REMOVAL, CLEANING AND REPLACEMENT
WARNING: Disconnect Vehicle Battery
prior to performing this procedure to
avoid electrical shock or burns.
WARNING: Never disconnect any hy-
draulic line or fitting with the unit in
the raised position. Always lower the
unit and relieve pressure before removing
any lines or caps. Allow the system to cool
down before draining oil or handling system
components. Serious burns can result from
contact with hot oil.
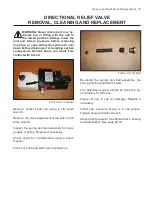
1
2
PHOTO NO. 1000322A
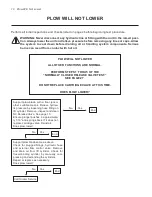
Disconnect the vehicle Negative battery termi-
nal wire (solid black). Remove motor terminal
nut and remove power lead (solid red or red-
striped). Disconnect electrical supply to sole-
noid coil Gray wire on one side and the tan wire
on the side).
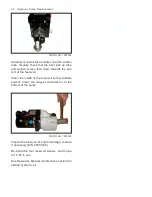
PHOTO NO. 1000301
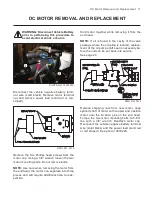
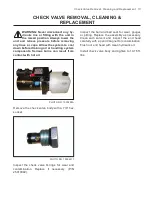
Remove coil nut with 3/4” wrench.
Mark or make note of the solenoid coil posi-
tion for reinstallation. Remove spacer and coil.
(Carefully pry off coil with a straight slot screw-
driver).
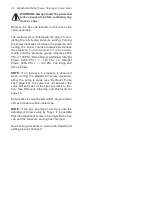
PHOTO NO. 1000296
PHOTO NO. 1000400A
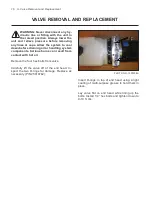
Check to see if plunger moves freely. Check cav-
ity for contamination with a pencil magnet. Flush
out with clean hydraulic oil.


