12 DC Motor Brush Removal and Replacement
DC MOTOR BRUSH REMOVAL AND REPLACEMENT
WARNING: Disconnect Vehicle Battery
prior to performing this procedure to
avoid electrical shock or burns.
1
2
PHOTO NO. 1000322A
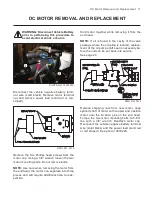
Disconnect the vehicle negative battery terminal
wire (solid black). Remove motor terminal nut and
remove power lead (solid red or red-striped).
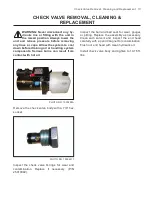
PHILLIPS HEAD SCREWS
MOTOR CAP
MOTOR
DWG NO. 3514
Remove the two Phillips head screws from the mo-
tor cap. Remove motor cap.
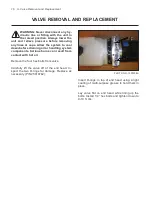
PHOTO NO. 3747
NOTE:
If your motor is equipped with two (2)
brushes with bare wires (Ground brushes) and
two (2) brushes with insulated wires (POS brush-
es), make sure that you note location of the two
types and replace them with like type brushes.
WARNING: Failure to replace Brushes
correctly will severely damage Motor
and may cause electrical fires. FAIL
-
URE TO HEED CAN RESULT IN SERIOUS IN-
JURY OR DEATH.
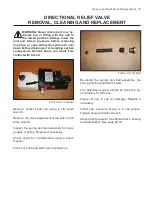
PHOTO NO. 1000326
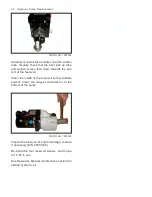
Remove screws from brush leads. Carefully pry
back the tension spring with a tool and remove
brush. Replace brush if it is 1/4” or less in length.
(P/N 25010337)
IMPORTANT: Brushes should be replaced as
a set. DO NOT replace one Brush only.
Clean the motor commutator with a spray elec-
trical contact cleaner before installing brushes.
To install new brushes reverse the procedure.

