59
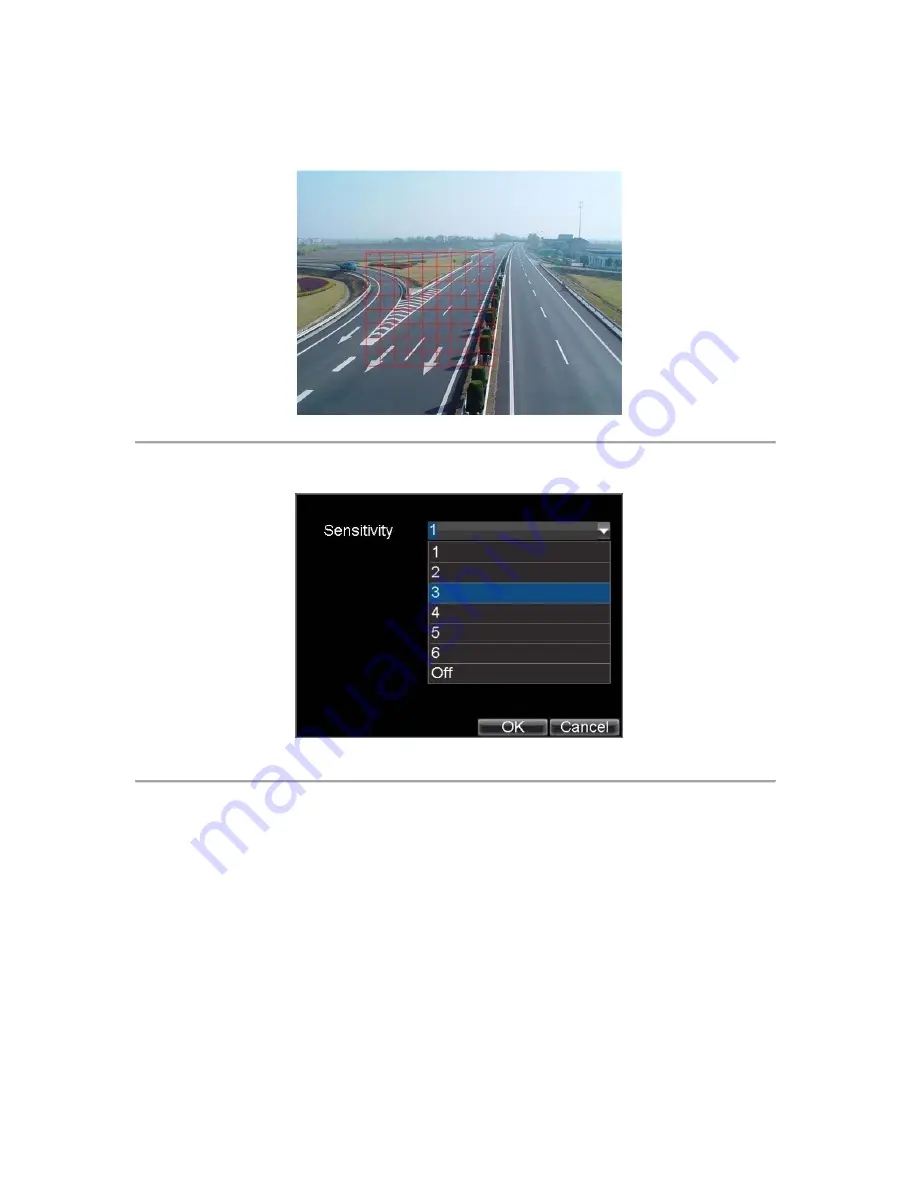
motion detection. The maximum area can be set to be full screen. You can left click mouse, hold and
drag it to mask the Motion Detection area. Using
EDIT
button and direction buttons can also help you
to select Motion Detection area.
Figure 3. Motion Detection Area
5.
Right click mouse or press the
MENU
button on the front panel to set the Motion Detection Sensitivity,
shown in Figure 4. Higher sensitivity value corresponds to higher sensitivity level.
Figure 4. Motion Sensitivity Settings
6.
Click
OK
to return to the
motion detection area settings
interface.
7.
Right click the mouse to select the
Exit
from the menu to return to the
Advanced Camera Settings
menu.
8.
Click the
Handle
button to enter the
Exception Handle
menu, shown in Figure5.
Summary of Contents for DS-8100-ST Series
Page 1: ...DS 8100 ST Series DVR USER MANUAL ...
Page 8: ...7 C H A P T E R 1 Introduction ...
Page 22: ...21 C H A P T E R 2 Getting Started ...
Page 29: ...28 C H A P T E R 3 Live Preview ...
Page 34: ...33 C H A P T E R 4 Record Settings ...
Page 43: ...42 C H A P T E R 5 Playback ...
Page 50: ...49 Figure 12 Digital Zoom in Playback Mode ...
Page 51: ...50 C H A P T E R 6 Backup ...
Page 58: ...57 C H A P T E R 7 Alarm Settings ...
Page 71: ...70 C H A P T E R 8 Network Settings ...
Page 79: ...78 C H A P T E R 9 PTZ Control ...
Page 85: ...84 C H A P T E R 1 0 Camera Management ...
Page 89: ...88 C H A P T E R 1 1 HDD Management ...
Page 98: ...97 C H A P T E R 1 2 ATM Settings ...
Page 107: ...106 C H A P T E R 1 3 DVR Management ...
Page 119: ...118 C H A P T E R 1 4 Appendix ...


