µPG 501
User Guide
21
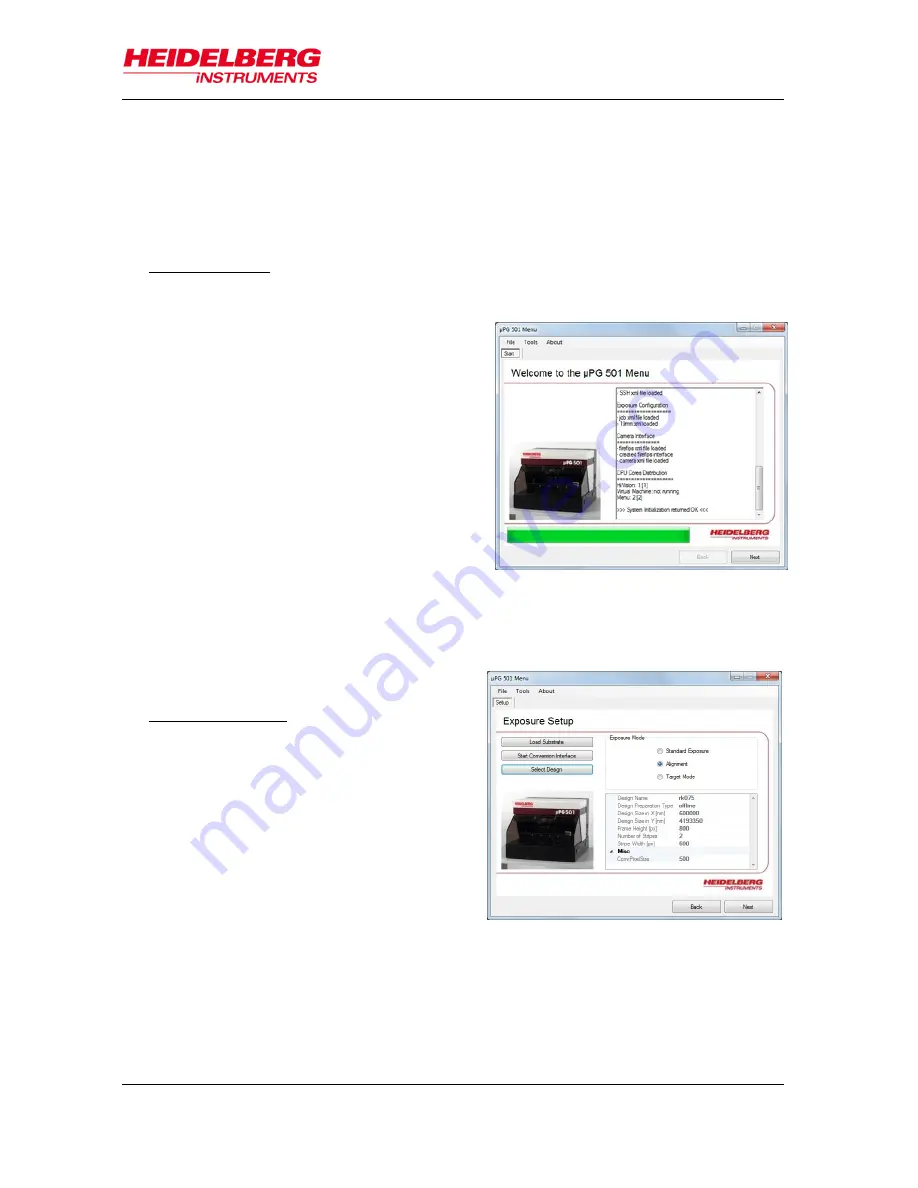
Figure 14: Startup panel
STEPS OF A TARGET MODE EXPOSURE
With target mode exposures, it is possible to expose boxes of arbitrary length and width
limited only by the camera field size directly on a substrate, without need of a design
and conversion. This can be used e.g., to create connections between structures, or to
interrupt them.
A Exposure Setup
1. Start the
µPG 501 Exposure Wizard
using the shortcut on the desktop.
The
Welcome Screen
opens, showing
the progress of the connection and
initialization sequence. This includes a
check of all hardware components. At
the same time, the
HIVison
window
opens.
Note:
Never close the HIVision window
while the exposure wizard is
running. Doing so will cause the
wizard to crash.
Once the startup sequence is finished
and no error has occurred, the wizard
automatically moves on to the next
panel. If it is necessary to view the messages created during startup, the first
screen can be reached anytime by clicking the
Back
button(s). If an error has
occurred, the wizard does not switch to the next tab so the error message(s) can
be viewed.
2. The
Exposure Setup
panel opens.
B Substrate Loading
1. Make sure the cover lid (1) is closed
(interlock lamp (10) off) and the
compressed air is present.
2. Click on the button
Load Substrate
. A
message box opens that guides
through the loading process. Click
OK
.
The write head is raised and the stage
moves to the loading position at the
front of the machine.
3. Wait until all movement has finished.
Open the cover lid. On the chuck, mount
the alignment pins (masks: three, wafers: two) in the appropriate positions for the
plate size to be used (see left part of Figure 5).
4. Switch off all light except safe light. Take a substrate out of its storage container.
Check substrate quality.
Figure 15: Exposure setup panel
Summary of Contents for mPG 501
Page 1: ...User Guide PG 501...
Page 4: ......
Page 40: ...PG 501 36 User Guide Notes...
Page 41: ...PG 501 User Guide 37 Notes...
Page 42: ...PG 501 38 User Guide Notes...


