48
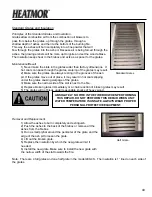
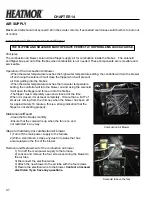
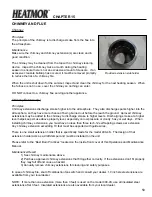
Removal and Replacement of the solenoid
1) Turn off the main power supply to the furnace.
2) Loosen and remove two self tapping screws securing the solenoid assembly to the air tube bracket.
3) Disconnect the electrical harness from the solenoid.
4) Attach the new solenoid to the air tube bracket by the same two self tapping screws from step 2
above.
5) Attach the new solenoid electrical harness.
Contact a licensed electrician if you have any
questions.
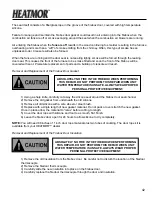
THE SOLENOID MUST OPERATE PERFECTLY OR PROBLEMS QUICKLY ARISE.
If the solenoid is unable to open and close the flipper freely, or remains partially open or partially closed, the
furnace will starve for air resulting in a smoldering fire instead of an intense fire. More smoke and creosote is
the result. If the solenoid is not operating correctly, it causes a snowball effect of problems.
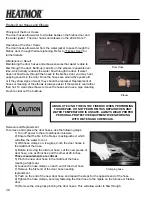
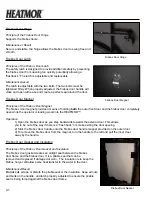
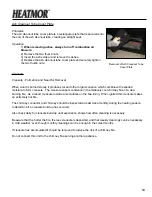
Primary/Secondary Air Motor
Principles
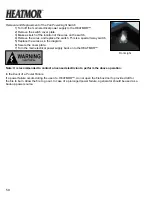
The primary/secondary air motor regulates the air flow to under the grates
(primary air) or to the top of the airbox (secondary air). The motor obtains its
signal from the controller and moves accordingly. This is an advanced way of
controlling the fire for the lowest emissions and highest efficiency.
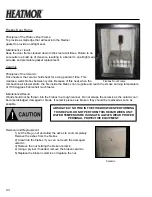
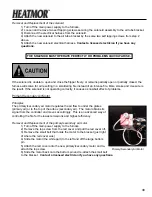
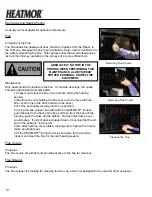
Removal and Replacement of the primary/secondary air motor
1) Turn off the main power supply to the furnace.
2) Remove the top screw from the red cover and pull the red cover off.
3) Remove the small bolt that holds the motor to the bracket (just right
of where the red cover was)
4) Slide the motor (the white part) to the left and off the large bottom
pin
5) Attach the red cover onto the new primary/secondary motor and re-
attach the top screw.
6) Slide the motor back onto the bottom pin and re-attach the small bolt
to the bracket.
Contact a licensed electrician if you have any questions.
Primary/Secondary Air Motor
Summary of Contents for 400-4S
Page 1: ...Outdoor Furnaces TM SAVE THESE INSTRUCTIONS...
Page 10: ...5 HEATMOR Stainless Steel Outdoor Furnace Model 400 4S Chapter 1...
Page 73: ...68...
Page 88: ...83 PROBLEM CAUSE SOLUTION PROCEDURE...
Page 92: ...87 Outdoor Furnaces...
Page 93: ...88 NOTES...
Page 94: ...89 wiring diagram...
Page 95: ...90 Revised Manual on 07 11 12...

