Advanced Settings
50
AMX RoomBook Scheduling Touch Panels - Instruction Manual
Setting Static IP Information
When using
DHCP
settings for a panel, the DHCP server will automatically populate almost all of the
Ethernet
page fields, with the
exception of
Hostname
. When setting the panel for
Static
, however, this information must be entered manually. To enter the
network connection information:
1.
Press
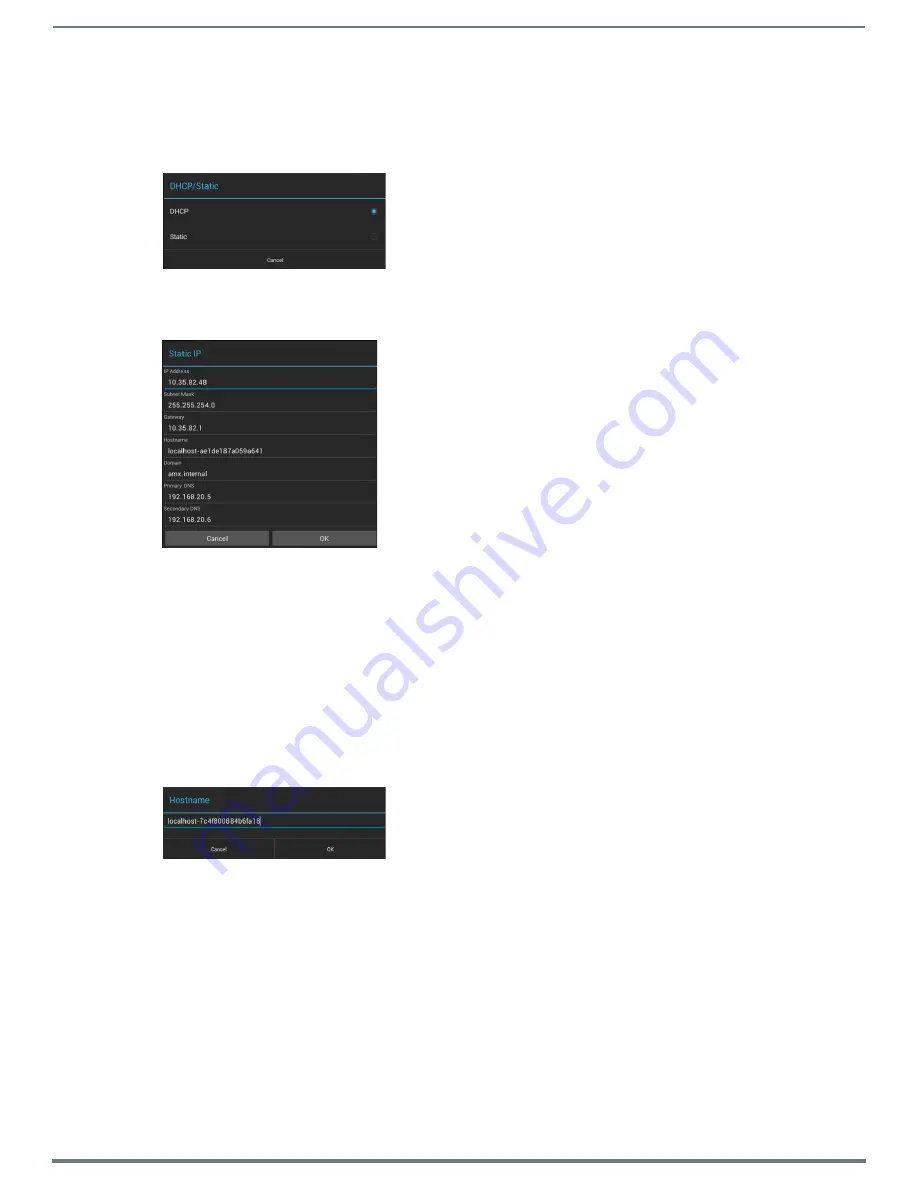
DHCP/Static
to access the
DHCP/Static
options window (FIG. 82):
To return to the
Ethernet
page without making any changes, press
Cancel
(or press outside the
DHCP/Static
window).
2.
Press
Static
to select to use Static IP information, and open the
Static IP
window (FIG. 83).
3.
Press any field in this window to open the
on-screen
keypad.
4.
Enter the information for each field presented.
If the field accepts alphanumeric characters, a keyboard opens instead.
Press
Next
(in the on-screen keypad) to proceed to the next field.
5.
When complete, press
OK
to save changes and return to the
Static IP
window. The new connection information is presented in
the
Ethernet
page.
To return to the
Ethernet
page without making any changes, press
Cancel
(or press outside the
Static IP
window).
Entering a New Hostname
In order to facilitate DNS lookup of the panel, you should set a new hostname for the panel.
To add a new hostname, or to change an existing one:
1.
From the
Ethernet
page, select
Hostname
to open the
Hostname
window (FIG. 84).
2.
Enter the new hostname and press
OK
. The new hostname will now appear in the
Hostname
field.
To return to the Ethernet page without making any changes, press Cancel (or press outside the
Hostname
window).
FIG. 82
DHCP/Static window
FIG. 83
Static IP window
FIG. 84
Hostname window


