Using the Scheduling Panel Setup Wizard
24
AMX RoomBook Scheduling Touch Panels - Instruction Manual
Fill in these fields and press
Next
to proceed (press
Back
to return to the OVERVIEW page).
NOTE:
These settings can be changed later if necessary, via the NETWORK Settings page (see Viewing/Editing Network Settings
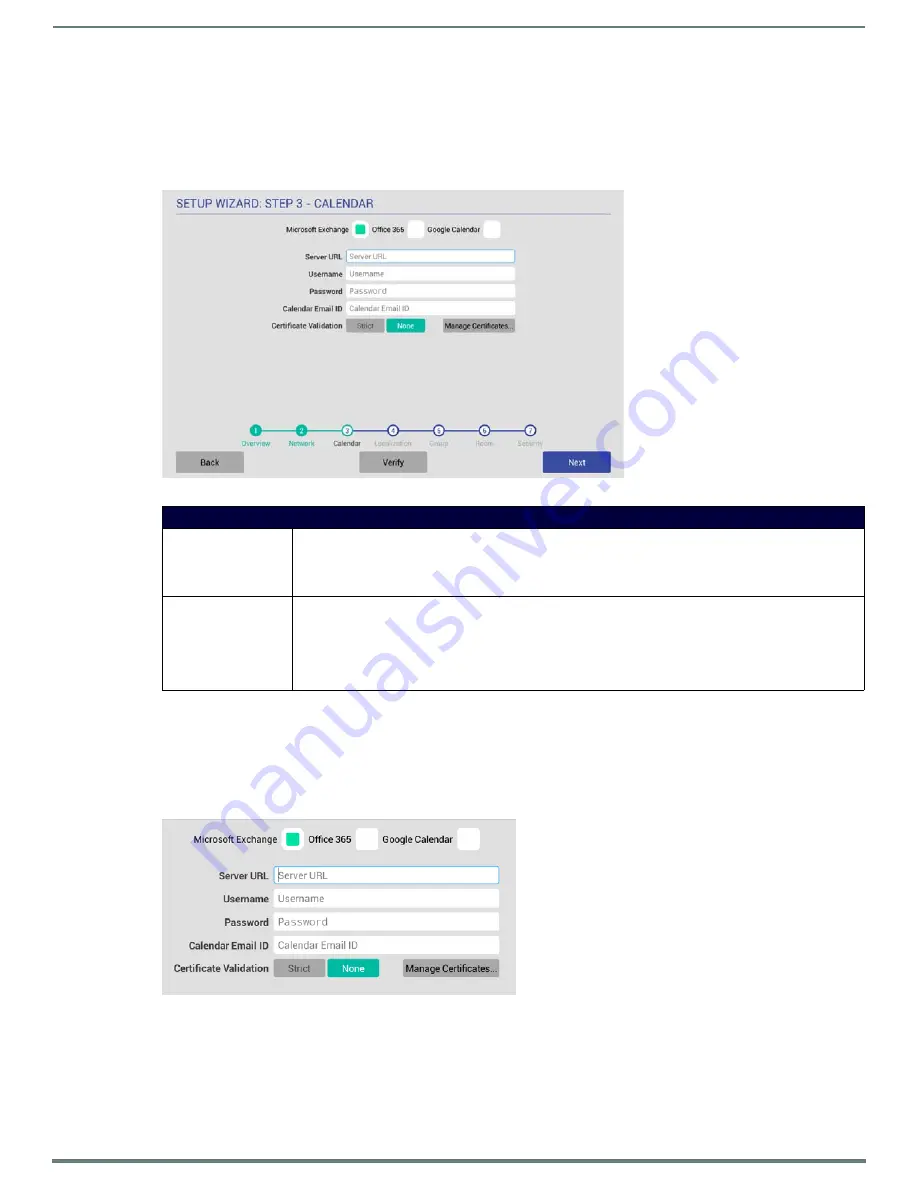
Setup Wizard: Step 3 - CALENDAR
Use the options in the
CALENDAR
page to configure the scheduling panel’s connection to the scheduling system (FIG. 25):
Calendar Types
Use the
Calendar Type Selection
options at the top of the
CALENDAR
page to specify the scheduling system that this panel will use.
This selection will invoke configuration settings specific to the selected Calendar type, as described below:
Microsoft Exchange
To configure the Acendo Book Panel for use with Microsoft Exchange:
1.
In the
Setup Wizard: Step 3 - Calendar
page, select
Microsoft Exchange
to invoke the following options (FIG. 26) :
FIG. 25
Setup Wizard: Step 3 - CALENDAR (Microsoft Exchange options shown)
Setup Wizard - CALENDAR page options
Calender Type Selection Select the scheduling system that this panel will use:
• Microsoft Exchange (see page 24)
• Office 365 (see page 25)
• Google Calendar (see page 26)
Verify
Press to verify that the
scheduling panel can connect to the scheduling system using the information
currently entered on this page.
The system will indicate whether or not is is able to connect to the calendar system using the current settings
(see FIG. 27 on page 25). If the panel fails to connect, review all information entered on the Calendar page and
try again.
Note that the
Next
button remains disabled until the calendar settings have successfully been verified.
FIG. 26
Microsoft Exchange Calendar Configuration Settings


