For technical questions, please call 1-888-866-5797
18
NETWORK TEST
Using the Scan Tool
NETWORK TEST
18
To scan
a selected
module:
1.
Choose
Select Modules
from the System Menu, then press
ENTER
.
If the Select Group screen displays, select the group (
Drive
,
Chassis
,
Body
, etc.) containing the module you wish to scan,
then press
ENTER
. Proceed to step 2.
If the Select Group screen does not display, proceed to step 2.
2.
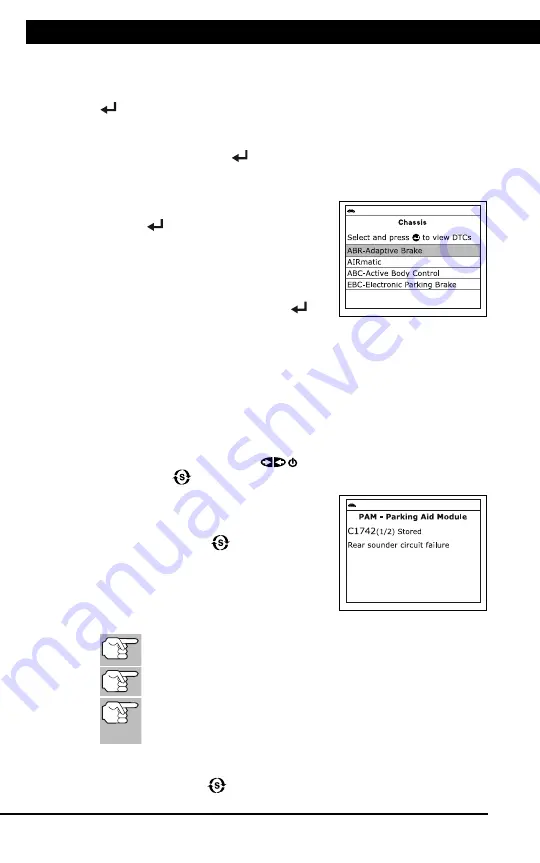
The Available Systems screen displays.
Select the desired module, then press
ENTER
.
A “One moment please” message
displays while the requested DTCs
are retrieved.
3.
Select the module for which you wish to
view DTCs, then press
ENTER
. A
“One moment please” message displays
while the requested DTCs are retrieved.
If the Scan Tool fails to link to the selected module, a
“Communication Error” message shows.
- Ensure your vehicle is OBD2 compliant.
- Verify the connection at the DLC, and verify the ignition is ON.
- Turn the ignition OFF, wait 5 seconds, then back ON to reset
the computer.
- Press
POWER/LINK
to continue, or, press
System
Menu
to return to the System Menu.
If the selected module does not
support the “Read DTC” function, an
advisory message displays. Press
System Menu
to return to the
System Menu, or, press
M
to
access the Main Menu.
4.
Refer to DISPLAY FUNCTIONS on
page 3 for a description of LCD display
elements.
If the definition for the currently displayed code is not available,
an advisory message shows.
I/M MONITOR STATUS icons are not displayed when
using the Network Test function.
In the case of long code definitions, a small arrow is shown
in the upper/lower right-hand corner of the code display
area to indicate the presence of additional information.
If no codes are present, the message "No (
system name
) DTC’s
are presently stored in the vehicle’s computer" shows. Press
System Menu
to return to the System Menu.


