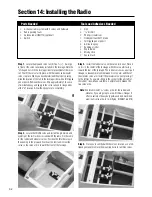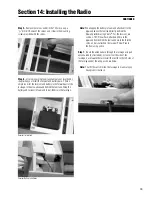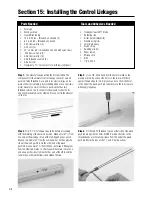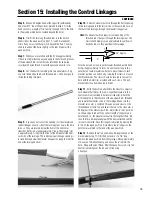
39
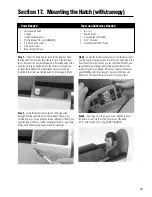
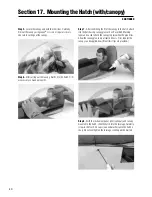
Step 1.
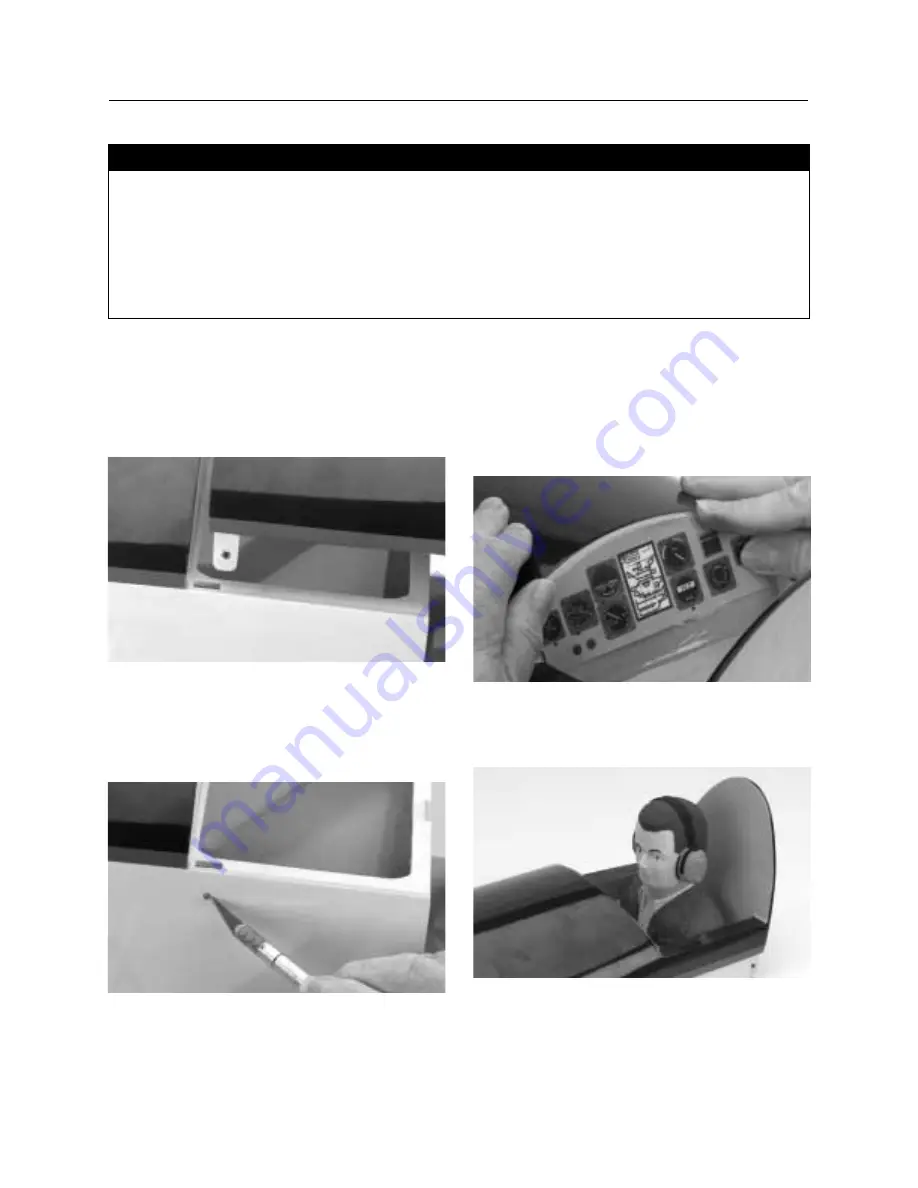
Lift out the hatch and set aside for the moment. Note
that the hatch has four tabs that slide into slots in the fuselage:
two in front near the front bulkhead where the leading edge of the
wing rests and two near the back of the wing rest area near the
fuselage top turtledeck. The tabs already have the blind nuts
installed to facilitate securing the hatch to the fuselage in flight.
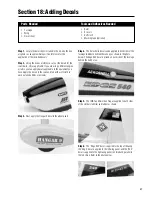
Step 2.
Locate the four bolt holes (two on either side of the
fuselage, near the open tab slots of the fuselage). They will be
covered by plastic, so you will have to look carefully for them. Once
you have found the holes, cut the covering over them using a sharp
hobby knife. The hatch cap screws will be installed later.
Section 17. Mounting the Hatch (with/canopy)
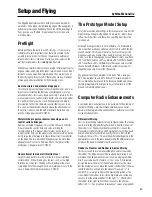
Step 3.
Locate the instrument panel decal from the decal sheet.
Cut the instrument panel out and trial fit it to the hatch area in the
front area of the cockpit. When you are satisfied with the fit, peel
away the backing and apply the instrument panel decal to the
instrument panel area. Hangar 9 makes an optional instrument
panel (HAN186) which can be used in place of the decal. Use
Shoe Goo or Silicone
®
adhesive to secure it to the cockpit.
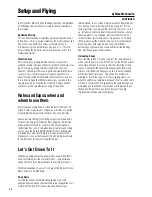
Step 4.
If you plan on using a pilot in your Edge 540, now is
the time to mount it to the cockpit floor area of the hatch.
A 1/4 scale Civilian Pilot is suggested. (HAN8275)
• Fuselage with hatch
• Canopy
• Instrument panel decal
• Pilot (optional) 1/4 scale (HAN8272)
• 4 4-40 cap head screws
• 4 # 4 flat washers
• Blue canopy trim tape
• Scissors
• Masking tape
• Canopy Glue (Pacer 560)
• 3/32” hex driver
• Hobby knife with #11 blade
Parts Needed
Tools and Adhesives Needed
Summary of Contents for EDGE 540
Page 52: ...52 ...
Page 53: ...53 Template Cut Out of Cowl Bottom MDS 1 48 ...
Page 54: ...54 ...
Page 55: ...55 ...
Page 56: ... 2000 Horizon Hobby Inc www horizonhobby com ...
Page 57: ...57 ...
Page 58: ...58 ...
Page 59: ...59 ...


