24
Section 9: Installing the Control Horns
CONTINUED
Step 3.
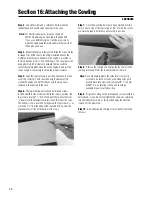
Locate the standard control horn. Trial fit the horn on
the elevator with the flat part towards the tip of the elevator and
the part that connects to the clevis being closer to the fuselage.
Step 4.
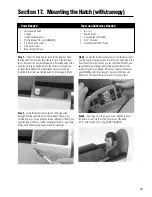
Line up the inside edge of the horn with the edge of the
elevator and the mark you made in step 2. Make sure the horn is
centered on the wood frame of the elevator. Mark the screw holes
with a felt-tipped pen or pencil.
Step 5.
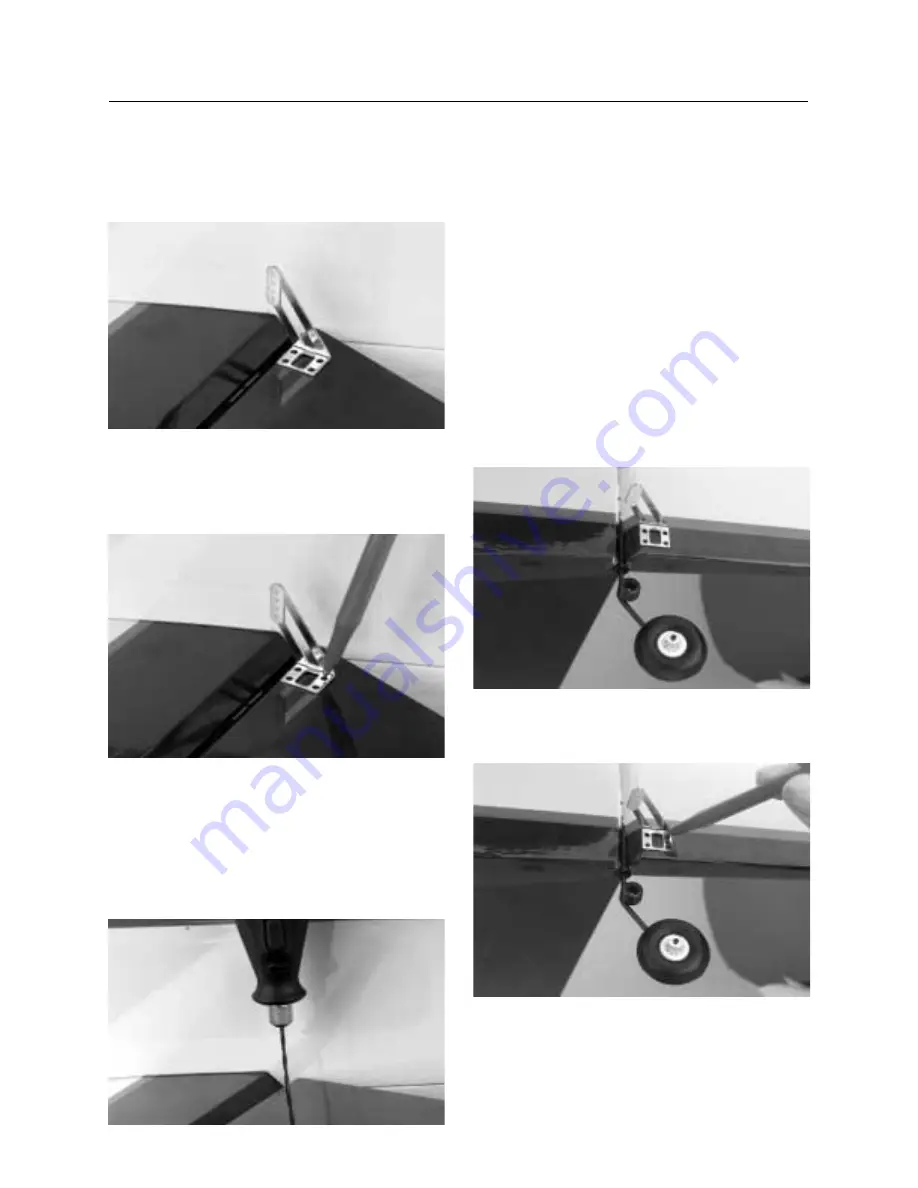
Using a 1/16” drill bit, drill four holes for the horn.
After the pilot holes are drilled, you can use the 3/32” bit to
complete the process. After the holes are drilled, apply thin CA
glue to the holes and area around the holes to help strengthen
the balsa of the elevator. Allow the CA to dry, then re-drill to
clear any obstruction caused by the glue. Caution: The balsa is
soft so be sure to use CA to strengthen the mounting of the
control horn.
Step 6.
Carefully install the screws and engage the plastic plate
on the other side. We suggest you cover the area with masking
tape around the horn to prevent damage to the covering if the
screwdriver slips. Once the right elevator control horn is
installed, repeat the process for the left elevator.
Step 7.
Locate a standard and reverse control horn, four
screws, and one plastic plate. The reverse “R” control horn is
installed on the right side of the rudder (as if you were sitting in
the cockpit). The standard control horn will be mounted on the
left. These make up the rudder pull-pull control horns. They are
located up from the bottom of the rudder along the edge of the
red trim and the front edge is flush with the bevel. Mark the
location with a felt-tipped pen or pencil. Trial fit one horn and
make sure the location does not interfere with the tail wheel wire
that was inserted into the rudder.
Step 8.
Once you are satisfied with the location, mark the screw
holes with a felt-tipped pen or pencil.
Summary of Contents for EDGE 540
Page 52: ...52 ...
Page 53: ...53 Template Cut Out of Cowl Bottom MDS 1 48 ...
Page 54: ...54 ...
Page 55: ...55 ...
Page 56: ... 2000 Horizon Hobby Inc www horizonhobby com ...
Page 57: ...57 ...
Page 58: ...58 ...
Page 59: ...59 ...

