


17
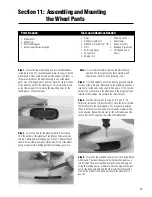
Step 7.
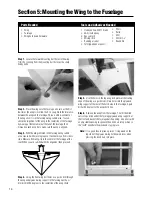
Once the blind nuts are in place, trial fit the wing onto
the fuselage and insert the nylon mounting bolts. Tighten
enough to hold the wing in place but do not completely tighten.
Check the alignment of the wing to the reference point on the
fuselage again as done in Step 2. When you are satisfied with
the alignment, tighten securely. Remove the bolts and wing.
Apply some 30-minute epoxy to the blind nuts to secure them.
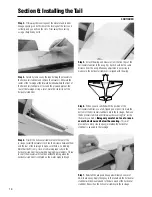
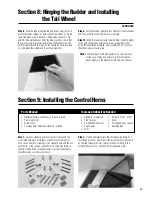
Step 1.
On the rear of the fuselage, carefully remove the tape
holding the shaped fairing blocks onto the fuselage. Note they
are in two separate pieces and fit over the horizontal stabilizer
and around the vertical stabilizer.
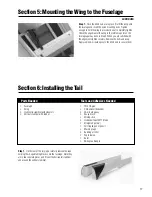
Section 5: Mounting the Wing to the Fuselage
CONTINUED
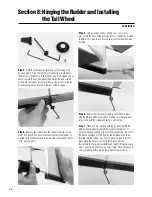
Section 6: Installing the Tail
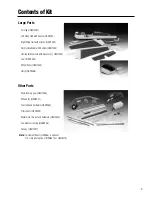
Fuselage
• Fuselage
• Wing
• Horizontal stabilizer with elevators
• Vertical stabilizer with rudder
• Thin CA glue
• CA Remover/debonder
• 30-minute epoxy
• Epoxy brush
• Mixing stick
• Hobby knife with #11 blade
• Straight edge (36”)
• Felt-tipped pen or pencil
• Masking tape
• Rubbing alcohol
• Paper towels
• Ruler
• 90-degree triangle
Parts Needed
Tools and Adhesives Needed
Summary of Contents for EDGE 540
Page 52: ...52 ...
Page 53: ...53 Template Cut Out of Cowl Bottom MDS 1 48 ...
Page 54: ...54 ...
Page 55: ...55 ...
Page 56: ... 2000 Horizon Hobby Inc www horizonhobby com ...
Page 57: ...57 ...
Page 58: ...58 ...
Page 59: ...59 ...


