5
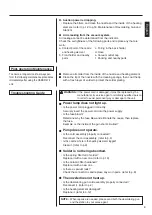
The power lamp doesn’t light
up.
1. Is the power cord properly con-
nected?
2. Is the fuse blown?
The nozzle doesn’t heat up.
1. Is the cord assembly properly
connected?
2. Is the heating element broken?
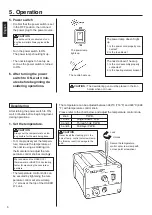
The power lamp
lights up.
The nozzle heats up.
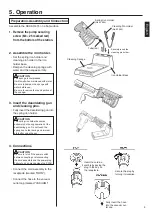
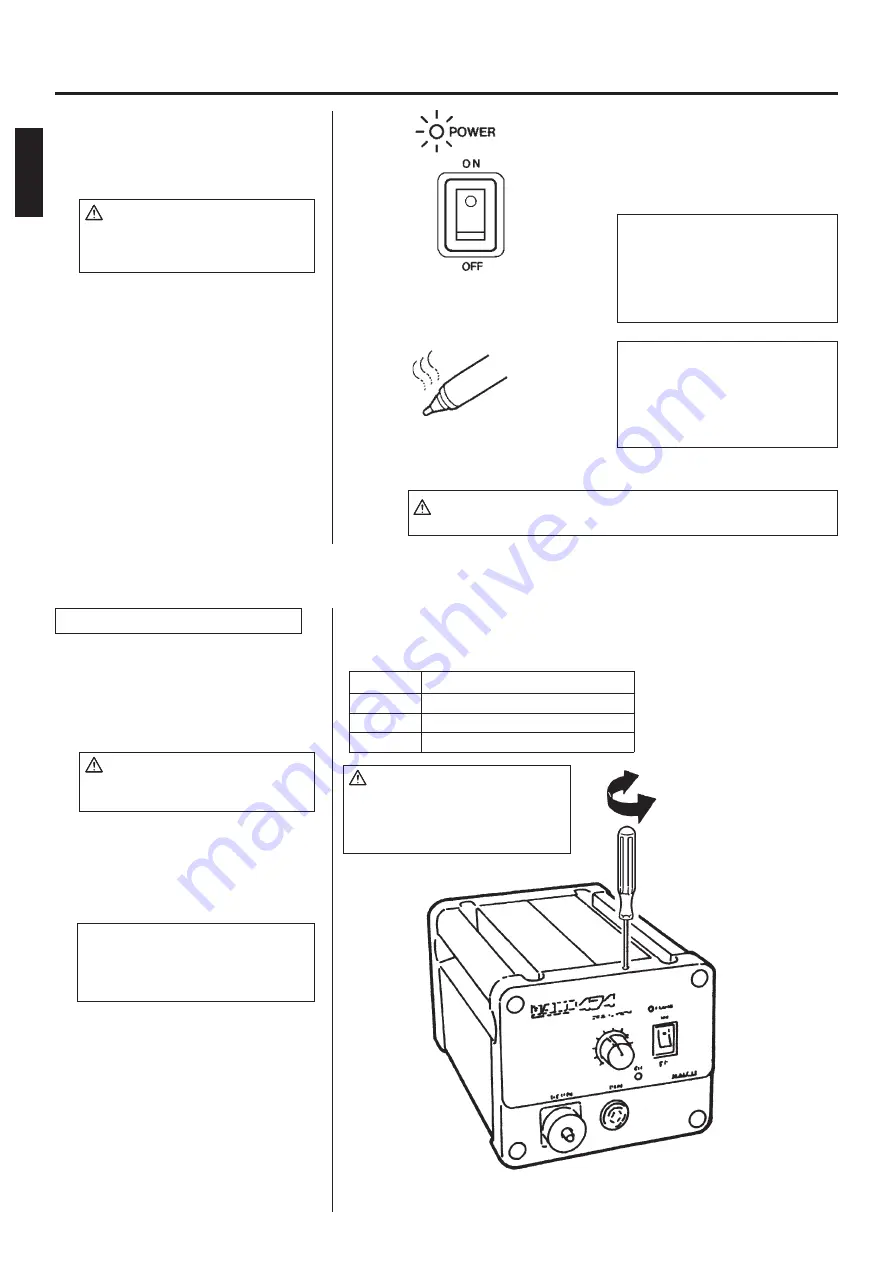
CAUTION : The desoldering gun must be placed in the iron
holder when not in use.
5. Power switch
• Confirm that the power switch is set
in the OFF position, then connect
the power plug to the power source.
CAUTION
The entire unit is constructed of con-
ductive materials. Always ground the
unit.
• Turn the power switch to ON.
The power lamp should light up.
• The nozzle begins to heat up as
soon as the power switch is turned
to ON.
6. After turning the power
switch to ON, wait 3 min-
utes before beginning de-
soldering operations.
5. Operation
Desoldering
After turning the power switch to ON,
wait 3 minutes before beginning desol-
dering operations.
1. Set the temperature.
CAUTION
Always set the temperature to as low
as possible for the work being done.
• To more precisely set the tempera-
ture, measure the temperature at
the nozzle using a soldering iron
thermometer and adjust the tem-
perature control knob accordingly.
We recommend the HAKKO 191
thermometer or HAKKO 192 soldering
tester for measuring the nozzle tem-
perature.
• The temperature control knob can
be secured by tightening the tem-
perature control set screw clamp
(“+” screw) at the top of the HAKKO
474 unit.
Lock
Unlock
Secure the temperature
control set screw clamp with
a cross point screwdriver.
The temperature can be adjusted between 380°C (716°F) and 480°C (896
°F) with temperature control knob.
Please refer to the chart below, and adjust the temperature control knob.
knob
1 and 2
3 and 4
5 and 6
P.W.B.
Single-sided P.W.B.
Through-hole P.W.B.
Multilayer P.W.B.
CAUTION
Never insert the cleaning pin in the
hole of temp. control set screw clamp.
As this may result in damage to the
unit.
English
Summary of Contents for 474
Page 19: ...3 18 1 2 M4 25 380 480 HAKKO...
Page 21: ...20 5 B1094 B1095 HAKKO 474 1 M4 25 2 3 4 IRON VACUUM...
Page 22: ...21 1 2 1 2 5 6 3 5 3 1 HAKKO 191 HAKKO 192 HAKKO 474 380 480 1 2 3 4 5 6...
Page 23: ...22 2 3 4 5...
Page 24: ...23 1 HAKKO 475 HAKKO 475 HAKKO 475 2 1 3 3 2 1 A B A 70 80 25 25 5 25...
Page 25: ...24 HAKKO 474 B 25_26 20 25 26 24 20 28 a b c d e f...
Page 26: ...6 25 HAKKO 474 1 2 3...
Page 27: ...26 6 A1033 A1033 4 A1033 5...
Page 28: ...27 1 A1009 2 1 2 3 A1009 S20 6 VACUUM...
Page 29: ...28 7 23 2 4 1 2 3 4 24V 50W 5 1 3 CAL 380 CAL...


