Customizing Your Phone
23
4.
Press or , or the
Switch
soft key to select
Automatic
from the
Daylight Saving
field.
5.
Press the
Save
soft key to accept the change or the
Back
soft key to cancel.
Note
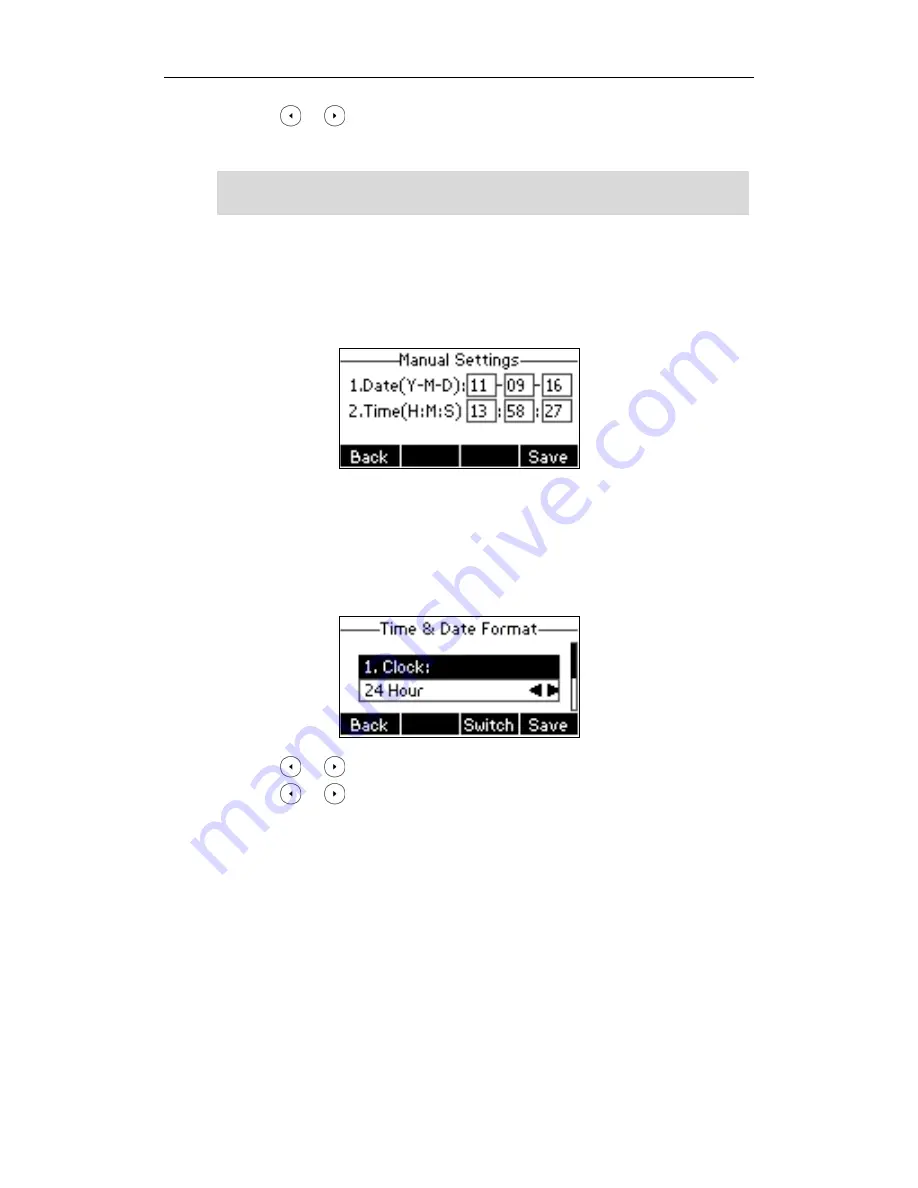
To configure the time and date manually via phone user interface:
1.
Press
Menu
-‐>
Settings
-‐>
Basic Settings
-‐>
Time & Date
-‐>
Manual Settings
.
2.
Enter the specific
Date
and
Time
.
3.
Press the
Save
soft key to accept the change.
The time that appears on the LCD screen will change accordingly.
To configure the time and date format via phone user interface:
1.
Press
Menu
-‐>
Settings
-‐>
Basic Settings
-‐>
Time & Date
-‐>
Time & Date Format
.
2.
Press or , or the
Switch
soft key to select the desired time format from the
Clock
field.
3.
Press or , or the
Switch
soft key to select the desired date format from the
Date
Format
field.
4.
Press the
Save
soft key to accept the change or the
Back
soft key to cancel.
There are 7 available date formats, for example the date format “WWW DD MMM”, “WWW”
represents the first three letters of the week, “DD” represents two-‐digit of the date, and “MMM”
represents the first three letters of the month.
Please refer to
Appendix A -‐ Time Zones
for the list of available time zones on the IP phone.
Summary of Contents for GS24P
Page 1: ......
Page 4: ... ...
Page 5: ... ...
Page 6: ......
Page 8: ...User Guide GULFSIP GS24P vi ...
Page 9: ...About This Guide vii ...
Page 13: ...Table of Contents xi ...
Page 14: ...User Guide GULFSIP GS24P xii ...
Page 24: ...User Guide GULFSIP GS24P 10 ...
Page 25: ...Overview 11 ...
Page 33: ...Getting Started 19 ...
Page 34: ...User Guide GULFSIP GS24P 20 ...
Page 39: ...Customizing Your Phone 25 unlocked ...
Page 61: ...Customizing Your Phone 47 ...
Page 62: ...User Guide GULFSIP GS24P 48 ...
Page 79: ...Basic Call Features 65 ...
Page 80: ...User Guide GULFSIP GS24P 66 ...
Page 100: ...User Guide GULFSIP GS24P 86 ...
Page 101: ...Advanced Phone Features 87 ...
Page 108: ...User Guide GULFSIP GS24P 94 ...


