Getting Started
NOTE:
When the phone is set to the silent mode, all sounds are turned off except media and
alarm.
1.8
Contacts
“Contacts”
is your phonebook that lets you store friends’ names, phone numbers, e-mail
addresses and other information.”Contact” can connect to your Google, Corporate accounts,
and integrate your contacts information.
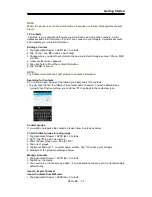
Adding a Contact
1. Tap Application Drawer > APPS tab > Contacts.
2. Tap
tab > tap
to add a new contact.
3. Choose where you want to synchronize the new contact with Google account, Phone, SIM1
or SIM2.
4. A new contact screen appears.
5. Tap each field to fill out the contact information.
6. Tap ”DONE”
to save it.
NOTE:
The SIM card contact can’t add picture to contact information.
Searching for Contacts
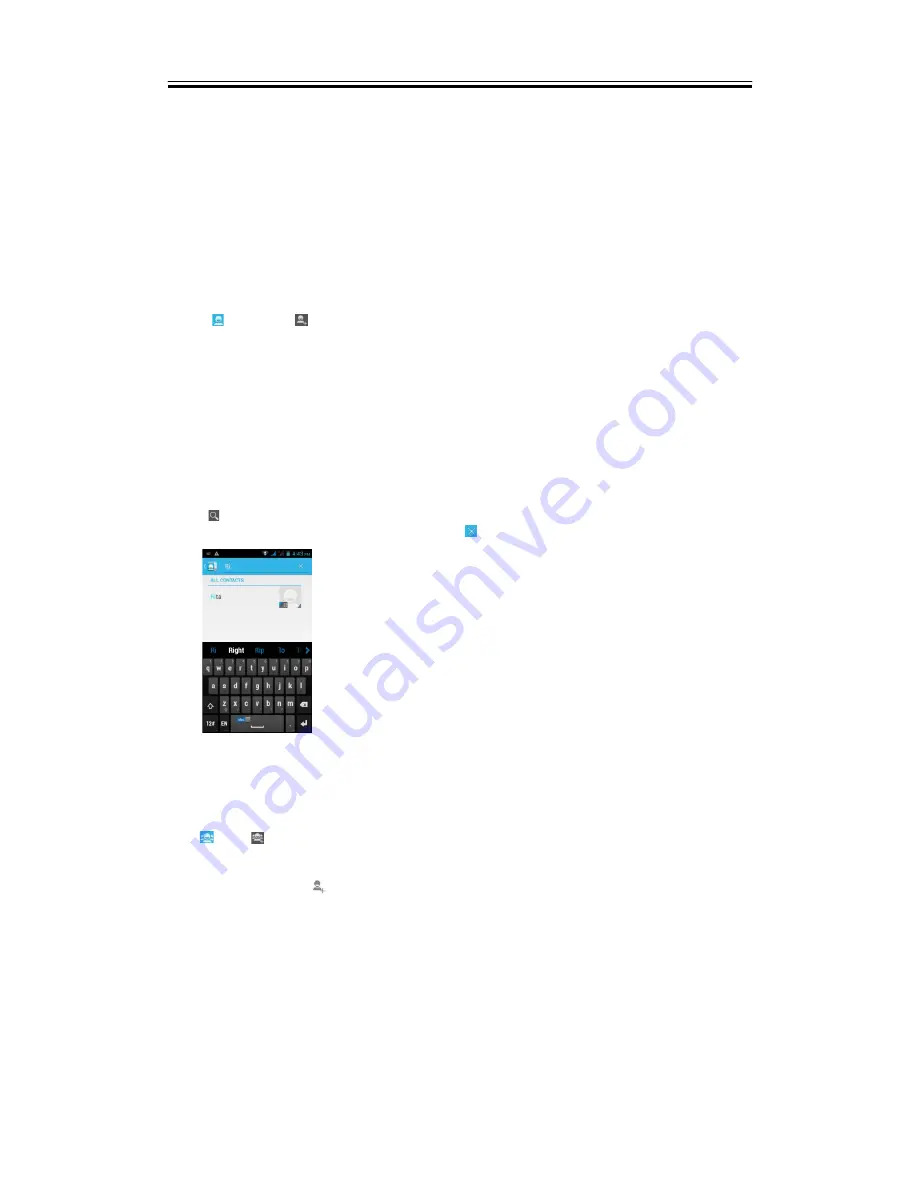
On Contact Screen, do any of the following to easily search for contacts:
• Tap
. Type the first few letters of the contact name to search. The list is filtered when
typing. When finish searching, you could tap
to go back to the contacts screen.
Contact groups
If you want to categorize the contacts, please follow the steps as below:
To add Contact groups in local groups
1. Tap Application Drawer > APPS tab > Contacts.
2. On
, tap
to add a new group.
3. Enter the new group name, then tap ”OK”.
4. Tap one of groups.
5. Tap Menu>Edit and
to select new members. Tap “Ok” to save your settings.
6. Members of the group are displayed below.
Manage Accounts
1. Tap Application Drawer > APPS tab > Contacts.
2. Tap Menu > Accounts.
3. You could turn on ”Auto-sync app data ”. If so, Applications can sync, send, and receive data
automatically.
Import / Export Contacts
Import Contacts from SIM card.
1. Tap Application Drawer > APPS tab > Contacts.
Roma R2
|
1-5


