


6
INSTALLATION
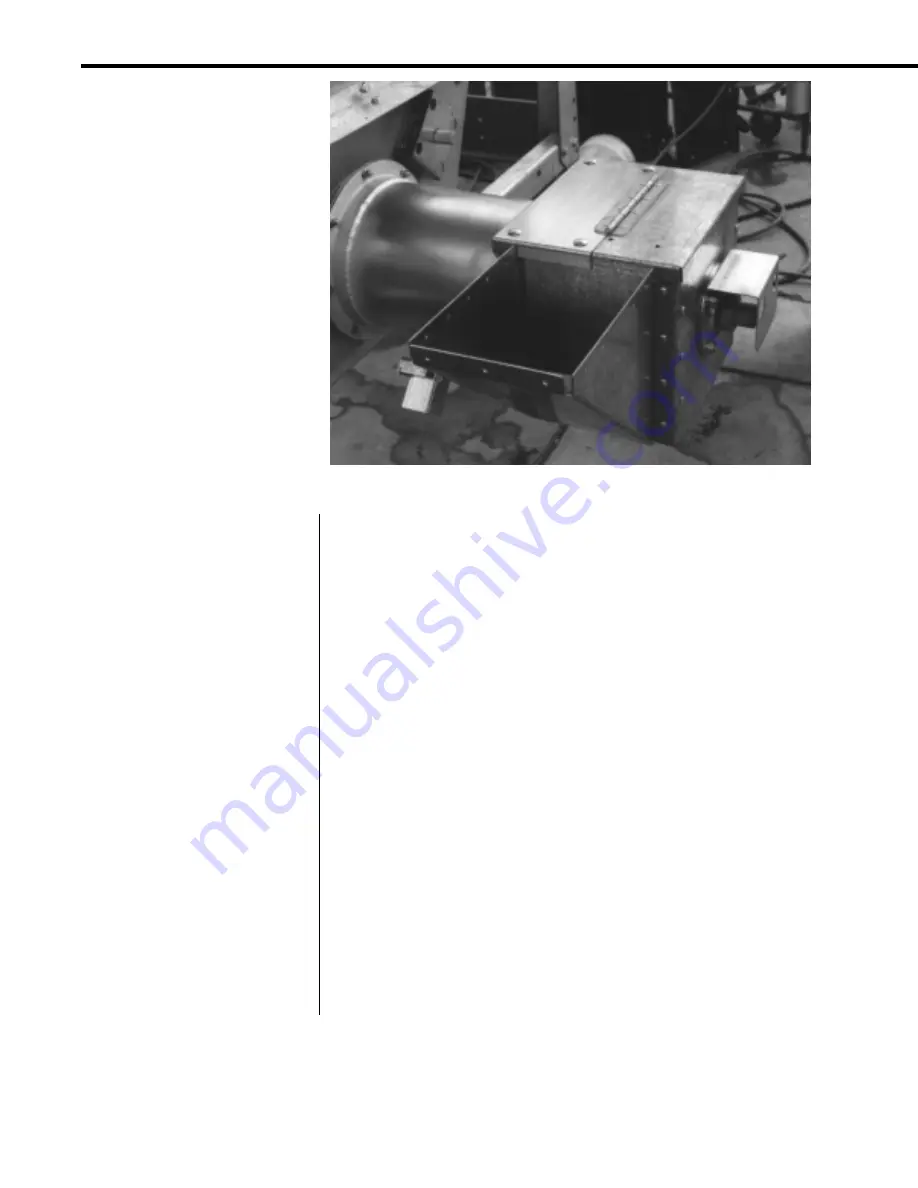
Modified discharge box with side discharge chute.
Determine which side of the
dryer the Aspirator will be
mounted.
GSI recommends mounting on the left side for the best performance,
however, the Aspirator can be mounted on either the left or right hand
side of the dryer. This is done to fit most dryer sites where other
equipment (unloading equipment) may be installed around the dryer.
Some dryers have ladders on the rear bulkheads that must be taken into
account before mounting the Aspirator.
Do not compromise safety for convenience.
Install the
Discharge Box Side
onto the inside of the discharge box
with the large rectangular slot down.
Install the
Discharge Box Bypass Chute
onto the outside of the
discharge box.
Bolt these parts in with the
1/4" bolts, locknuts,
and
washers.
Check that all bolts are tight and discharge box lid moves freely on its
hinge.
Discharge Box Modifications
The discharge box on the rear of the
dryer may need to be modified to
accept the parts of the settling
chamber. If the Aspirator is ordered
with the dryer, these modifications
may have been done at the factory
as the dryer was manufactured. If
the kit was purchased to install on
an existing dryer, these modifications
must be performed to install the
Aspirator unit. The following
procedure outlines the necessary
steps for modifying the discharge box
assembly.
Remove the side of the
discharge box that is on the
same side that the Aspirator
will be mounted.
Remove the
"Huck" bolts (14)
that hold the box side to the box.
Cut the collar (inside box) with a hand-held grinder down the centerline of
the bolt, then across the bolt. Hit each one with a hammer to pop it out
of the hole.
Remove the side of the discharge box that is to be replaced.
Install the new Discharge Box
Side and the Discharge Box
Bypass Chute.