35
r
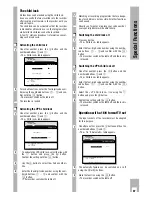
Preparation
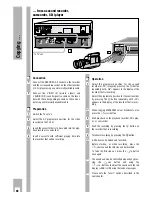
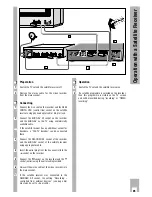
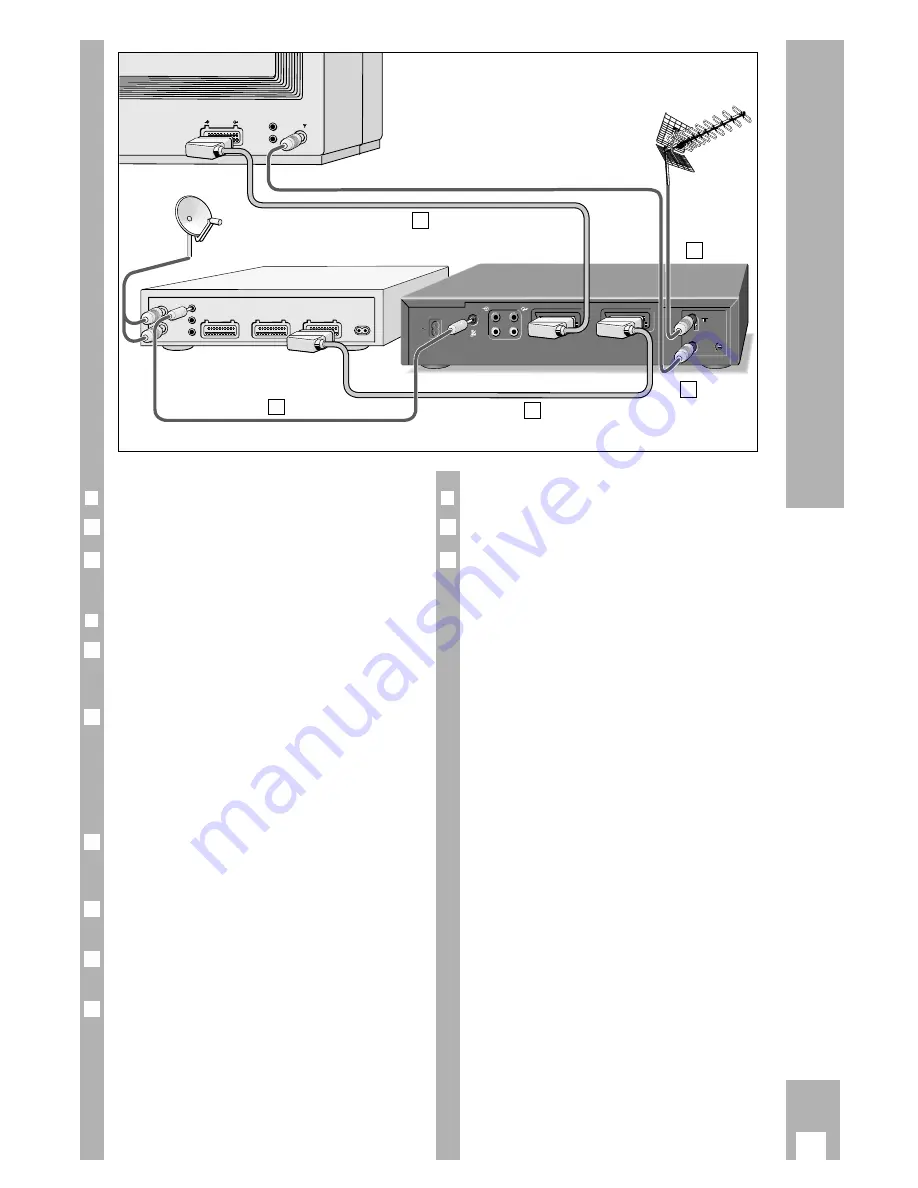
Switch the TV set and the satellite receiver off.
Remove the mains cable for the video recorder
from the mains socket.
r
Connecting
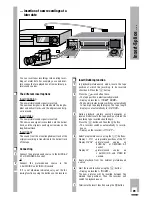
Connect the
ʐ
socket on the recorder and the REM.
CONTR. VCR (control line) socket on the satellite
receiver using phono adapter cable / 3.5 mm jack.
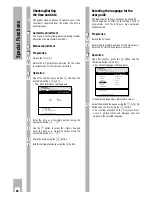
Connect the EURO-AV A1 socket on the recorder
and the EURO-AV on the TV using commercially
available cable.
Ń
!
If the satellite receiver has an additional socket for
decoders, a “PAY-TV decoder” can be connected
there.
Connect the DECODER A2 socket of the recorder
and the EURO-AV socket of the satellite receiver
using appropriate cable.
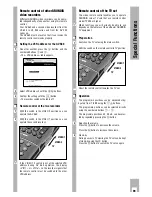
Insert the aerial plug from the house aerial into the
–
I I
– socket on the recorder.
Connect the
ń
socket on the recorder and the
É
socket (aerial) using the aerial cable provided.
Reinsert the mains cable of the video recorder into
the mains socket.
Ń
!
If the satellite receiver was connected to the
DECODER A2 socket, the setting “Recording –
controlled from external devices” (see page 36)
must also be set to » Source A2 «.
6
5
4
3
2
1
2
1
r
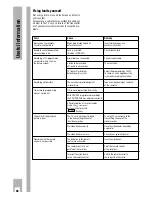
Operation
Switch the TV set and the satellite receiver on.
If a satellite programme is selected on the recorder,
then this programme is visible on the TV screen
and will be recorded during “recording” or “TIMER
recording”.
2
1
Operation with a Satellite Receiver
EURO-AV
EURO-AV TV
EURO-AV DECODER
EURO-AV VCR
L
H
L
H
ń
ń
+
+
–
–
EURO-AV-1
AUDIO
R
L
R
L
DECODER A2
2
1
3
5
4
Summary of Contents for GV 560 HiFi
Page 1: ...VIDEORECORDER GV 560 HiFi...

