page 28
getting started | VCR features | DVD features |
extra information
table of languages | tuning a TV to your VCR | DVD disc/video cassette care | frequently asked questions | amplifier/camcorder connection
specifications
tuning a TV to your DVD/VCR
Follow the instructions on this page if you have connected your unit to your TV using aerial leads ONLY; i.e. you
have not used the supplied SCART lead (which is the preferred connection method). Please note that picture and
audio quality during DVD or VCR playback will be inferior to that when connected via a SCART lead.
Note:
Follow the
instructions on this page if
you have used the supplied
SCART lead to connect
your DVD/VCR to a satellite
decoder (or other such
equipment), and do not
have an additional SCART
lead to connect between
your DVD/VCR and TV (i.e.
you are only using aerial
leads between your
DVD/VCR and TV).
Problems:
Your DVD/VCR
must be in VCR mode
when you press the
standby button in step 2;
otherwise ‘rF: 36’ will not
appear.
If you experience any
problems with interference
when tuning in your TV, try
one of the following:
Problem: The flashing
‘TEST’ screen is not clear.
Explanation: This is due
to interference from a TV
channel or a digital signal.
Solution: Follow steps 1-2.
Press the channel up or
down buttons on the front of
your VCR to change ‘rF: 36’
to a different number
(between 23-69). Follow
steps 3-5.
Problem: One or more of
the channels on your
television becomes
distorted when the
DVD/VCR is on.
Explanation: The VCR’s
output may be clashing with
a tuned TV channel.
Solution: Follow steps 1-2.
Select the channel on the
TV which is distorted. Move
the RF output number up or
down (between 23-69) until
the TV station is back to
normal. Then proceed with
step 3.
1
Select a DVD/VCR channel
Switch on your TV and select an unused channel on
your TV to use as your DVD/VCR channel (e.g.
channel 0 or 9).
Select this channel every time you want to watch a DVD
disc or video cassette.
Your TV screen will probably be blank at this stage.
2
Display the test signal
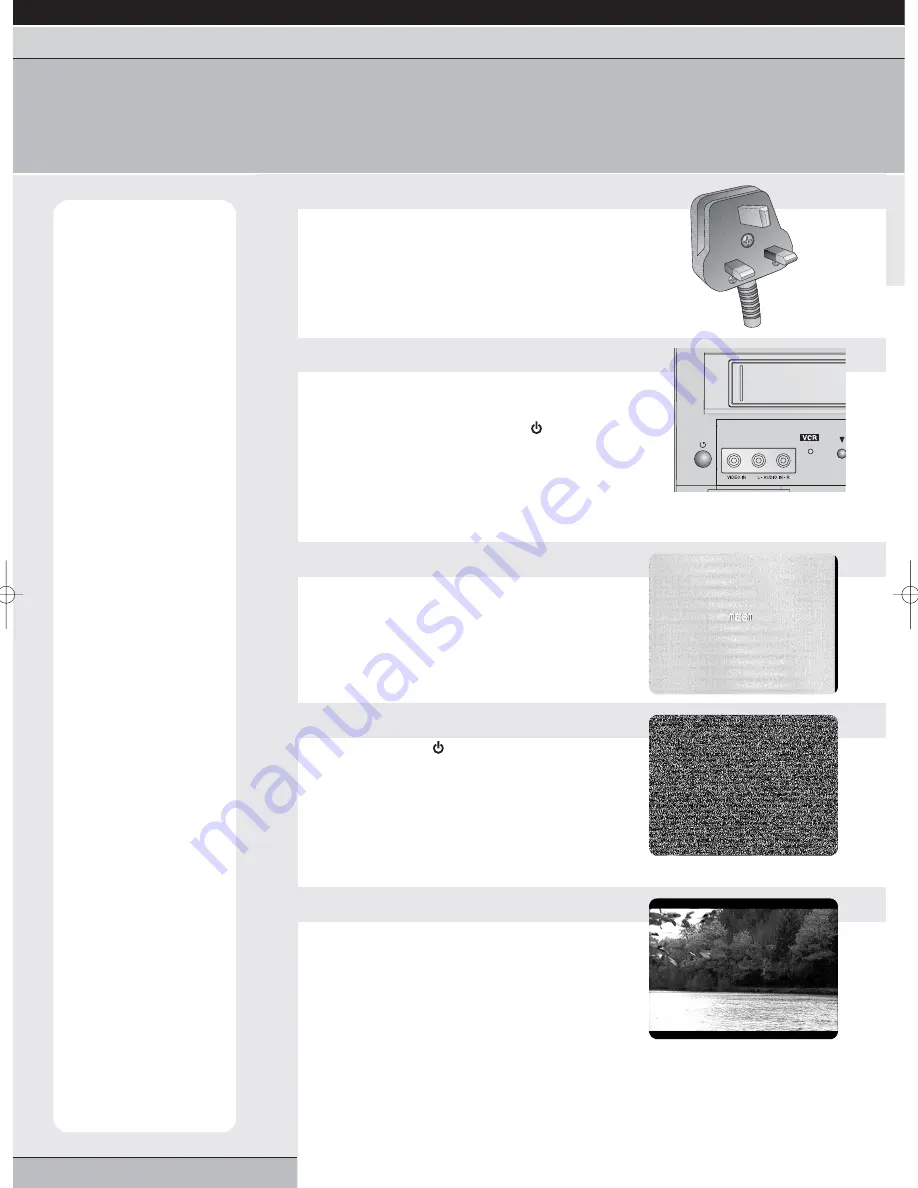
Plug your unit into the mains and switch on at the
socket.
Press and
hold down the standby
button on the
front of your DVD/VCR unit until ‘rF: 36’ appears in
the front panel display (in VCR mode only).
Please note that in order to display ‘rF: 36’, your unit
must be in standby mode when you press and hold the
standby button. Standby mode is when the front panel display
is just showing the time (or 0:00) and is dimmer than usual.
3
Tune your TV
Tune in the channel you have selected on your TV
until the word ‘TEST’ appears on your TV screen.
Consult your TV’s Instruction Book for details about tuning
your TV.
Remember to store this setting on the TV.
4
Remove the test signal
Press the standby
button on the front of your
DVD/VCR. ‘0:00’ will appear in the front panel
display and your TV screen will go blank or show a
fuzzy screen.
If the clock is not set, ‘--:--’ will show on the front
panel.
5
Finish!
You have now tuned in a DVD/VCR channel on your
TV.
Select this TV channel every time you wish to use your
DVD/VCR.
Grundig GR1000 A IB.qxd 14/01/2003 10:48 Page 28


