Grundig GR1000A Operating Instructions Manual Download Page 2

Follow Instructions – All operating and maintenance instructions
should be followed and warnings adhered to.

Cleaning – Unplug this product from the wall socket before cleaning.
Do not use liquid or aerosol cleaners.

Accessories – Do not use accessories not recommended in this
instruction book as they may be hazardous.

Water and Moisture – Hazard of electric shock – Do not use this
product near water or in rainy/moist situations.

Placing or Moving – Do not place on an unstable cart, stand, tripod,
bracket or table. The product may fall, causing serious injury to a child
or adult, and serious damage to the product. A product and cart
combination should be moved with care. Quick stops, excessive force,
and uneven surfaces may cause the product and cart combination to
overturn.

Power Cord Protection – Power cords should be routed so that they
are not likely to be walked on or pinched by items placed upon or
against them. Pay particular attention to plugs and the point from
which the cords exit the product.

Lightning – For added protection of this product during a lightning
storm, or when it is left unattended and unused for long periods of
time, disconnect it from the wall socket. This will prevent damage to
the product due to lightning and power-line surges.

Overloading – Do not overload wall sockets and extension cords as
this can result in risk of fire or electric shock.

Objects and Liquid – Never allow objects of any kind or liquids to be
pushed/spilled into this product through openings as they may come
into contact with dangerous voltage or other hazards.

Servicing – Do not attempt to service this product yourself as
opening or removing covers may expose you to dangerous voltage
points or other hazards. Refer all servicing to qualified service
personnel.

Damage Requiring Service – Disconnect this product from the wall
socket and all power sources including batteries, and refer servicing
to qualified service personnel under the following conditions:

a) 

When the power-supply cord or plug is damaged.

b) 

If any liquid has been spilled onto, or objects have fallen into the
product.

c) 

If the product has been exposed to rain or water.

d) 

If the product does not operate normally even if you follow the
operating instructions. Adjust only those controls that are covered
by the operating instructions. Improper adjustment of other
controls may result in damage and will often require extensive
work by a qualified technician to restore the product to its normal
operating condition.

e) 

If the product has been dropped or the cabinet has been
damaged.

f) 

When the product exhibits a distinct change in performance. This
indicates a need for service.

Replacement Parts – When replacement parts are required, be sure
the service technician has used replacement parts that are specified
or that have the same characteristics as the original part.
Unauthorised substitutions may result in fire, electric shock or other
hazards.

Safety Check – Upon completion of any service or repairs to this
product, ask the service technician to perform safety checks to
determine that the product is in safe operating order.

Condensation – Moisture will form in the operating section of the unit
if the unit is brought from cool surroundings into a warm room or if the
temperature of the room rises suddenly. When this happens, the unit's
performance will be impaired. To prevent this, let the unit stand in its
new surroundings for about an hour before switching it on, or make
sure that the room temperature rises gradually. Condensation may
also form during the summer if the unit is exposed to the breeze from
an air conditioner. In such cases, change the location of the unit.

page 2

getting started

| VCR features | DVD features | extra information

safety warnings | contents | DVD regions & disc structure | front panel display | remote control overview

safety warnings

Please read this page carefully before attempting to operating your DVD/VCR.

Important warning

A DVD/VCR player is a Class 1 laser product, however this unit
uses a visible laser beam which could cause hazardous radiation
exposure.

Be sure to operate the unit correctly as instructed.

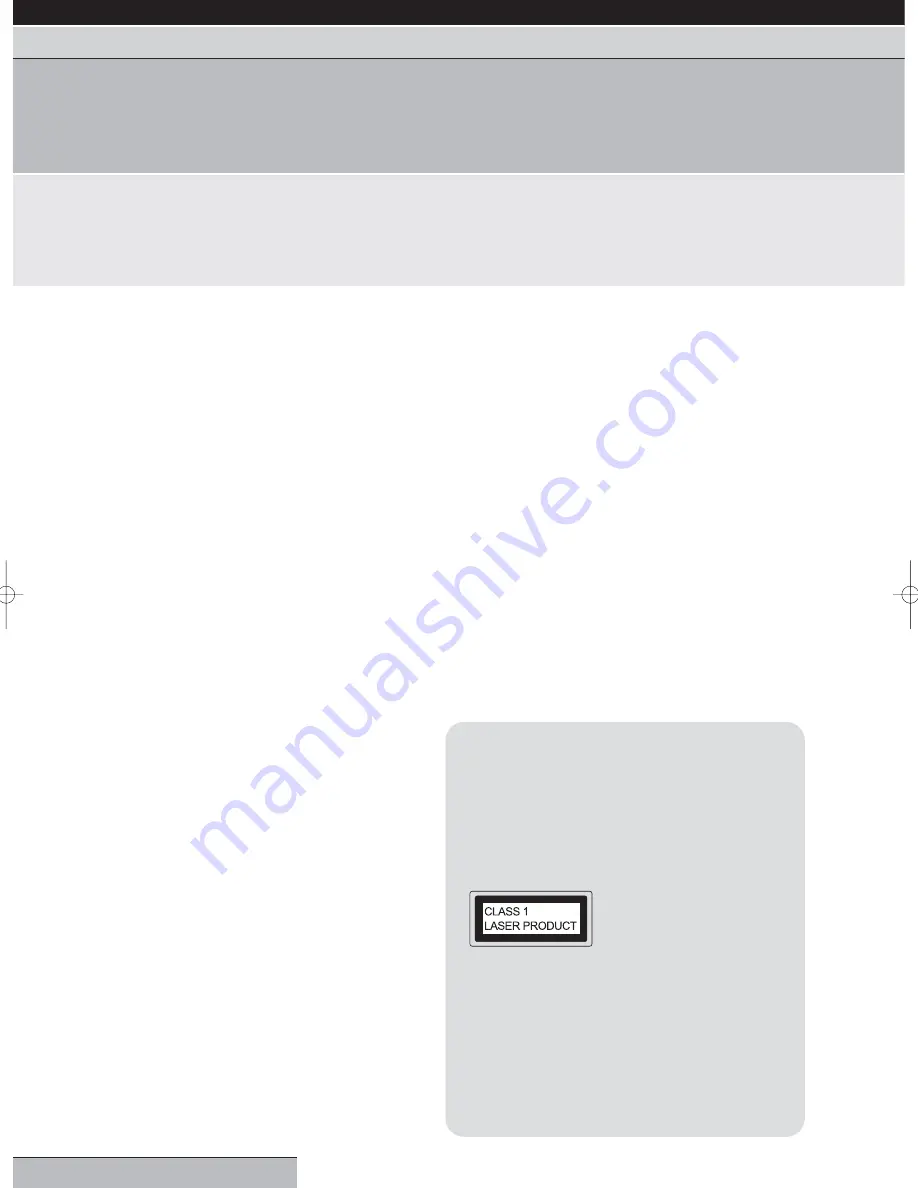
The following caution label is located on the rear panel of the
unit.

When this unit is plugged into the
wall outlet, do not place your eyes
close to the opening of the disc tray
and other openings to look into the
inside of this unit.

Use of controls or adjustments or performance of procedures
other than those specified herein may result in hazardous
radiation exposure.

Do not open covers and do not repair yourself. Refer servicing to
qualified personnel.

To reduce the risk of fire or electric shock, do not expose this
equipment to rain or moisture.

Grundig GR1000 A IB.qxd  14/01/2003  10:45  Page 2

Summary of Contents for GR1000A

Page 1: ...GR1000A DVD Video combination operating instructions...

Page 2: ...ly those controls that are covered by the operating instructions Improper adjustment of other controls may result in damage and will often require extensive work by a qualified technician to restore t...

Page 3: ...rol audio settings 26 extra information table of languages 27 tuning a TV to your VCR 28 DVD disc video cassette care 29 frequently asked questions 30 amplifier camcorder connection 31 specifications...

Page 4: ...or more sections Each section is called a TITLE For example trailers and documentaries would be separate TITLES to the featured movie on the disc Chapters A title can be subdivided into many parts Eac...

Page 5: ...audio CD CH 2 TV Channel display for VCR A1 A2 A3 External input display 7 Timer recording display 8 Video cassette is loaded 9 Track display for CD Note Some discs may display incorrectly e g chapter...

Page 6: ...safety warnings contents DVD regions disc structure front panel display remote control overview remote control overview Please familiarise yourself with the layout of your remote control using the tab...

Page 7: ...ur unit into the mains and switch on at the socket Switch on your TV Press the standby button to switch on your DVD VCR 2 Access the SYSTEM SETUP menu Press vcr then setup menu on your remote control...

Page 8: ...ght CLOCK SET Press enter select to select CLOCK SET 2 Set the DATE The DAY digit will be flashing Press the cursor or buttons to select the correct date The three letters after the date indicate the...

Page 9: ...e control usually 0 but can be stored against any channel number 2 Access the TUNING menu Press setup menu on your remote control to access the MAIN menu Press the cursor or buttons to highlight CH TU...

Page 10: ...y the cassette automatically 2 Start stop playing a tape If playback does not begin automatically press the play button Press stop to stop playing a video cassette The TV channel currently selected on...

Page 11: ...s picture search function This feature of your VCR will enable you to rewind or fast forward through a cassette with the picture showing on screen Insert a cassette it should begin playback automatica...

Page 12: ...t the number of index positions to skip For example your cassette is rewound to the beginning and you want to watch the third recording on the tape press the skip index button three times Playback wil...

Page 13: ...us 2nd press 30 mins 3rd press 1 hour 4th press 1 hour 30 min 5th press 2 hours 6th press 3 hours 7th press 4 hours 8th press 5 hours 9th press 6 hours e g five presses will start recording immediatel...

Page 14: ...ert a blank cassette into your VCR Press the vcr button on your DVD VCR remote control to switch to the VCR function of your unit 2 Select a timer position Press the program button on the remote contr...

Page 15: ...t panel display 2 Select a timer recording Make sure you are in VCR mode by pressing the vcr button on your DVD VCR remote Press the program button The TIMER RECORD menu will appear on screen Press th...

Page 16: ...playback The counter displays the amount of time in hours minutes and seconds elapsed since playback began 2 Counter reset Before playback or recording press counter reset to reset the counter to 00...

Page 17: ...rol to access the MAIN menu Press the cursor or buttons to select VCR SETUP Press enter select to access the VCR SETUP menu 2 Make NICAM settings Press the cursor or buttons to select NICAM Press the...

Page 18: ...r DVD VCR 2 Access the MAIN SETUP menu Press dvd then setup menu on your remote control to access the MAIN SETUP menu Press the cursor or buttons to highlight LANGUAGE Press enter select and a sub men...

Page 19: ...take proper precautions when the analogue stereo outputs of the DVD player are connected to an amplification system 1 Fast forward playback Press search during normal playback Each press will increase...

Page 20: ...the scenes camera angles of the DVD A B repeat does not work with interactive DVD titles repeat random playback 1 Repeat random DVD or CD Press play mode during playback Each time you press the curso...

Page 21: ...select to confirm If you enter a time longer than the total running time of the DVD title it may not be stored correctly 3 Enter a title DVD Press the cursor or buttons to highlight TITLE Press the nu...

Page 22: ...ws 1st press Zoom feature on 2nd press Zoom feature off 2 Move around the picture Press the cursor or buttons to move around different parts of the picture when zoomed in setting on screen display OSD...

Page 23: ...des of the image so that it fits on a conventional shape TV screen 16 9 Widescreen This is the correct mode for playback of wide screen DVD video on a wide screen TV You must also set the screen mode...

Page 24: ...o switch between available camera angles The angle menu will automatically clear after 4 seconds title selection 1 Select a title Press the title button during playback of a DVD If there is more than...

Page 25: ...title language are cancelled when you open the disc tray or turn the power to your unit off Please note that you can also permanently change the languages so that when available on the DVD disc the sa...

Page 26: ...ARENTAL menu will show on screen Press the cursor or buttons to highlight parental 2 Set PARENTAL level Press the cursor or buttons to highlight parental level The following rating levels are availabl...

Page 27: ...am Mongolian Moldavian Marathi Malay Maltese Burmese Nauru Nepali Dutch Norwegian Occitan Afan Oromo Oriya Panjabi Polish Pashto Pushto Portuguese Quechua Rhaeto Romance Kirundi Romanian Russian Kinya...

Page 28: ...r television becomes distorted when the DVD VCR is on Explanation The VCR s output may be clashing with a tuned TV channel Solution Follow steps 1 2 Select the channel on the TV which is distorted Mov...

Page 29: ...is the case have the VCR checked and cleaned by qualified personnel Head cleaning cassettes are not recommended because they can be abrasive to your video heads To help prevent video head clogging us...

Page 30: ...video tape worn or damaged the tracking adjustment is beyond the range of the Automatic Tracking Circuit try adjusting the tracking manually Q Why does the VCR not record the TV station A Your Station...

Page 31: ...put sockets on your amplifier these may be called AUX LINE IN or INPUT etc consult your amplifier s instruction book for details Make sure that left matches left and right matches right DVD VCR to cam...

Page 32: ...new VCR DVD player To help you get the most from your new purchase we recommend Partmaster Direct for accessories and spares Partmaster Direct s range includes Connectivity Leads Remote Controls Mains...

Reviews: