9
❏
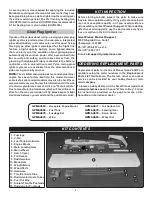
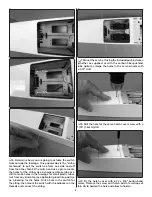
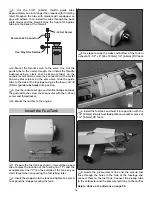
6. Determine how you are going to actuate the switch
from outside the fuselage. One popular way is the “string
technique” to pull the switch
on
from one side and
off
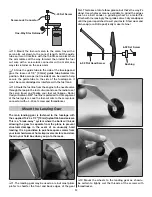
from the other. Test-fi t the switch and use a pin to locate
the holes for the string. Use a sharpened brass tube or a
drill to make holes in the fuselage for small plastic tubes
(cut from any kind of spray applicator) glued into position
as a bearing for the holes. Drill a hole in the switch for
the string, then mount the switch with threadlocker on the
threads and connect the string.
❏
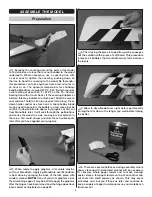
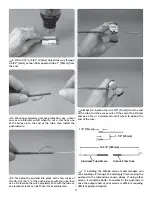
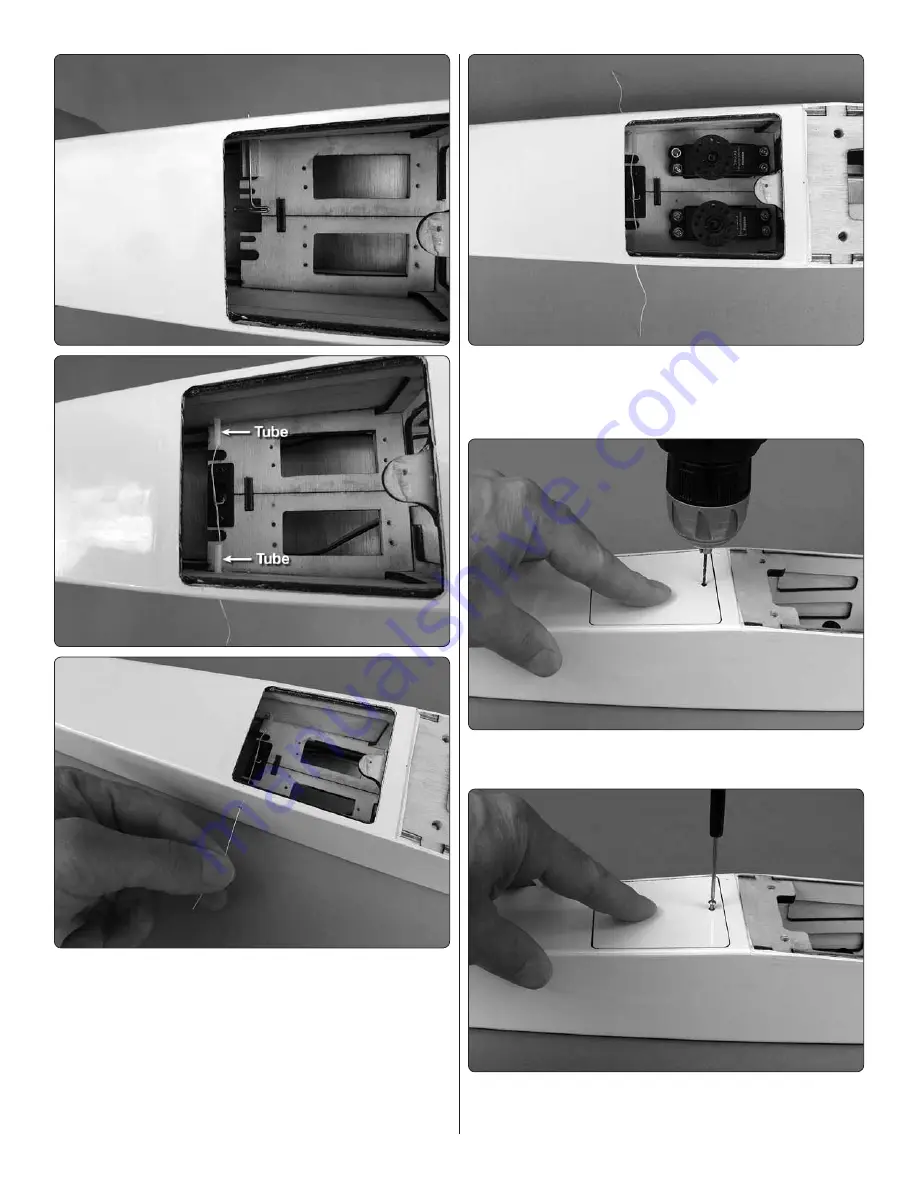
7. Mount the servos. If using the included pushrod wires
(whether as supplied, or with the carbon fi ber pushrod
tube option), enlarge the holes in the servo wheels with
a .074" drill.
❏
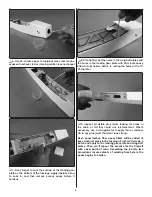
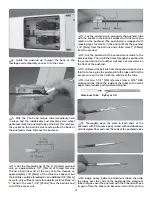
8. Drill the hole for the servo hatch cover screw with a
1/16" [1.6mm] drill.
❏
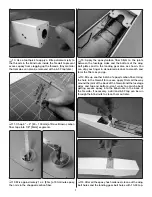
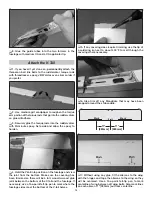
9. Fit the hatch cover with a #2 x 3/8" button-head
screw. Remove the screw and hatch, add a few drops of
thin CA to harden the hole and allow to harden.


