Chapter 3 Working with RAID Storage Using GVG Disk Utility
84
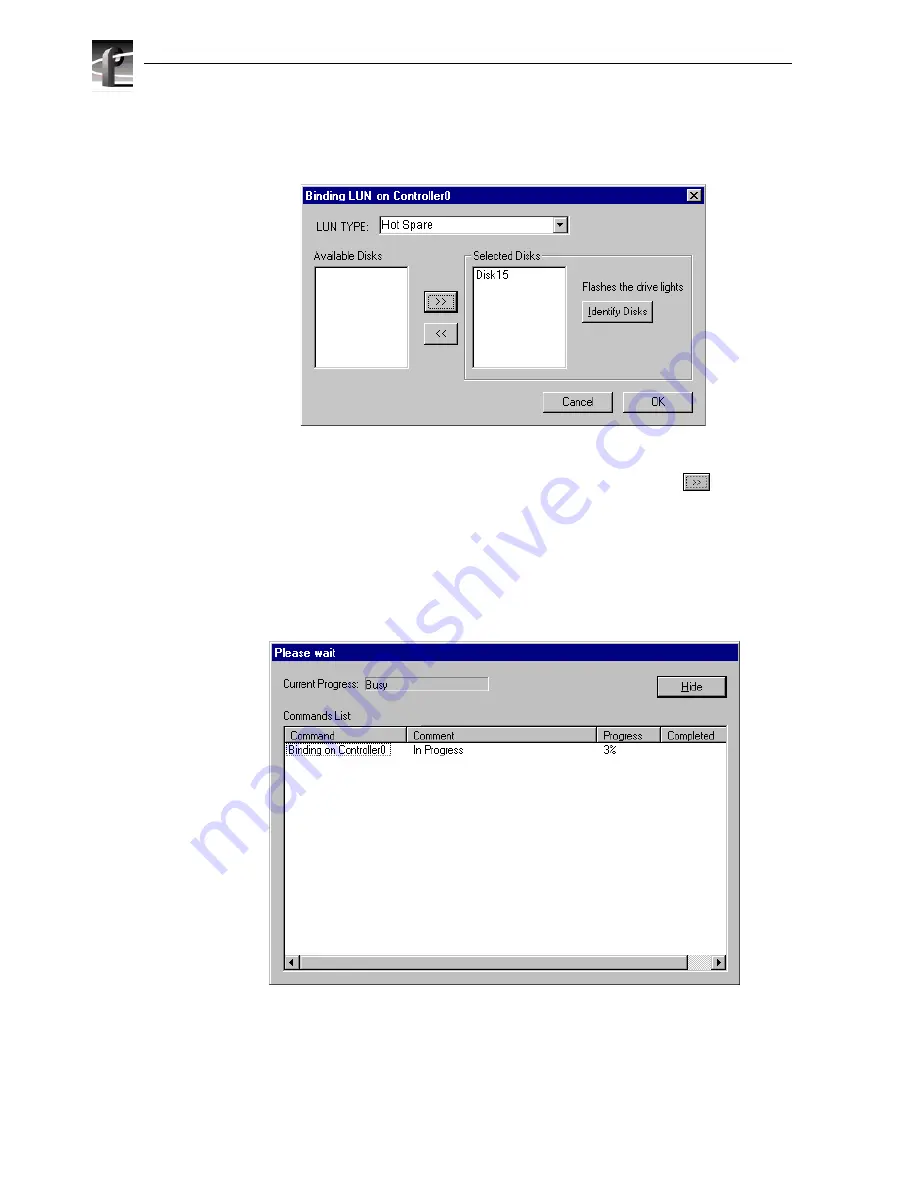
The Binding LUN dialog box opens showing all unbound disks for the controller
listed in the Available Disk list.
4. Select Hot Spare using the LUN TYPE drop-down box.
5. Select the disk(s) to be used as hot spares, then click the add button
to add
them to the Selected Disks list.
NOTE: As an aid in identifying a disk module’s physical location, select it in the
Selected Disks list, then click
Identify Disks.
This causes the disk drive LED to flash.
6. Click
OK
to close the Binding LUN… dialog box and begin the binding process.
The Progress Report dialog box opens, showing the status of the binding process.
7. Repeat step 3 through step 6 to bind additional hot spare disks modules on other
controllers as needed.
8. Upon 100% completion, click
Close
in Progress Report window.
Summary of Contents for PROFILE XP PVS Series
Page 14: ...Preface 14 Profile XP System Guide 23 July 2004 ...
Page 64: ...Chapter 2 Working with Configuration Manager 64 Profile XP System Guide 23 July 2004 ...
Page 130: ...Chapter 4 Adding or Removing Channels 130 Profile XP System Guide 23 July 2004 ...
Page 144: ...Chapter 4 Adding or Removing Channels 144 Profile XP System Guide 23 July 2004 ...
Page 232: ...Chapter 7 Modifying a Channel Timecode Settings 232 Profile XP System Guide 23 July 2004 ...
Page 238: ...Chapter 8 Modifying a Channel Ancillary Data 238 Profile XP System Guide 23 July 2004 ...
Page 246: ...Chapter 9 Managing Optional Licenses 246 Profile XP System Guide 23 July 2004 ...
Page 288: ...Chapter 11 Setting up a Simple Network 288 Profile XP System Guide 23 July 2004 ...
Page 310: ...Chapter 12 Solving Common Setup Problems 310 Profile XP System Guide 23 July 2004 ...
Page 344: ...Chapter C 344 Profile XP System Guide 23 July 2004 ...


