116
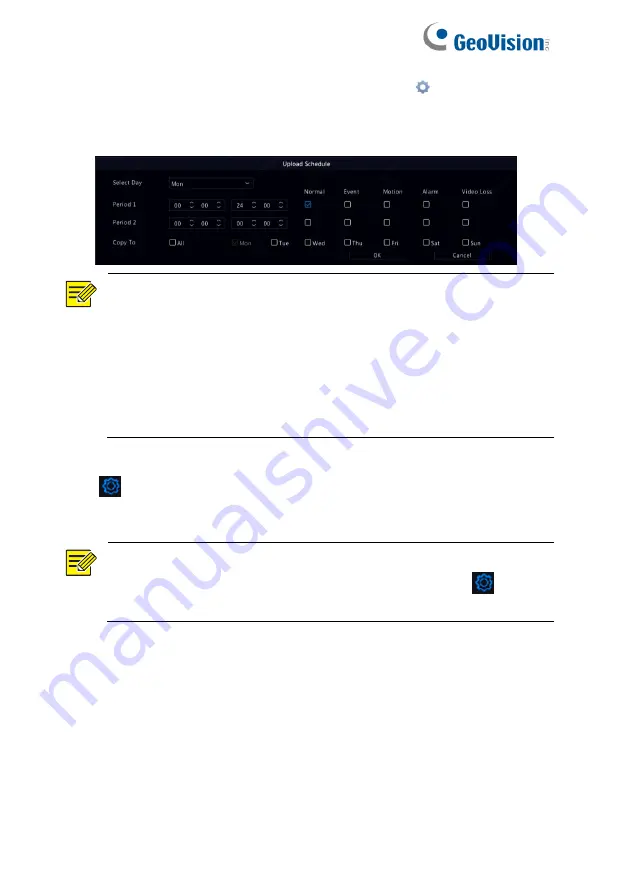
4. Select the desired camera and then click
right to
Upload
Schedule
. In the
Upload Schedule
window, select the desired
image type and set time periods.
NOTE!
⚫
If you select Event, Motion, Alarm or Video Loss, you also
need to configure the corresponding alarm-triggered
snapshot. For example, if you select Motion, you need to
configure alarm-triggered snapshot (select Motion in the
Edit Schedule window).
⚫
To apply the same settings to other days in a week, select
the desired days right to
Copy To
.
5. (Optional) Apply the same settings to other cameras by clicking
right to
Copy
and then selecting desired cameras.
6. Click
Apply
to save the settings.
NOTE!
To apply the same settings to other cameras, click
right to
Copy
, select cameras and then click
OK
.
11.3.5 Multicast
Multicast can be used to realize live view when the number of
connecting Web clients exceeds the limit the NVR can accommodate.
1. Click
Network > Advanced > Multicast.


