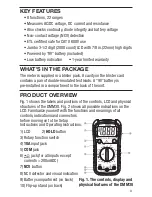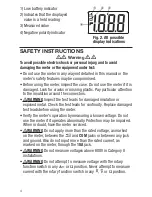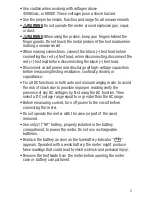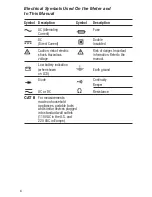
encounter. If you are unsure of the type, select one of the
positions. If you are unsure of the amplitude, select either
600
position.
(2) Plug the black test lead into the front-panel
COM
jack and the
red test lead into the
jack.
(3) Touch the black test lead to the lower-potential point of the circuit
under test, and the red test lead to the higher-potential point.
(4) Read the measured voltage on the display. If the readout is
.OL
, the
voltage level is beyond the currently selected range. If that is the
case, move the rotary switch to the next-widest position. When
measuring DC voltage, if the test leads are reversed a minus sign
will appear at the left of the readout.
MEASURING DC CURRENT
••
Warning
••
Do not attempt to measure: 1) currents larger than 200mA through the
jack; 2) currents larger than 10A through the
10A
jack; or
3) currents larger than 5A through the
10A
jack for more than
10 seconds at a time or for more than 30 seconds every 15 minutes;
pause 1 minute after each measurement of such a large current.
(1) Remove power from the circuit to be tested and discharge all high-
voltage capacitors.
(2) Turn the rotary switch to one of the
positions, depending on the
amplitude of the current you expect to encounter. If you are unsure
of the amplitude, select the
10A
position.
(3) Plug the black test lead into the black
COM
jack at the bottom left
of the front panel.
(4) Plug the red test lead into the
or
10A
jack. Choose the
10A
jack if you have set the rotary switch to the
10A
position, and the
jack if you have set the rotary switch to any other
position.
(5) Break the circuit and touch the red lead to the higher-voltage side
of the break and the black lead to the lower-voltage side.
(6) Re-apply power to the circuit and observe the display. If it shows
O.L
, the current amplitude is beyond the selected current range. If
that is the case, move the rotary switch to the next-widest position.
8


